What Is Dell DataSafe Local Backup
What is Dell DataSafe Local Backup? Dell DataSafe Local Backup is a piece of pre-installed backup and recovery software on Dell PCs and it is usually only licensed for use on Dell PCs.
Dell DataSafe Local Backup can protect your important data, operating system, applications, drivers, and settings. Using Dell DataSafe Local Backup to back up data can prevent data loss due to system corruption, hardware failure, accidental file deletion, and virus attacks.
Besides, Dell DataSafe Local Backup 2.0 can restore Dell computers to the original factory. Install the configuration without deleting personal files and data. Dell DataSafe Local Backup 2.0 has three versions – Basic, Pro, and RAID1.
Also see: The Best Alternative to Dell Backup and Recovery for Windows 10
How to Use Dell DataSafe Local Backup
Here is how to back up the system with Dell DataSafe Local Backup.
Step 1: Launch Dell DataSafe Local Backup to get its main interface.
Step 2: You can click the Backup tab and there are three options for you – Create Recovery Media, Full System Backup, and File & Folder Local Backup.

Step 3: To back up the system, you need to click Full System Backup and follow the on-screen instructions to finish the backup process.
You can also choose to create a recovery media since it can be used to restore Dell to its previous state without worrying about data loss.
Step 1: Insert Discs or USB flash drive into your computer. Choose Create Recovery Media and select Create System Recovery Disks to continue.
Note: Recordable media required for this process is either a DVD or Blu-ray disc. CD or DVR -RW is not allowed.
Step 2: The Validating page appears and displays the type and quantity of media required for the backup process. Click the Next button to continue.
.Step 3: Then, it will show the process of the backup. The time to complete the process may vary depending on system speed and specification.
Step 4: When the process is finished, click the Finish button to return to the main page.
Here is how to use Dell DataSafe Local Backup to restore your Dell PC to the original factory installation.
Step 1: Boot your computer. When the Dell logo appears, press the F8 key until entering the Advanced Boot Options menu.
Step 2: Then, choose the Repair Your Computer option and press the Enter key.
Step 3: Click the Next key and log on to the computer’s administrator account.
Step 4: Click Dell DataSafe Restore and Emergency Backup and DataSafe Options.
Step 5: Choose Restore without preserving new or changed file and click Next to continue.
Step 6: Choose Yes and click Next to continue. Then, click Restart to start the restoration process.

Do You Need Dell DataSafe Local Backup
Do you really need Dell DataSafe Local Backup Windows 10? It depends on your needs. Although it can protect your data, some DataSafe Local Backup users say that they encounter many issues, such as Dell Datasafe local backup has stopped working, it fails to backup specific files and folders, etc.
If you have created a system backup using Windows built-in tools or third-party software, you can still restore or reinstall the operating system without Dell DataSafe Local Backup. Thus, you may disable or uninstall Dell DataSafe Local Backup.
How to Disable/Uninstall Dell DataSafe Local Backup
To disable or uninstall Dell DataSafe Local Backup, you should turn off the SoftThinks Proxy Service. Here are the details.
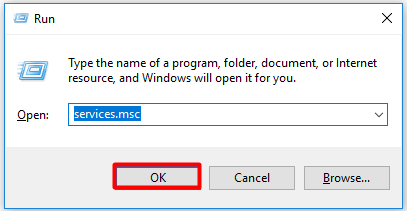
Step 1: Press the Windows key + R key at the same time to open the Run dialogue box. Then, type services.msc in the window and click the OK button to continue.
Step 2: Scroll down the services list to find SoftThinks Agent Service and right-click it to open its Properties.
Step 3: Set the Startup type as Disabled and click Stop in Service status.
Step 4: Finally, click Apply and OK to execute the operation.
After you disable or uninstall Dell DataSafe Local Backup, you had better use another tool to create a system image to prevent data loss caused by a system crash. The next part is about the Dell DataSafe Local Backup alternative.
Dell DataSafe Local Backup Alternative
When your Dell laptop becomes slow or the system crashes, you may choose to factory reset your PC. However, this method will delete all of your user data & programs and you need to reinstall these applications, which is time-consuming. Thus, it’s recommended to back up the system regularly, and then restore the laptop to an earlier date while keeping most of your personal data.
As the alternative to Dell DataSafe Local Backup, MiniTool ShadowMaker is a piece of the professional backup solution available for all systems including Windows 7/8/10, Windows XP, Windows Server as well as the Workstation.
This program allows you to back up, sync, restore, and clone files & folders and the system they need so that users have a way to protect important data and perform disaster data recovery. It has many useful features that Dell DataSafe Local Backup and Windows built-in tools do not have including file sync, incremental backup, and so on.
You can download the Trial Edition of MiniTool ShadowMaker by clicking the following button.
MiniTool ShadowMaker TrialClick to Download100%Clean & Safe
Now, let’s see how to back up the system and restore it with MiniTool ShadowMaker.
Step 1: Launch MiniTool ShadowMaker and click Keep Trial to continue.
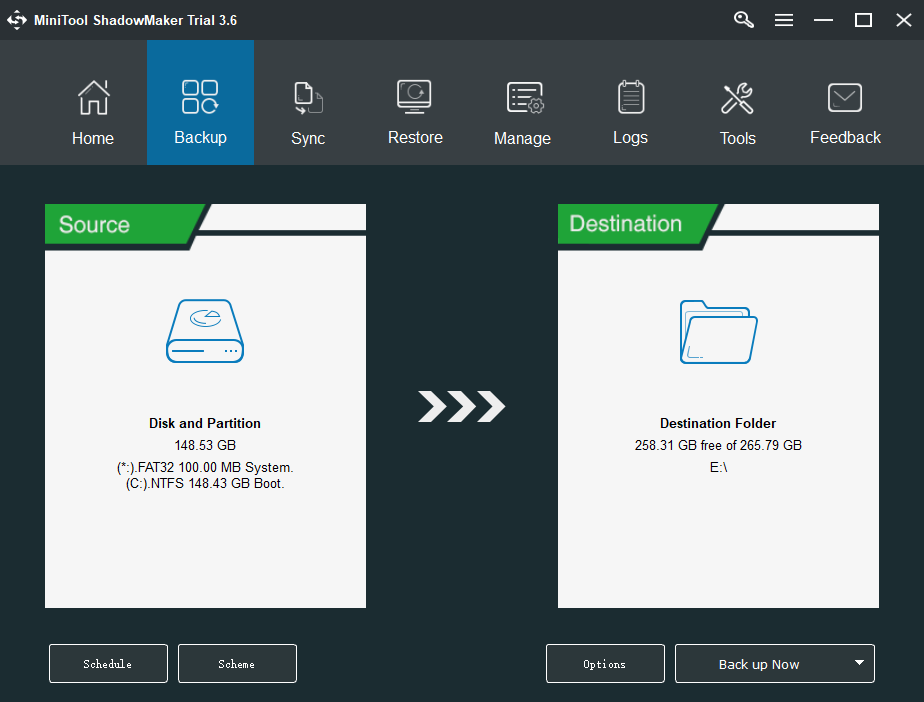
Step 2: After you enter its main interface, go to the Backup page.
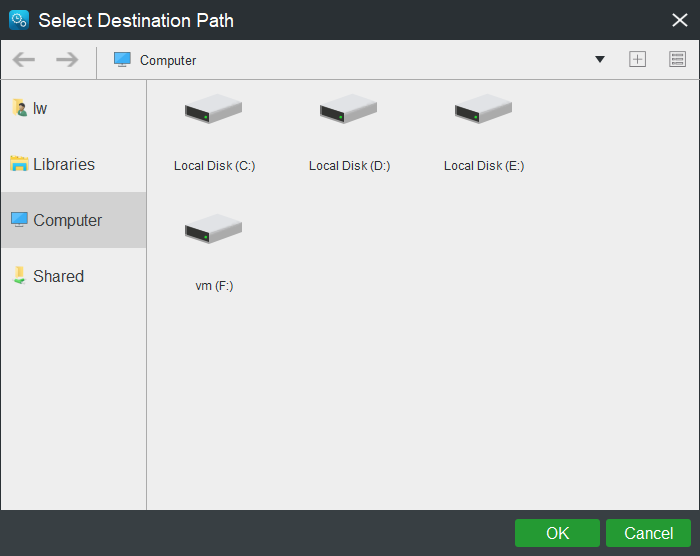
Step 3: MiniTool ShadowMaker selects system related items by default. Thus, you just need to choose the backup destination.
Step 4: Go to the Backup page. Click Back up Now to start creating a system image.
Wait for MiniTool ShadowMaker to finish backing up the operating system. Then, when there is something wrong with your Windows operating system, the system image file is quite useful to restore your computer to a previous state.
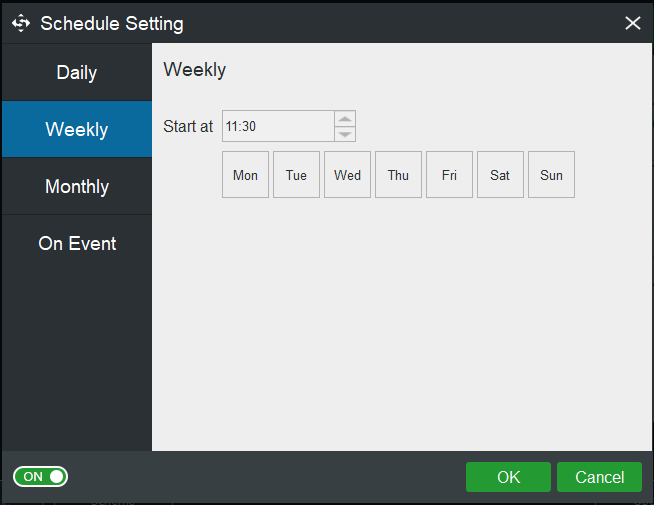
From the Backup interface, you can see the Schedule option which enables you to perform backup tasks regularly. Four modes are here, including Daily, Weekly, Monthly, and On Event. Just choose one based on your needs.
Besides, this software offers you the Scheme feature, helping create differential backups and incremental backups, as well as disk management when backing up.
Then, you may wonder how to restore your computer to a previous date. Continue reading the content below.
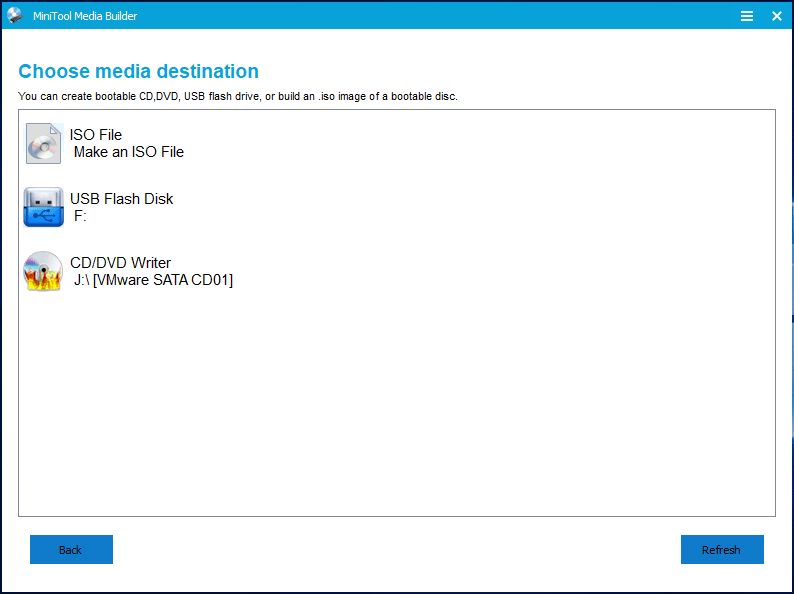
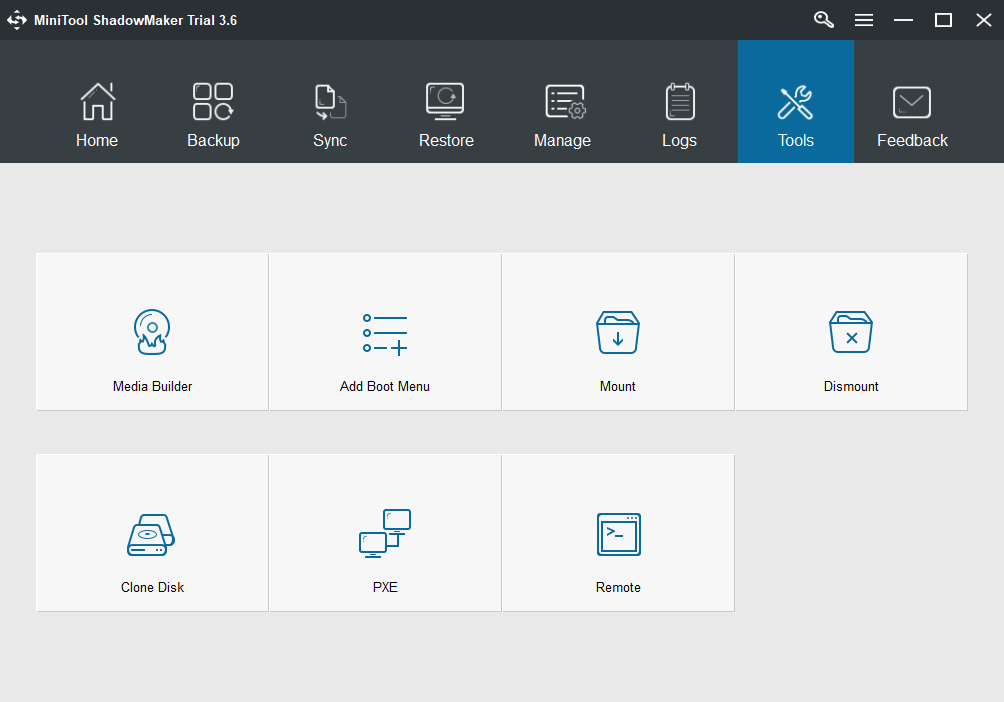
Step 1: Use the software’s Media Builder feature to create a bootable USB drive or CD/DVD based WinPE to boot the computer to MiniTool Recovery Environment for system restore.
Step 2: MiniTool ShadowMaker will run by itself in WinPE. Go to the Restore page, you can find the system image you have created and you need to click Restore.
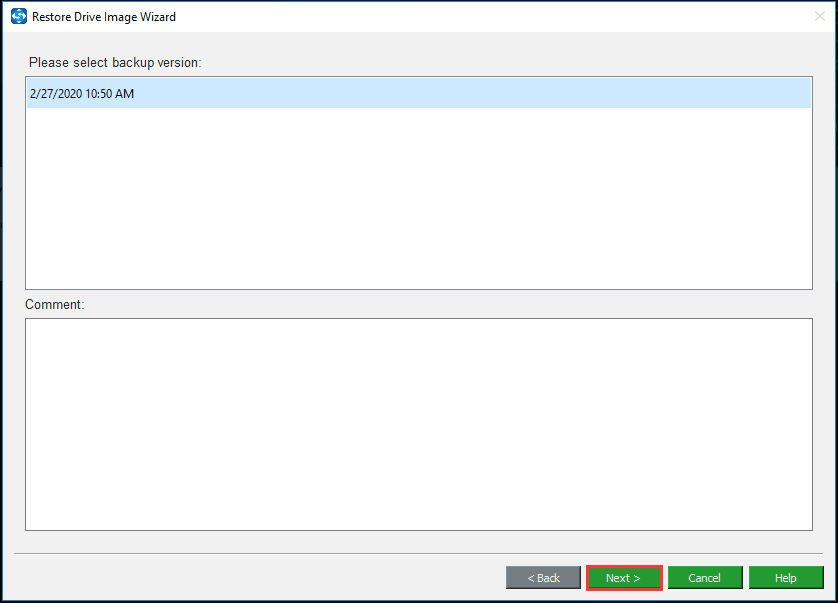
Step 3: Then you need to select the backup version and click the Next button to continue.
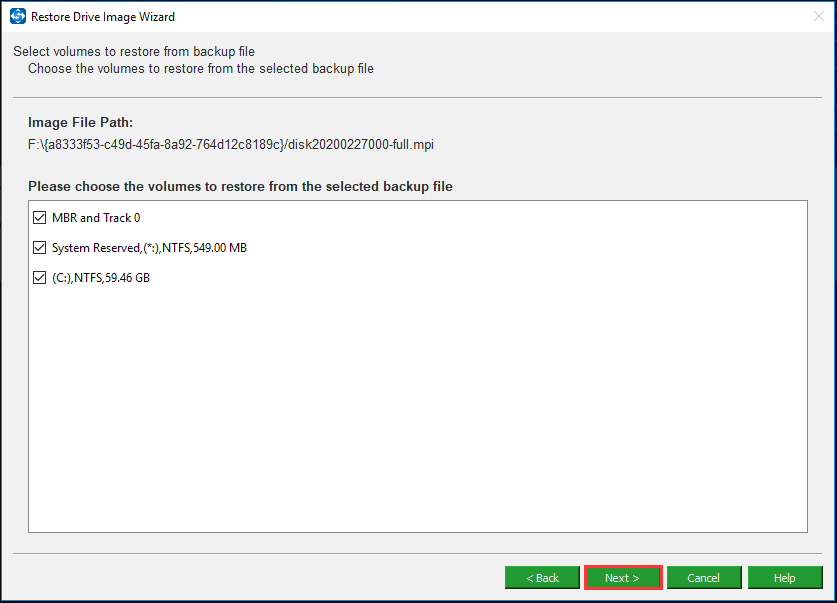
Step 4: All the partitions included in the selected backup version will be shown here and you will find all these partitions are checked by default. For system backup, all system drives should be checked. As for disk backup, you can uncheck the data partition you needn’t.
Step 5: Now, you should choose a target disk that you want to restore the system image. Please note that you can’t restore the backup image to the hard drive containing backup image files. Usually, the system disk is selected.
Then click Start to go on the restoration operation. Then a warning will appear showing you which partition will be overwritten by an image.
Step 6: You need to wait patiently for the restoration process to finish.
Further Reading
In addition to the backup and restore feature, you can also use the Clone Disk feature of MiniTool ShadowMaker to protect your PC. This way can help you to quickly copy your Windows 10 system disk to another hard drive. In the event of system corruption, the target disk can be directly used to boot your laptop without recovery.
For more information, this post – How to Clone a Hard Drive to SSD in Windows 10/8/7 can satisfy your demands.
Now we have shown you how to back up your system and how to restore the computer to an earlier date with MiniTool ShadowMaker. MiniTool ShadoaMaker has more strong features than Dell DataSafe Local Backup.
You can also use the Windows built-in tools to factory reset your computer or restore your PC to the previous state. Maybe the following articles are what you need.
How to Factory Reset Laptop Easily in Windows 10/8/7 (3 Ways)
How to Restore Computer to Earlier Date in Win10/8/7 (2 Ways)
Bottom Line
Here is the end of this post. Until now, you know what Dell DataSafe Local Backup is and how to back up Dell laptop in Windows 10 with its free alternative – MiniTool ShadowMaker. Now, it’s time for you to back up your Dell laptop in Windows 10.
If you have some questions while using MiniTool ShadowMaker, don’t hesitate to let us know. Besides, any suggestions for this post are also welcome. Just leave your idea in the following comment or send it to [email protected].
Dell DataSafe Local Backup FAQ
- Click Start > All Programs > Dell Support Center > Dell Support Center Alerts.
- Select User Settings and select the Alerts
- Select Disable in the Notification Settings
User Comments :