Meeting the Windows Update error 8024402c is pretty disappointing, but luckily, you can find multiple efficient methods to get rid of the error in this post. And if you meet other Windows Update error codes, you can go to the MiniTool website to find effective methods.
Although the Windows system is very popular, you could meet some errors when using it, such as Windows Update error 0x80070057 and DRIVER VERIFIER DMA VIOLATION. In this post, we will focus on how to fix Windows Update error code 8024402c.
Method 1: Run Windows Update Troubleshooter
Running Windows Update Troubleshooter is the first and quickest method to get rid of the Windows Update error 8024402c. It is a built-in feature that can easily fix many Windows Update errors. Now follow the instructions below to do it:
Step 1: Press the Win key and the I key at the same time to open Settings.
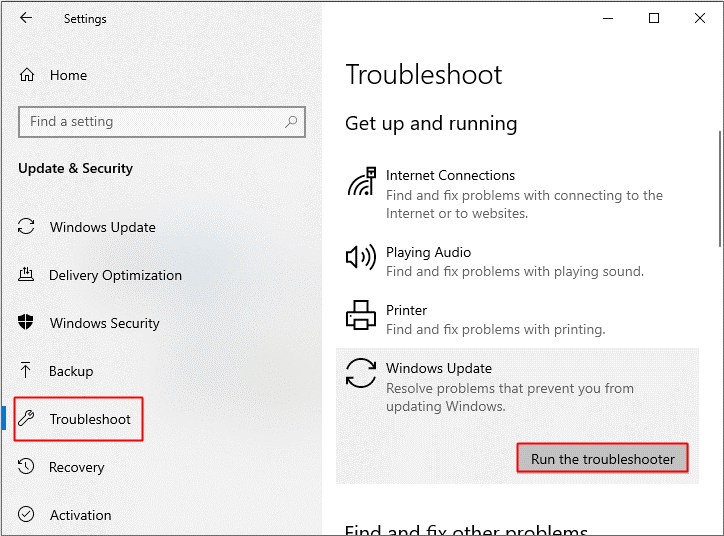
Step 2: Choose Update & Security and then go to the Troubleshoot tab in the left panel.
Step 3: Click Windows Update under the Get up and running section in the right panel and then click Run the troubleshooter.
Step 4: Follow the prompts showing on the screen to finish the troubleshooting process.
Step 5: After the process is finished, reboot your computer and then check if the error 8024402c disappears.
Related post: 8 Useful Fixes for an Error Occurred While Troubleshooting!
Method 2: Change the DNS Servers
DNS servers are an important part of your computer to make a connection with the Windows Update servers. Therefore, if the DNS servers are corrupted, then you may meet the Windows Update error 8024402c. So you can try to change the DNS servers to fix the error. Here is the way to do that:
Step 1: Press the Win + R keys at the same time to open the Run box.
Step 2: Type ncpa.cpl in the box and then click OK to open Network Connections.
Step 3: Locate your network connection, right-click it to choose Properties.
Step 4: In the Properties window, choose Internet Protocol Version 4 (TCP/IPv4) and then click Properties.
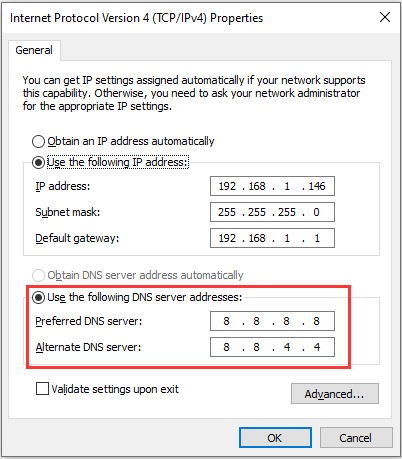
Step 5: A new window pops out, under the General section, choose Use the following DNS server addresses, set the Preferred DNS server as 8.8.8.8 and set Alternate DNS server as 8.8.4.4. Click OK to save changes.
Step 6: Reboot your PC to check if the error is fixed.
Related post: Full Guide to Fix DNS Server Unavailable in Windows 10
Method 3: Edit the Registry Editor
You can also try to edit the Registry Editor to fix the Windows Update error 8024402c. And it is recommended to back up your registry keys. Here is a simple guide:
Step 1: Open the Run box, type regedit in the box, and then click OK to open Registry Editor.
Step 2: Navigate to the following path:
HKEY_LOCAL_MACHINE\SOFTWARE\Policies\Microsoft\Windows\WindowsUpdate\AU
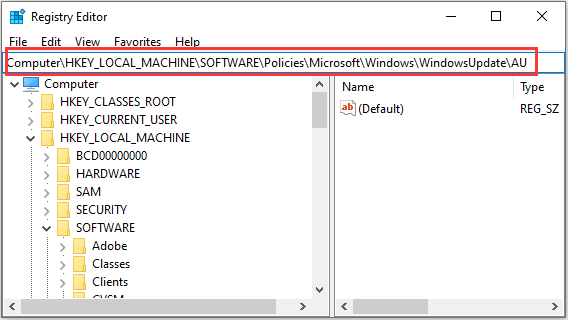
Step 3: On the right pane of AU key, double-click UseWUServer, change its Value data to 0, and click OK.
Step 4: Restart your computer and then update your Windows again to check if the error is gone.
The End
This post has listed three brilliant methods for you to fix the Windows Update error code 8024402c, so if you meet the error, try the methods mentioned above.
User Comments :