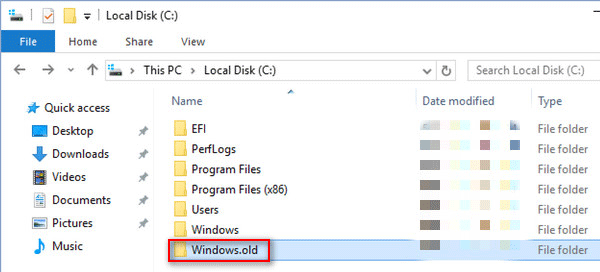
Users will notice that there’s a Windows.old folder saving Windows setup files in their system drive after upgrading the OS to a new version. What bothers users is that this folder takes up too much space on their disk; some of them are even running out of disk space. That’s why they are asking can they delete the Windows setup files and how to delete them.
It’s a fact that your old files will remain on the disk after you have updated your PC from an existing Windows installation. A Windows.old folder will appear to save those old Win setup files, which are available for rolling back the computer to a previous installation. This is a good thing:
- It can help users restore the operating system when something goes wrong during the update.
- It allows users to “go back” to their previous OS when they’re not satisfied with the new system.
Users can also backup the system manually by using MiniTool software.
Is It Safe to Delete Windows Setup Files
The problem is that users find the Windows.old folder with Win setup files taking too much of their disk space. Some even find that their disk space is going to run out. As a result, they are asking – can I delete Windows setup files. In the content below, I will show you how to delete Win setup files in Windows 10 by using 3 different ways.
Fixed: There Is Insufficient Disk Space To Complete Operation!
Should I delete Windows setup files?
In general, the Windows.old folder which keeps system files and data from the “old” Windows installation will stick around on users’ disk for 10 days. When the time is up, they’ll be cleaned up by the system automatically.
- Therefore, you don’t need to delete the files if you have lots of space left on the disk.
- However, if you’re in face of low disk space issue, you should go to delete the Win setup files manually.
How to go back to the previous system?
Open Settings -> choose Update & Security -> select Recovery -> click Get Started under Go back to the previous version of Windows 10.
How to delete Win setup files in Windows 10? Basically, there are 3 ways available.
How to Delete Windows Setup Files Using Disk Cleanup
- Open Windows search bar by pressing Win + S.
- Type cleanup into the textbox.
- Right click on Disk Cleanup from the search result and choose Run as administrator.
- Select your system drive in the Disk Cleanup: Drive Selection window (C: is selected by default).
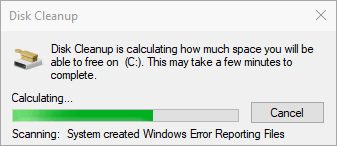
- Click on the OK button and wait for the calculating process.
- Click on the Clean up system files button at bottom left.
- Check Previous Windows installation(s) from the list and click OK.
- Click on the Delete Files button when system asks you: Are you sure you want to permanently delete these files.
Disk Cleanup Cleans Downloads Folder In Windows 10 After Update!
How to Delete Windows Setup Files in Settings
- Open Settings window by pressing Win + I or other ways.
- Select System in this interface.
- Shift to Storage option in the left sidebar.
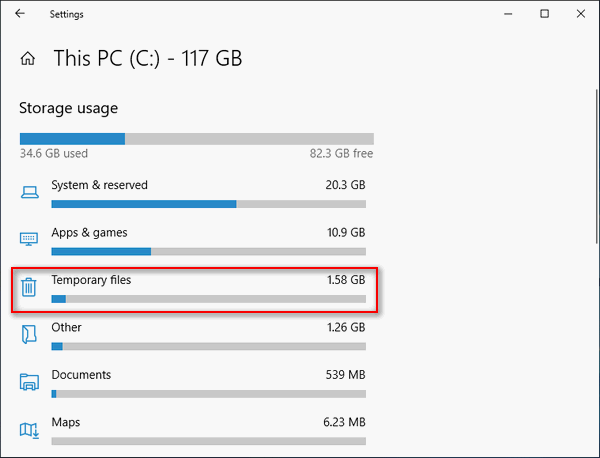
- Choose This PC (C:) under Local storage.
- Choose Temporary files under Storage usage.
- Check Previous version of Windows under Remove temporary files.
- Click on the Remove files button and wait for it to finish.
How to Delete Windows Setup Files Using Command Prompt
- Open Windows search and type cmd.
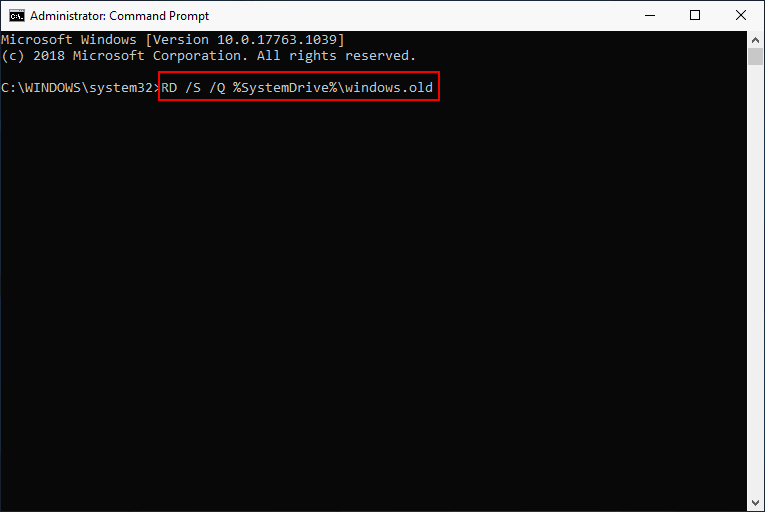
- Right click on Command Prompt and choose Run as administrator.
- Type RD /S /Q %SystemDrive%\windows.old and press Enter.
- Wait for the command to complete.
You may also execute the following commands step by step and press Enter after each:
- cd C:\
- attrib -r -a -s -h C:\Windows.old /S /D
- takeown /f Windows.old /a /r
- rd /s /q Windows.old
Notice: you can also use the Command Prompt tool to recover lost files.
That’s all about how to delete Win setup files in Windows 10.
Extended reading:
User Comments :