It’s very troublesome and time-consuming to enter the correct password of certain account each time when you open the PC, change user account, or resume from sleep. Some users may want to disable the password though it was considered to be one of the most powerful features for securing your machine. This post on MiniTool tells you how to remove password from Windows 10 in different cases.
Adding password on your computer is an effective way to protect the content that is important to you. However, some people may find it a minor annoyance or a waste of time to enter the password every time they turn on the computer or resume it from sleep. So they are eager to know how to disable password on Windows 10. Luckily, it’s easy to disable password Windows 10 and it’s simple to re-enable the password if you change your mind later. In the following sections, I’ll walk you through the steps to turn off password Windows 10.
How to Turn off Password on Windows 10
You may be asked to enter password under different circumstances: logging in your system, performing some operations, resuming from sleep, etc. Now, I’ll show you how to remove password from Windows 10 in different cases.
Remove Login Password Windows 10
- Access Windows 10 search window by: a. clicking on the search box or icon on the taskbar at the bottom; b. pressing Windows + S on the keyboard.
- Type netplwiz and then click on the top result or hit Enter.
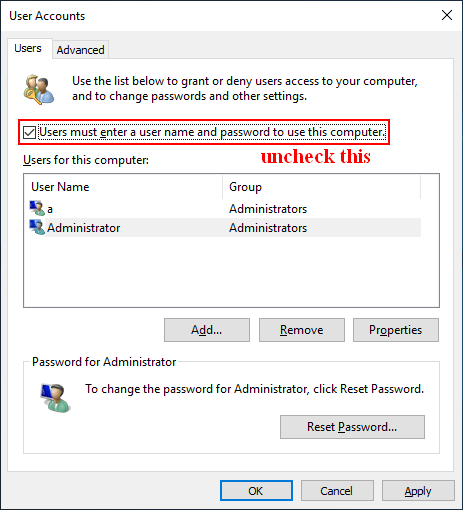
- Select the account you use to log in Windows 10 under the Users for this computer section.
- Uncheck the Users must enter a user name and password to use this computer option.
- Click on the Apply button in the lower right corner of the User Accounts window.
- Enter the Username, Password, and Confirm Password in the pop-up window.
- Click on the OK button to confirm this action.
- Click OK again to save the changes.
Windows 10 Taskbar Not Working – How To Fix? (Ultimate Solution).
Windows 10 Remove Password for a Local User Account
- Open the Settings app by pressing Windows + I (or clicking Start -> clicking on the Settings icon).
- Select Accounts from the Windows Settings window.
- Shift to Sign-in options in the left panel.
- Look for the Password section in the right panel.
- Click on the Change button under Change your account password.
- Enter the Current password of your account and then click Next.
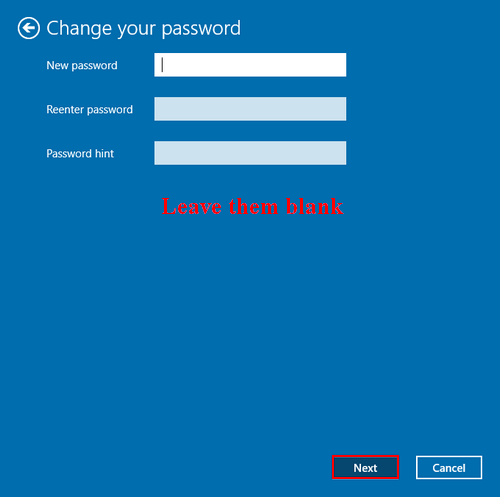
- Leave all the fields blank in the next Change your password window.
- Click Next to continue.
- Click on the Finish button to end the process.
How To Customize Your Windows 10 Start Menu?
Disable Password When Resuming from Sleep
How to get rid of password on Windows 10 when computer wakes up from sleep? There are 3 ways available.
Why Does Your Computer Keeps Waking Up From Sleep, How To Fix It?
1. Use Settings
- Open Settings on your PC.
- Select Accounts.
- Choose Sign-in options in the left panel.
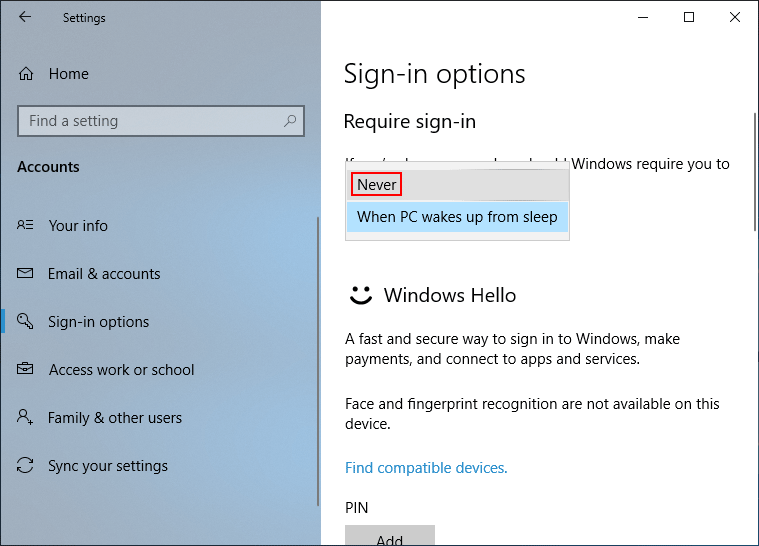
- Go to the Require sign-in section in the right panel.
- Choose Never, instead of When PC wakes up from sleep, from the drop-down menu.
2. Use Group Policy Editor
- Press Windows + S.
- Type edit group policy and hit Enter.
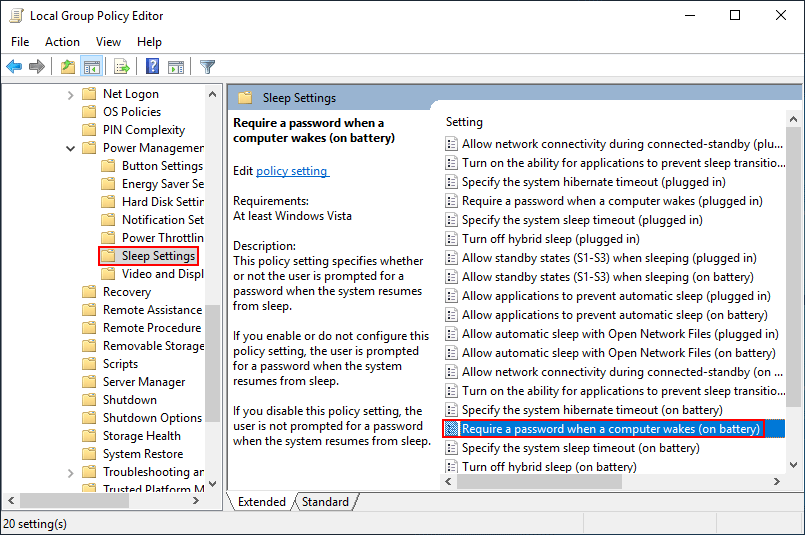
- Expand Computer Configuration, Administrative Templates, System, and Power Management.
- Select Sleep Settings.
- Double click on Require a password when a computer wakes (on battery) in the right panel.
- Check Disable, click Apply, and then click OK.
- Double click on Require a password when a computer wakes (plugged in) -> check Disable -> click Apply -> click OK.
3. Use CMD
- Press Windows + S.
- Type cmd.
- Right click on Command Prompt.
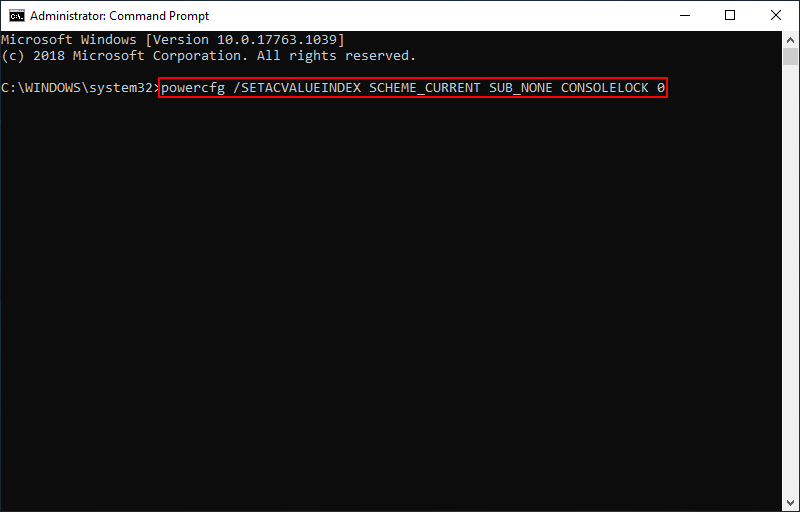
- Choose Run as administrator.
- Type powercfg /SETACVALUEINDEX SCHEME_CURRENT SUB_NONE CONSOLELOCK 0 and hit Enter if your computer is plugged in.
- Type powercfg /SETDCVALUEINDEX SCHEME_CURRENT SUB_NONE CONSOLELOCK 0 and hit Enter if your computer is running on battery.
How To Recover Files Using CMD: Ultimate User Guide.
Please leave a short message below if you have better ideas on how to disable password on Windows 10.
User Comments :