This post published by MiniTool support mainly focuses on the Google Lens utility on Apple iPhone. It introduces the functions of Google Lens and the graphic guide using Google Lens on its search app and photos app.
About Google Lens
What Is Google Lens?
Google Lens is an image recognition technology developed by Google. It is designed to bring up relevant info of the identified objects relying on visual analysis based on a neural network.
Google Lens was first introduced to the public on the 2017’s Google I/O on October 4 as a standalone app. Later, it was integrated into Android’s standard camera application, Google Photos, and Google Assistant. Google Lens release data for iPhone is December 10, 2018.
Main features of Google Lens:
- Identify objects by reading barcodes, QR codes, labels, texts, etc.; and show relevant search results, web pages, and information. For example, identify the names of plants and animals.
- Translate text in real-time into most Google Translate languages. Look up words, add events to your calendar, call a number, etc. Or, just copy and paste contents.
- Find a look you like. Get inspired by similar clothes, furniture, home décor…you have seen without having to describe what you are looking for.
- Recognize and recommend dishes on a menu with photos and reviews from Google Maps.
- Show how to prepare dishes from a recipe.
- Explore nearby places or popular landmarks by ratings, hours of operation, historical facts, and more.
- Find explainers, videos, and results online for math, physics, chemistry, biology, history, and so on.
- Use text-to-speech.
Google Lens for Apple iPhone
How to get Google Lens for iPhone? You can make use of Google Lens on your iPhone from the Google search app or Google Photos.
How to Use Google Lens from Google Search?
The following is the guide teaching you how to use Google Lens from the Google search app on your Apple phone. If you haven’t got the Google search tool yet, you need to first of all download and install it on your smartphone from the Apple Store.
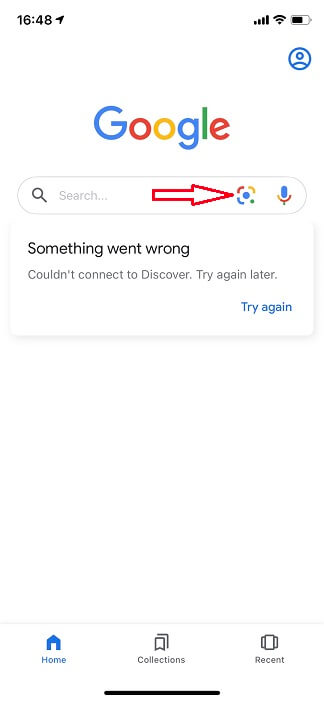
Step 1. Open the Google search app and click on the Google Lens icon.
Step 2. Face your phone camera with the target object. The default setup is to Search for the target object. If you’d like to use Google Lens for other features, you need to switch the option in the bottom menu. Other options are Translate, Text, Shopping, Places, and Dining.
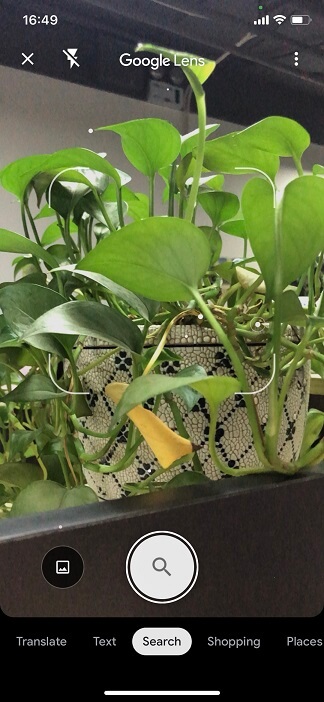
Step 3. Tap the magnifier in the center to start searching. It will show you the search results based on the target object it captures.
How to Use Google Lens from Google Photos?
Next, let’s learn how to make use of Google Lens from the Google Photos app. Similarly, you need to firstly prepare by downloading and installing Google Photos on your cell phone.
Step 1. Launch Google Photos. If this is your first time you open Google Photos on your iPhone, it will ask your permission to access your photos. You need to allow it to make Google Photos work.
Step 2. Sign in to your Google Photos account, the same account as your Gmail. Then, you will see all the phones that you permit Google Photos to access appear on the Google Photos app.
Step 3. Open one photo and tap the Google Lens icon on the bottom of the screen. Then you will see the description, similar photos, as well as other info of the original image.
Step 4. You can tap another area of the photo to learn more details.

Google Lens for iPhone Alternatives
Besides Google Lens, many other programs can also recognize and detect objects by taking a picture of them. Some of those tools are:
- Google Goggles
- Smart Lens
- Camera Translator
- Reverse Image Search Tool
- PhotoScan
Also read:
About The Author

Position: Columnist
Helen is a tech writer with over 10 years of experience. She specializes in creating easy-to-follow guides for video editing, media file conversion, and computer performance. Helen doesn't just write—she tests every software herself and listens to feedback from users and experts. Her goal is to make complex programs simple so that everyone can solve their tech problems with confidence.
User Comments :