For some reason, you might want to disable the Search feature on your Windows computer. But if it possible to disable it? If yes, do you know how to do this? In this post, MiniTool Software will show you how to disable Search on Windows 11/10.
What Is Windows Search?
Search is a Windows built-in feature that can help you search for your needed files, folders, apps, websites, and more from your Windows computer. This feature is enabled by default on your device. You can find its icon on the taskbar.

How to use Windows Search to search for the item you want to use? It is very simple to do this. You can just click the Search icon from the taskbar, then you need to type the name of the file/folder/app/content you want to search. This tool can automatically show you the search result. Always, the first result is the best match.

How to Disable Search on Windows 11/10?
Although Windows Search is a useful feature, some users still want to disable it on their computer.
Why?
The first reason is that they don’t use it frequently. The second reason is the running of this feature might slow down their device. That is, if your computer runs slowly and Windows Search is the cause, you can choose to disable it on your device. Of course, there could be other reasons for disabling Search on Windows.
You need to disable Windows Search using the Services app. Here is a guide and this guide is available on both Windows 11 and Windows 10:
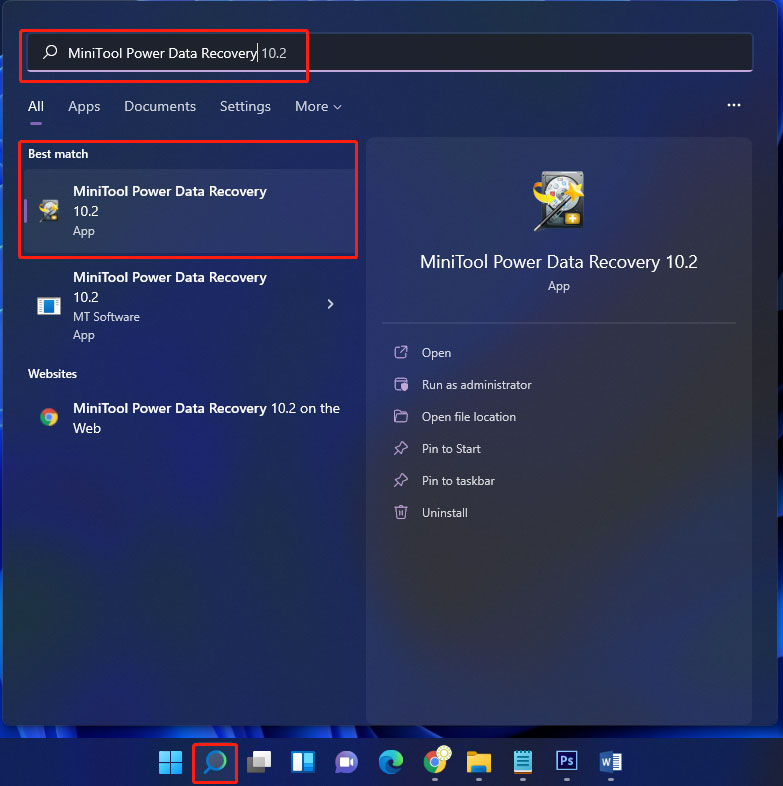
Step 1: Click the search icon from the taskbar and search for services.
Step 2: Select the first result to open Services.
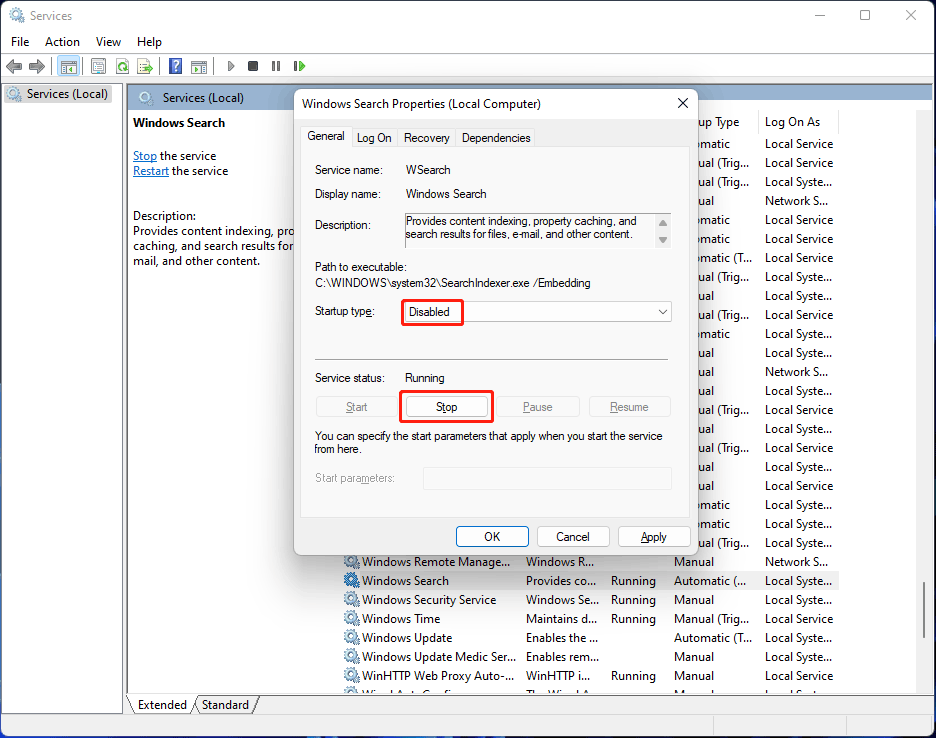
Step 3: Scroll down the right panel to find Windows Search, then double-click it to open the Property interface.
Step 4: Select Disable for Startup type.
Step 5: Click the Stop button under Service status.
Step 6: Click Apply.
Step 7: Click OK.
After you disable Windows Search, you can still use it to search for content. But the process may be slower than before. Besides, the system will give you a hint when searching. The hint could be searching indexing was turned off or your searches might be slow because the index is not running.


How to Rebuild Search Index on Windows 11/10?
If you encounter issues when using Windows Search like Windows Search not working on Windows 11/10, you can rebuild Search index to solve the problem.
Step 1: Open Control Panel.
Step 2: Select Small icons for View by.
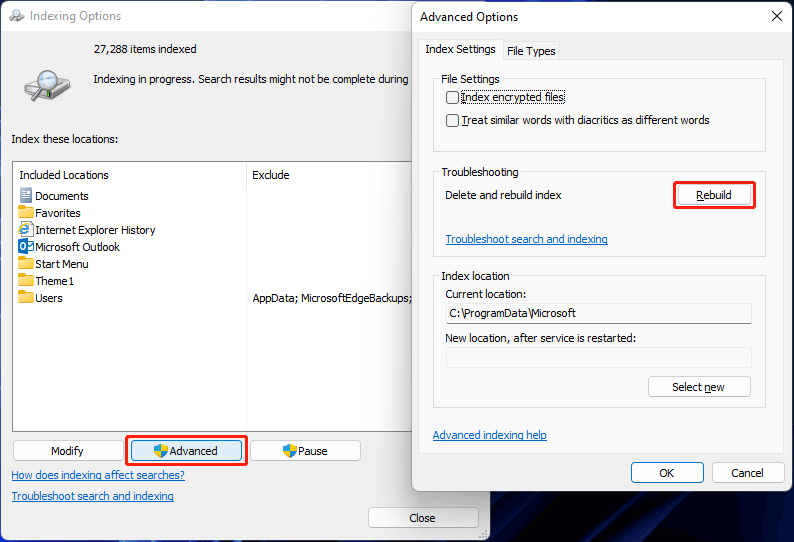
Step 3: Click Indexing Options.
Step 4: Click the Advanced button to continue.
Step 5: Click Rebuild.
Step 6: Click OK on the pop-up interface to confirm the operation. The Search index rebuild process might last for a while. You should wait patiently.
Bottom Line
Want to disable Windows search on your computer? It is easy to do this. This post shows you a simple guide. Should you have any other related issues, you can let us know in the comments.
About The Author

Position: Columnist
Stella has been working in MiniTool Software as an English Editor for more than 8 years. Her articles mainly cover the fields of data recovery including storage media data recovery, phone data recovery, and photo recovery, videos download, partition management, and video & audio format conversions.
User Comments :