Do you know how to screenshot on Surface/Surface Pro/Surface Book? There are different methods and all of them are very easy. To be specific, the methods to print screen on Surface Pro/Surface Book vary due to different models. We will show you these methods we know so far.
Most often you need to take a screenshot of the Microsoft Surface device screen to keep it or share it with others. How to screenshot on Surface/Surface Pro/Surface Book? If you are a new Surface user, you may be bothered by this issue. In this post, MiniTool Software will show you how to take a screenshot on a Surface using different methods. You can just check which one is available for you and use it to print the screen.
How to Take a Screenshot on Your Surface/Surface Pro/Surface Book?
- Use the Power Button and the Volume Up Button
- Use Keyboard
- Use Surface Pen
- Use Windows Snipping Tool
- Use Windows Snip & Sketch tool
- Use Screenshot Shortcut
Method 1: Use the Power Button and the Volume Up Button
If your Surface is in a tablet mode without connecting to the type cover, you can use this method to take a screenshot:
- Press and hold the Power button on the side of your Surface device.
- Press and release the Volume Up button next to the Power button.
- Your Surface screen will become dim and go back to normal to tell you that the screenshot process ends.
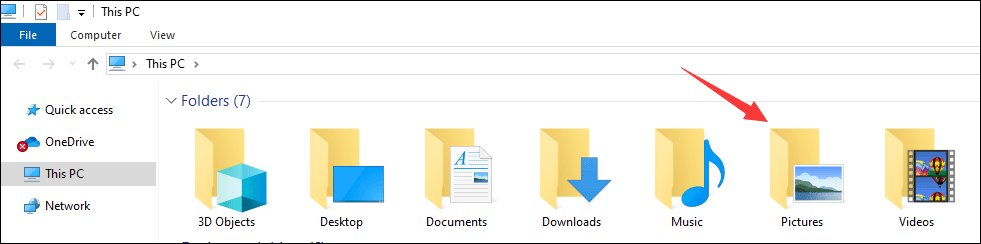
The screenshots that are taken using this method are saved to a folder named Screenshots under the Pictures library. You can find it in File Explorer.
Method 2: Use Keyboard
The commonly-used method to screenshot your Surface screen is to use the PrtSn key (the print screen key) on the keyboard. If your Surface device is attached with a type cover, you can use this easy method.
Situation 1: Capture the whole screen
- Press the PrtSn key to take a screenshot.
- Open an app like Paint or Word or a social software dialog box and then paste the screenshot to the app.
Situation 2: Capture the active window
- Press Alt+PrtSn to take a screenshot of the active window.
- Open an app like Paint or Word or a social software dialog box and then paste the screenshot to the app.
Method 3: Use Surface Pen
If you have a Surface Pen, you can also use it to capture your Surface screen.
- Double-click the eraser button on the top of the Surface Pen.
- Edit and crop the screenshot and then save the screenshot by clicking the Save as button on the top-right side of the screen.
- Select a location to save the screenshot.
Method 4: Use Windows Snipping Tool
The Windows system has a built-in tool, Snipping Tool, for taking screenshots on PC. It is also available on your Surface/Surface Pro/Surface Book.
1. Click Windows Search (the magnifying glass icon on the bottom-left side in the taskbar).
2. Type snipping tool and select the first result to open it.
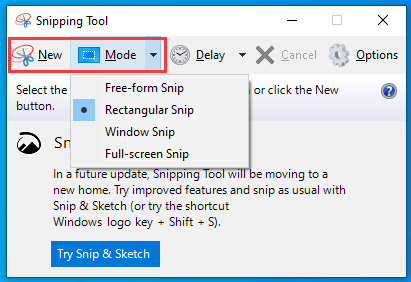
3. You can click the New button and then select the area you want to capture. You can also unfold Mode and then select the snip method you want to use.
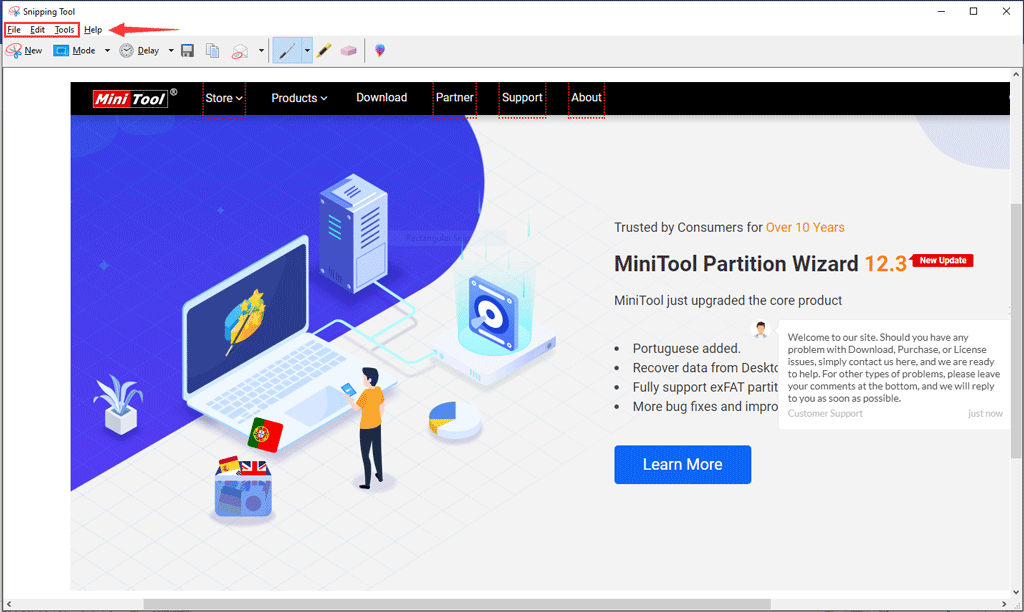
4. The screenshot will show in the Snipping Tool. You can click Edit and Tools to edit the screenshot.
5. Go to File > Save As to select the location to save the screenshot.
6. To start a new screenshot, you can go to File > New Snip.
Method 5: Use Windows Snip & Sketch Tool
Windows 10 Snip & Sketch is another app that can be used to take screenshots on Surface devices. Here is a guide:
- Use Windows Search to search for Snip & Sketch and select the first result to open it.
- Click New and then select the area you want to capture.
- The screenshot will appear in the Snip & Sketch Then, you can edit it according to your requirements.
- When everything is OK, you need to click the Save button (at the right side of the toolbar in Snip & Sketch) and then choose a folder to save it.

Method 6: Use Screenshot Shortcut
The quick method to print screen on Surface Pro is to use the screenshot shortcut: Win+Shift+S. It is very simple to use this method. You need to press these three keys at the same time to call out the Windows Snip & Sketch tool. Then, you can use it to capture your Surface/Surface Pro/Surface Book careen.
Now, you should know how to screenshot on your Surface device. You can just select one method to do the job. If you are bothered by some related issues, you can let us know in the comments.
Bonus Tip
If you delete some improtant screenshots unexpectedly, you can use the free data recovery software, MiniTool Power Data Recovery, to restore these deleted images. This software has a free edition, which allows you to recover up tp 1GB of files.
MiniTool Power Data Recovery FreeClick to Download100%Clean & Safe
If you need to use this software to recover more files, you can use a full edition. You can select a suitable edition from the MiniTool official site.
About The Author

Position: Columnist
Stella has been working in MiniTool Software as an English Editor for more than 8 years. Her articles mainly cover the fields of data recovery including storage media data recovery, phone data recovery, and photo recovery, videos download, partition management, and video & audio format conversions.
User Comments :