Every computer should have a name for identification and this computer name is changeable. In this post, MiniTool Software will show you 4 methods to rename your computer on Windows 11.
Can You Rename Your Computer on Windows 11?
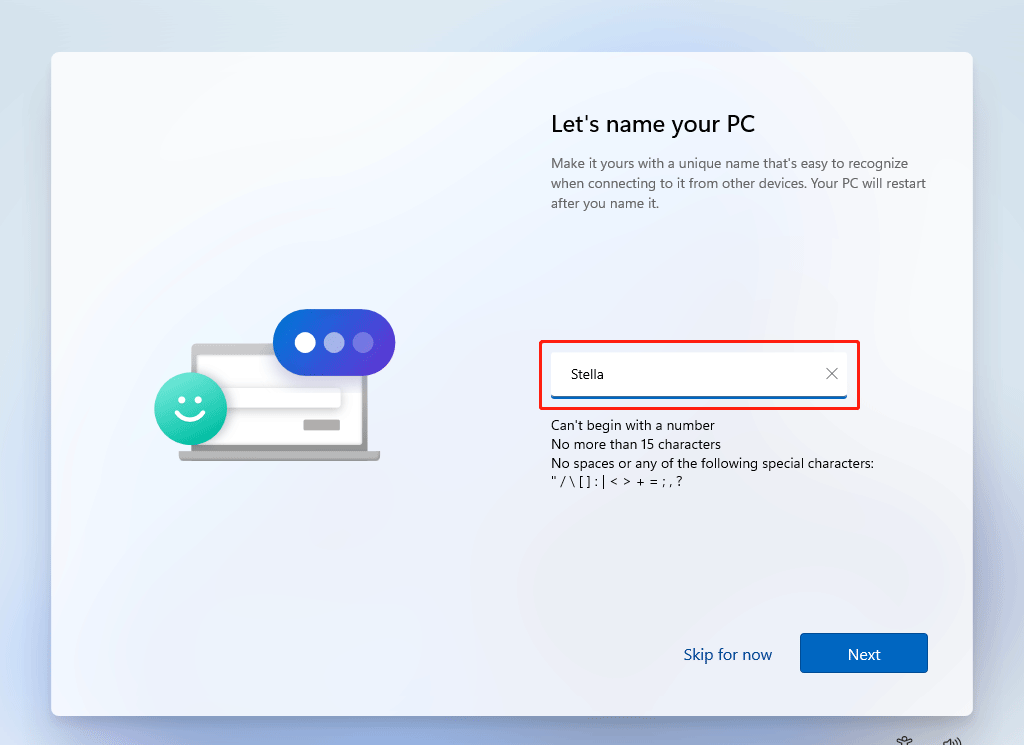
When you set up Windows out-of-box experience on Windows 11, you can name your PC for easy identification when remotely connecting to it from another device. The name is not inalterable. If you are not satisfied with your current computer name, you can rename it on Windows 11. Well then, how to change the computer name on Windows 11? Here are four easy methods.

Way 1: Use the Settings App
The most commonly used method is to use the Settings app to rename this PC on Windows 11.
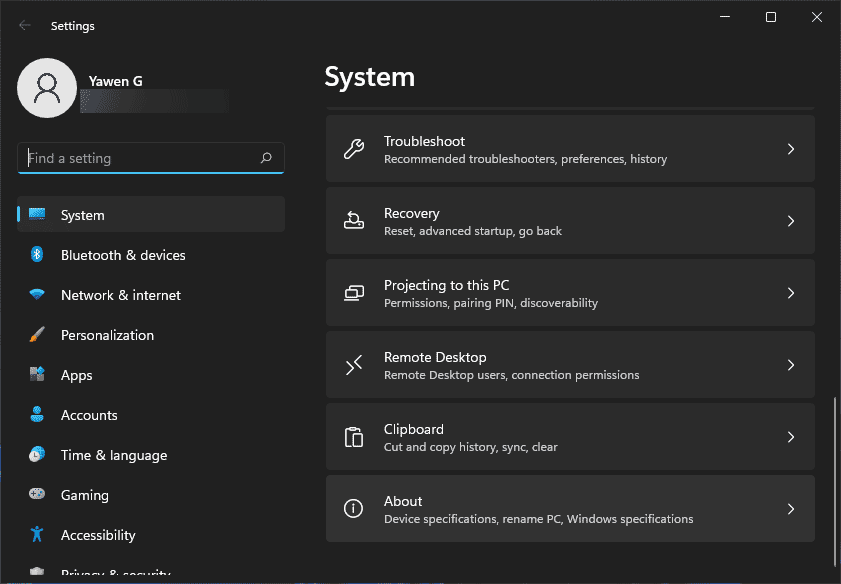
1. Go to Start > Settings > System.
2. Scroll down to the bottom and select About, the last option.
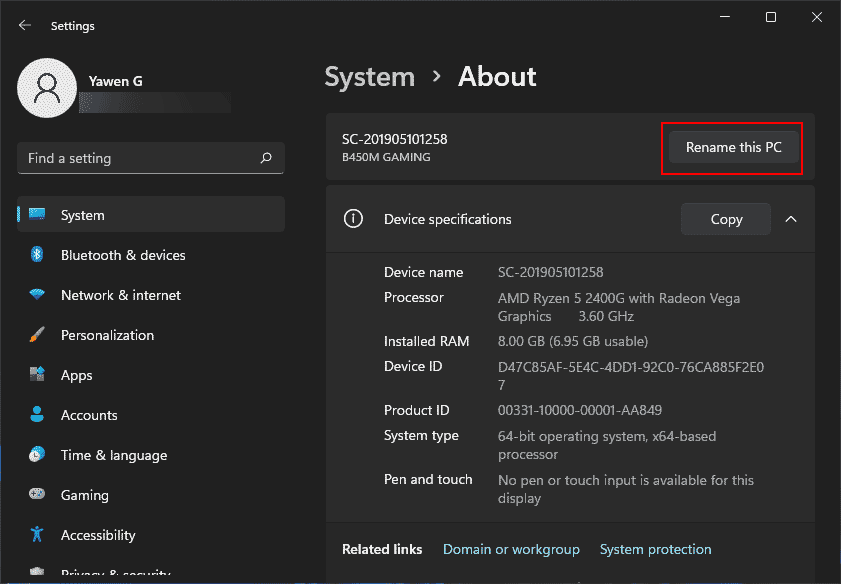
3. Click the Rename this PC button next to the computer name.
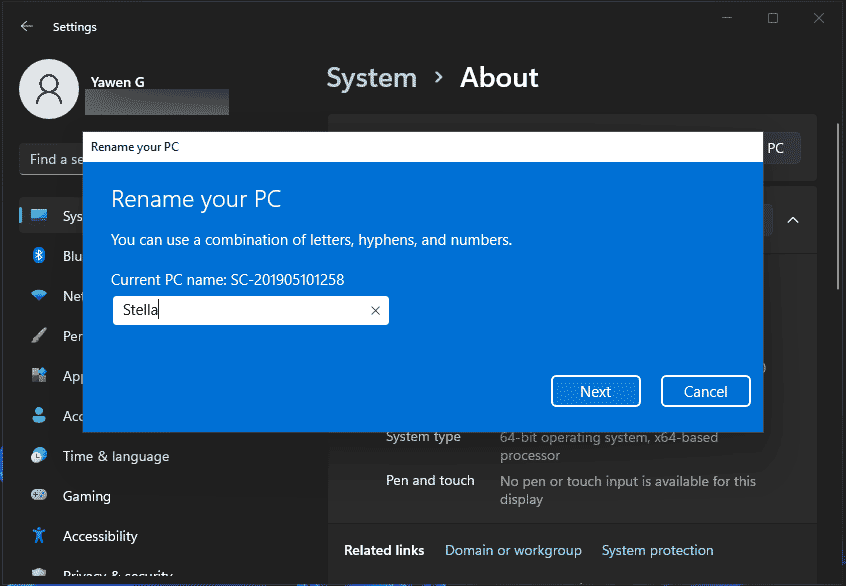
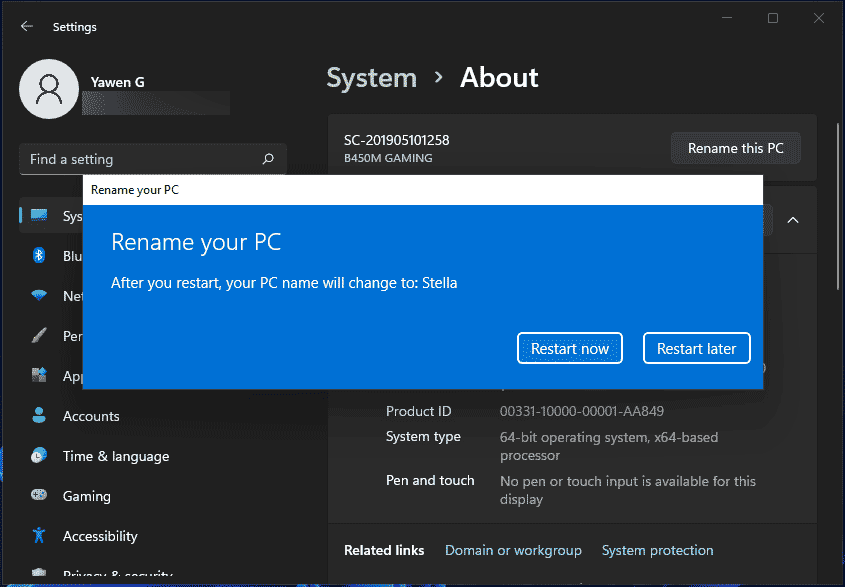
4. Input your needed name on the first pop-up interface.
5. Click Next.
6. Another interface pops up, prompting you to restart the computer to save the change. You can click Restart now or Restart later according to your need. Remember, your computer name will be changed successfully only after you restart your device.
Way 2: Use System Properties
Another way to change your computer name on Windows 11 is to use the advanced system settings. This way is also very easy.
- Click the search icon in the taskbar and search for advanced system settings.
- Select the first result to open System properties.
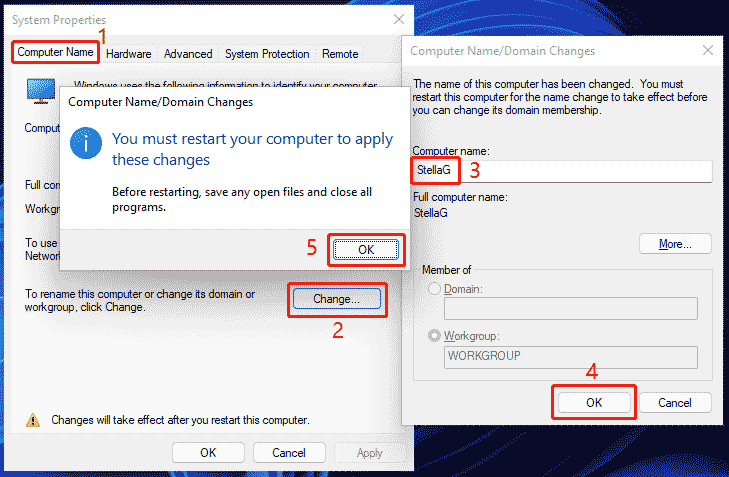
- Switch to the Computer Name
- Click the Change
- On the pop-up interface, type your needed computer name.
- Click OK.
- You will receive a window, reminding you to restart your computer. Click OK to continue.
- Then, you can only see the System Properties interface. Close it. Next, you will see a small window, showing up two choices: Restart now or Restart later. Select Restart now to restart your computer and save the change.
Way 3: Use Command Prompt
You can also use the command line to rename your computer on Windows 11. To do this, you need to run Command Prompt as administrator.
- Click the search icon in the taskbar and search for command prompt.
- Right-click the first search result and select Run as administrator.
- Click Yes if you see the User Account Control interface.
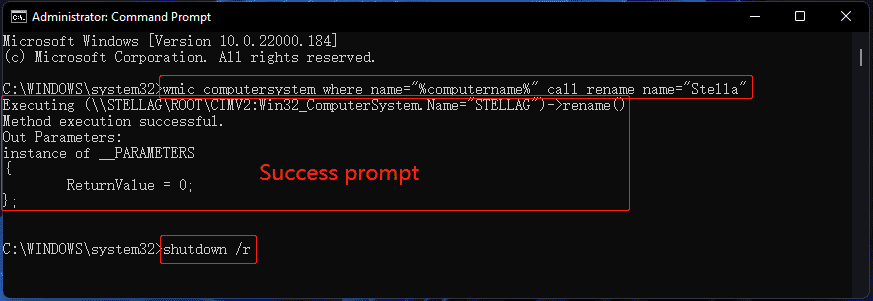
- Type this command to Command Prompt: wmic computersystem where name=”%computername%” call rename name=”your new computer name”. There should be no blank space in the name. Here is an example: wmic computersystem where name=”%computername%” call rename name=”Stella”.
- If the command fits, there will be a success prompt. Then, type or copy shutdown /r to Command Prompt to shut down your computer to execute the change. Of course, you can also directly close Command Prompt, save your work files, and restart your Windows 11 computer to save the change.
Way 4: Use Windows PowerShell/Windows Terminal
Windows Terminal/Windows PowerShell is also an available tool to rename your computer on Windows 11. Here is a guide.
- Right-click Start and select Windows Terminal (Admin) to open Windows Terminal/Windows PowerShell as administrator.
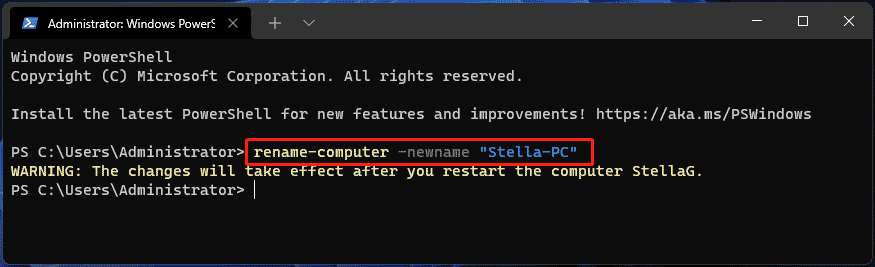
- Type this command: rename-computer -newname “your new computer name”. There should be no blank space in the name. Here is an example: rename-computer -newname “Stella-PC”.
- You will see a warning saying The changes will take effect after you restart the computer. So, just restart your computer.
Those are the methods to rename your computer on Windows 11.
About The Author

Position: Columnist
Stella has been working in MiniTool Software as an English Editor for more than 8 years. Her articles mainly cover the fields of data recovery including storage media data recovery, phone data recovery, and photo recovery, videos download, partition management, and video & audio format conversions.
User Comments :