Some Windows 11 users report that they encounter the “volume muting automatically in Windows 11” issue. If you are one of them and want to find some solutions, this post from MiniTool is what you need. Now, keep on your reading.
Audio is a critical component of any operating system, without it, the system cannot function properly. However, sometimes you may meet the “volume muting automatically in Windows 11” issue. Now, let’s see how to get rid of the issue.

Solution 1: Run Audio Troubleshooter
When the “volume muting automatically in Windows 11” issue appears, you can try to run the audio troubleshooter to fix it. Here is how to do that:
Step 1: Press the Windows + I keys together to open the Settings application.
Step 2: In the Update & Security section, scroll down to find troubleshoot option, and click it.
Step 3: Then, click Additional troubleshooters. Here you will find the Playing Audio option. Click the Run the troubleshooter button.
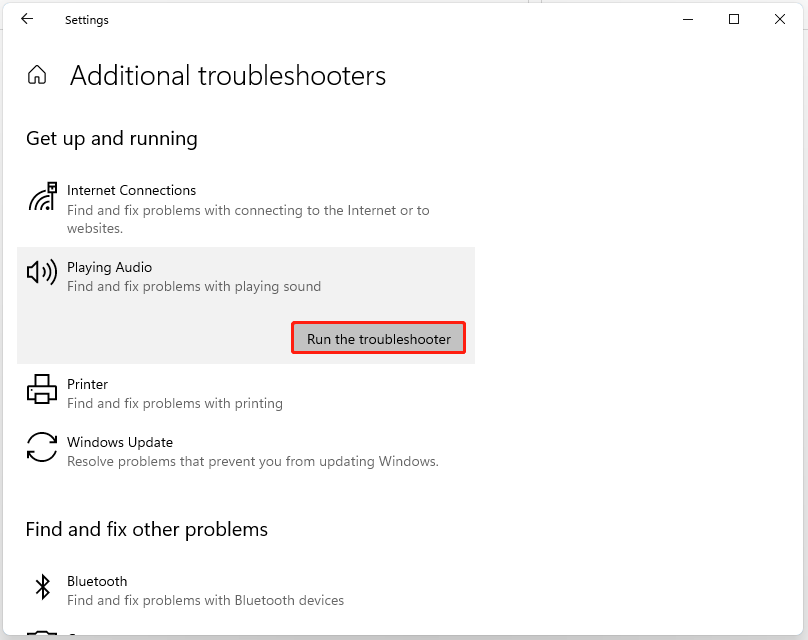
Step 4: This will run the audio troubleshooter. It will detect any problem with the audio device or driver and fix it for you.
Solution 2: Update Audio Driver
You have to ensure that you are using the latest version of the audio driver. You will meet the “volume muting automatically on Windows 11” issue if you have incompatible, corrupt, missing, or outdated drivers. To solve the issue, you need to update the driver.
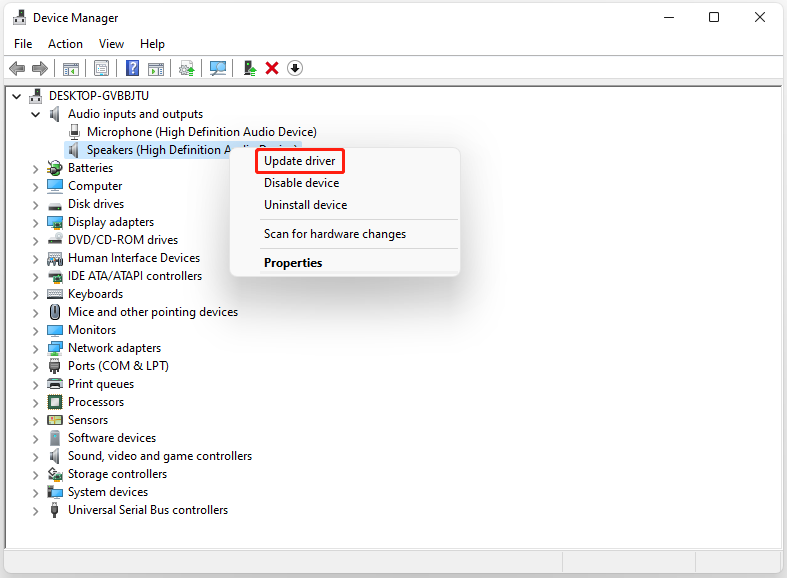
Step 1: Open the Run box and type devmgmt.msc. Then press Enter to go to Device Manager.
Step 2: Double-click Audio inputs and outputs to expand it. Then right-click your audio driver and choose Update driver.
Step 3: You will be asked how you want to search for drivers in the pop-up window. You should choose Search automatically for updated driver software and then follow the instructions to complete the process.
Solution 3: Reinstall Audio Drivers
You can also try to reinstall your audio drivers to get rid of the “volume muting automatically in Windows 11” issue.
Step 1: Open the Run box and type devmgmt.msc. Then press Enter to go to Device Manager.
Step 2: Double-click Audio inputs and outputs to expand it. Then right-click your audio driver and choose Update driver.
Step 3: Then you can click the Action tab and click Scan for hardware changes. Windows will automatically scan and download the audio driver.
Solution 4: Reset Your PC
If all of the methods are not working, resetting your PC will solve all the problems you are facing. Thus, if you want to reset Windows 11, you can refer to this post – How to Reset Windows 11? [Step-by-Step Guide].

Final Words
To sum up, this post has shown some ways to fix the “volume muting automatically in Windows 11” issue. If you come across the same error, try these solutions. If you have any different ideas to fix it, you can share them in the comment zone.
User Comments :