What are Wi-Fi authentication problems on Android? What should you do when your device doesn’t connect to the Internet? This guide on MiniTool Website will show you how to overcome this issue and everything will be OK.
Wi-Fi Authentication Problems on Android
Have you read the message “authentication error occurred” while trying to connect to the network connection on your Android? This is an annoying issue because you are able to do almost nothing without a network connection.
If you are one of the victims of the Wi-Fi authentication problems Android, congratulations, you are coming to the right place. This article is tailored for you to dispose of Android Wi-Fi authentication problems. Here, we provide you with 6 methods to fix this problem.
How to Solve Authentication Problems in Wi-Fi Connection?
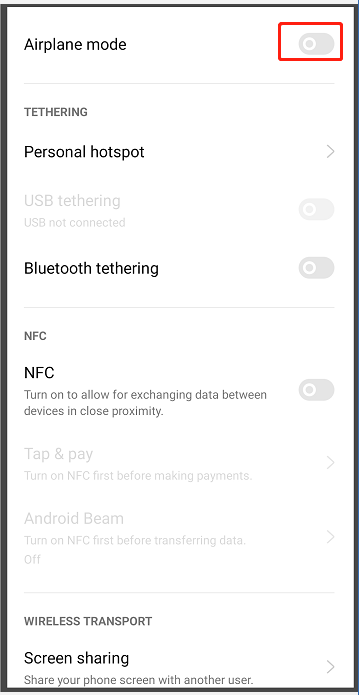
Solution 1: Switch on Airplane Mode
Airplane Mode is not only invented to reduce the inference of flight but also can troubleshoot some other issues such as cellular connection or Wi-Fi. Switching it on is akin to rebooting your phone. Here’s how to certificate Wi-Fi authentication by turning on Airplane Mode.
Step 1. Go to Settings of your Android.
Step 2. Tap on Wi-Fi & internet.
Step 3. Turn on the Airplane mode.

Step 4. Wait for a few seconds and then turn the toggle back.
Solution 2: Reset the Network
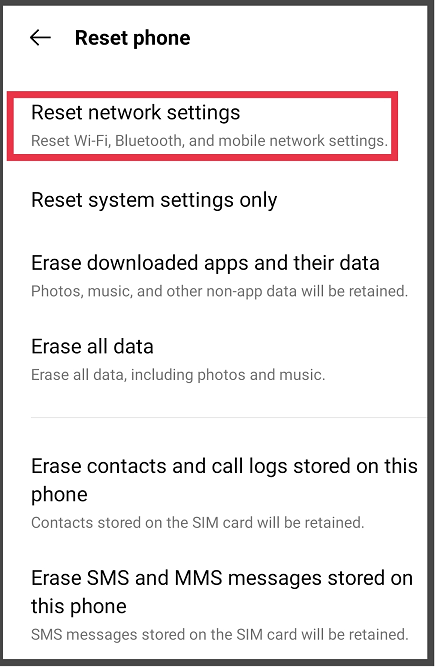
Another option to fix Wi-Fi authentication problems on Android is to reset the network because the Wi-Fi network may connect without authentic problems warning. Trying to reset the network might work.
Step 1. Launch Settings on your device.
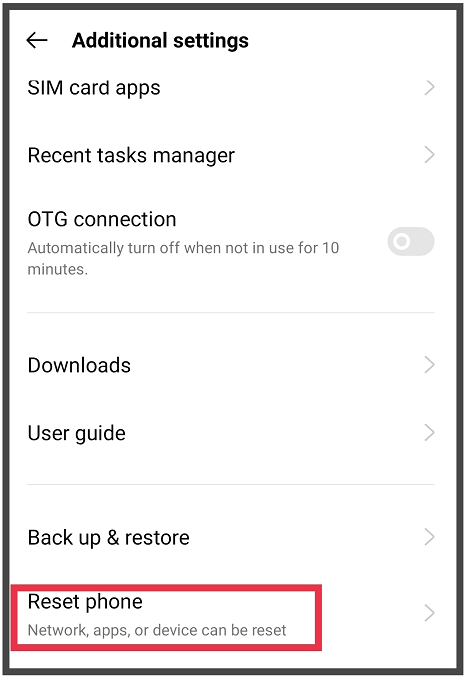
Step 2. In Additional settings, click on Reset phone.
Step 3. Tap on Reset network settings and confirm this execution.

Step 4. When this action completes, reconnect your Wi-Fi to inspect if this issue still persists.
Solution 3: Change Wireless Network Configuration
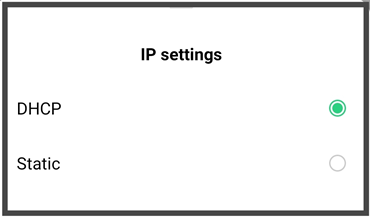
A conflict in the IP address might be another cause of Wi-Fi authentication problems on Android. To do this, you can change the DHCP to Static.
Step 1. Open Settings and go to Network & Internet.
Step 2. Choose the Wi-Fi option.
Step 3. There will be nearby available Wi-Fi networks showing up in the list. Select the one you intend to connect.
Step 4. Choose Modify network.
Step 5. Check Show advanced options.
Step 6. Move to IP settings and change the network configuration from DHCP to Static.

Step 7. Copy your Static IP address and paste it into the memo.
Step 8. Enter the content in the field and choose Save.
Solution 4: Update Android
It is universally acknowledged that keeping the latest version of Windows is of vital importance. Likewise, updating your Android to the latest version is very crucial, too.
Step 1. Run Settings and click on System.
Step 2. Select the System updates.
Step 3. If there is an available update, download and install it at once.
Solution 5: Reboot the Router
The Wi-Fi router is reported to work better after restarting hence you can tackle Wi-Fi authentication problems on Android by rebooting your router.
Step 1. Tap on the Reset button on your router.
Step 2. Reconnect to a wireless network to check whether Wi-Fi still couldn’t authenticate connection or not.
Solution 6: Set Your Android to Factory Default
If none of those methods above work properly, resetting your phone to factory settings is the last resort. This procedure will wipe all your important files and settings stored on your device thus it is the least recommended fix to solve Wi-Fi authentication problems on Android. You’d better back up your phone in advance.
Step 1. Head to Settings and then click Additional settings.
Step 2. Scroll down to find Reset phone options.

Step 3. Hit it and choose Factory reset.


User Comments :