This guide from MiniTool explains how to boot Surface from USB for Windows installation or troubleshooting, including creating a bootable USB, adjusting UEFI settings, and fixing USB detection issues.
Quick Answer: Can Surface Boot From USB
Yes, most modern Microsoft Surface devices can boot from a USB drive through UEFI settings.
| Question | Answer |
| Can Surface boot from USB? | Yes |
| Required boot mode | UEFI |
| Recommended USB format | FAT32 |
| Minimum USB capacity | 16GB or larger |
| Can all Surface models boot from USB? | Most modern Surface devices can |
| Can Secure Boot affect USB booting? | Sometimes |
Why Boot Surface from USB
Users often boot their Surface devices from a USB drive for several reasons:
- Reinstall Windows
- Repair startup failures
- Access recovery environments
- Reset a Surface device
- Run diagnostic tools
- Recover inaccessible files
- Upgrade or downgrade Windows
Supported Surface Models
The instructions below apply to most Surface devices:
- Surface Pro series
- Surface Laptop series
- Surface Go series
- Surface Book series
- Surface Studio series
- Surface Hub series
What You Need Before Booting Surface From USB
Prepare the following items:
- A USB drive (16GB or larger)
- Windows installation media or Surface recovery image
- Stable power source
- Backup of important files (Recommend MiniTool ShadowMaker)
- Turn off Fast Startup
- Disable Secure Boot
- Connect a wired mouse & keyboard
How to Create a Surface Bootable USB
You can create a bootable USB with the following steps:
Step 1. Prepare the USB drive.
- Insert the USB drive.
- Open File Explorer.
- Right-click the USB drive.
- Select Format.
- Choose FAT32.
- Click Start.
Step 2. Create bootable media.
You can use:
- Windows Media Creation Tool
- Rufus
- Surface Recovery Image
Here are the general steps:
- Download a Windows ISO file or Surface recovery image.
- Launch the boot creation tool.
- Select the USB drive.
- Choose the ISO file.
- Create the bootable media.
Wait until the process completes.
How to Boot Surface from USB
After completing those preparations, now you can start booting Surface from USB. Here are 3 ways for you.
Way 1. Resort to Windows
This method will boot from USB directly and will not enter UEFI. So if your bootable USB drive is using Linux or other systems, this method is not very convenient. Here is the guide:
- Insert the bootable USB drive to Surface.
- In Windows, open Windows Settings by clicking the Start button and then clicking the Gear icon.
- Go to Update & Security > Recovery.
- In the right panel, under Advanced startup section, click Restart now button.
- Under Choose an option window, click Use a device. Then, select USB Storage. Now, your Surface will boot from the USB drive.
Way 2. Use the Volume-Down Button
This method will not enter UEFI still. In addition, this requires you disable Fast Startup first. Here is the guide:
- Insert the bootable USB drive into Surface.
- Shut down the Surface.
- Press and hold the volume-down button on the Surface. While you’re doing this, press and release the power button.
- Continue to hold down the volume-down button until you see the Microsoft or Surface logo. Then, the Surface will boot from the USB drive directly.
Way 3. Use the Volume-Up Button
This method will enter UEFI. So, if your bootable USB drive is using Linux or other systems, this method is recommended. Here is the guide:
- Insert the bootable USB drive into Surface.
- Shut down the Surface.
- With the volume-up button held down, press and release the power button.
- Continue holding the volume-up button until the Surface or Windows logo no longer appears on the screen. Then, you should now see the Surface UEFI.
- Go to the Security page.
- Under Secure Boot section, click Change configuration.
- On Change Secure Boot configuration dialog, change the option to None, and click OK to apply the option. Now the current setting of Secure Boot will be changed to Disabled.
- Go to Boot Configuration tab.
- Under the Advanced options section, make sure both Enable alternate boot sequence and Enable Boot from USB devices are On.
- Under the Configure boot device order section, drag the USB Storage boot option to the top of the list. It means that the USB drive becomes the first boot device.
- Go to the Exit page, and click Restart now to save the settings and restart your Surface from USB.
![[Solved] Surface Pro Won’t Turn on or Wake up from Sleep](https://images.minitool.com/minitool.com/images/uploads/2020/01/surface-pro-wont-turn-on-thumbnail.jpg)
Surface Won’t Boot From USB? Try These Fixes
If Surface does not recognize the USB drive, try these solutions.
Fix 1. Check USB Format
Surface devices generally perform best with USB drives formatted as FAT32 when using UEFI mode. If a drive is formatted with NTFS, exFAT, or another incompatible format, the Surface may not recognize it during startup.
While Windows can format some USB drives directly, larger drives may encounter difficulties when trying to format them to FAT32. Additionally, corrupted partition structures can lead to problems when booting from a USB.
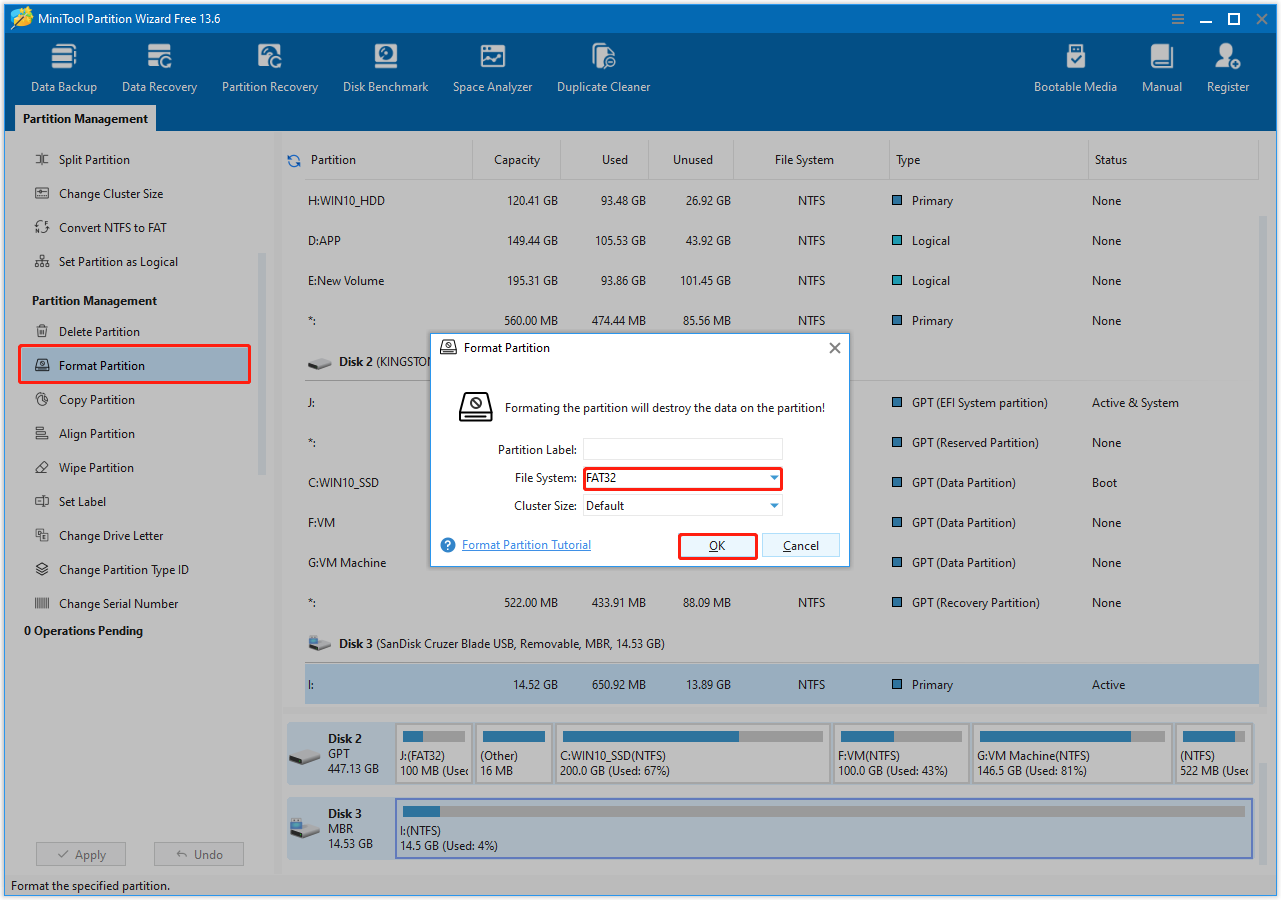
In such cases, a dedicated partition manager can be beneficial. MiniTool Partition Wizard offers a Format Partition feature that allows for more flexible USB formatting and partition management.
Follow these steps:
- Download and install MiniTool Partition Wizard.
- Launch this software and select the USB drive.
- Choose Format Partition.
- Select FAT32 and click OK.
- Click Apply and Yes sequentially to confirm.
After formatting, recreate the bootable USB and try booting the Surface again.
Fix 2. Disable Secure Boot
Sometimes, Secure Boot may prevent some USB startup environments from loading. Thus, try disabling it temporarily with the following steps:
- Enter Surface UEFI.
- Open Security Settings.
- Locate Secure Boot.
- Disable Secure Boot temporarily.
- Save changes and restart.
Fix 3. Check UEFI Boot Settings
Make sure that the USB device is set as the first option in the boot priority to avoid being ignored during startup. Additionally, confirm the boot configuration is saved properly. Here’s how to change Surface UEFI boot order:
- Turn off Surface.
- Press and hold Volume Up.
- Press and release Power.
- Release Volume Up when the UEFI screen appears.
- Open Boot Configuration.
- Locate USB storage.
- Move the USB to the top position.
- Save changes.
- Restart Surface.
Fix 4. Recreate Bootable USB
If formatting is correct but Surface still cannot detect the USB, the USB itself may not contain valid boot files. Try:
- Recreating the bootable media
- Downloading a new ISO image
- Using another boot creation tool
Fix 5. Try Another USB Drive
Not all USB drives are compatible with Surface boot. If issues persist:
- Try another USB drive/adapter/port
- Avoid low-quality or very old drives
- Recreate bootable media again
Fix 6. Update Surface Firmware
Outdated firmware can sometimes lead to issues with USB recognition. To fix this, install any available updates and then restart your Surface device.
Common Symptoms of Surface USB Boot Failure
You may encounter these symptoms:
- Startup freezes
- Windows loads automatically
- Recovery environment fails to load
- Surface logo gets stuck
- USB drive is not detected
- Black screen appears
Key Takeaways
- Surface devices support USB booting through UEFI settings.
- Use FAT32 for formatting.
- USB startup issues are often due to formatting or configuration errors./li>
- Booting from USB can help reinstall Windows and fix startup problems.

Boot Surface from USB FAQ
Conclusion
Booting a Microsoft Surface from USB is effective for system installation and troubleshooting. Common issues stem from incorrect USB formatting, invalid boot media, or UEFI settings. Rebuilding the USB drive with a proper FAT32 file system often resolves these problems.
Tools like MiniTool Partition Wizard can assist with formatting USB drives or fixing corrupted partitions for better stability. For assistance with MiniTool Partition Wizard, contact [email protected].
About The Author

Position: Columnist
Charlotte is a technology columnist with a strong focus on the Windows operating system, specializing in disk management, backup, and data recovery. She is passionate about analyzing computer errors, identifying root causes, and delivering practical solutions. In her free time, she stays updated on the latest developments in computer systems and hardware while continuously learning new technologies to broaden her expertise. Her writing style is clear and easy to understand, making complex technical topics accessible even to users with limited computer knowledge.
User Comments :