Clone Disk is another useful feature of MiniTool ShadowMaker, which is significant for hard drive upgrading. A big difference between disk clone and disk image is that when you clone a disk, you can directly use it after the operation, while you will have to restore a disk image before you can use it directly.
MiniTool ShadowMaker even can help you to clone the dynamic disk.
How to Clone Basic Disk?
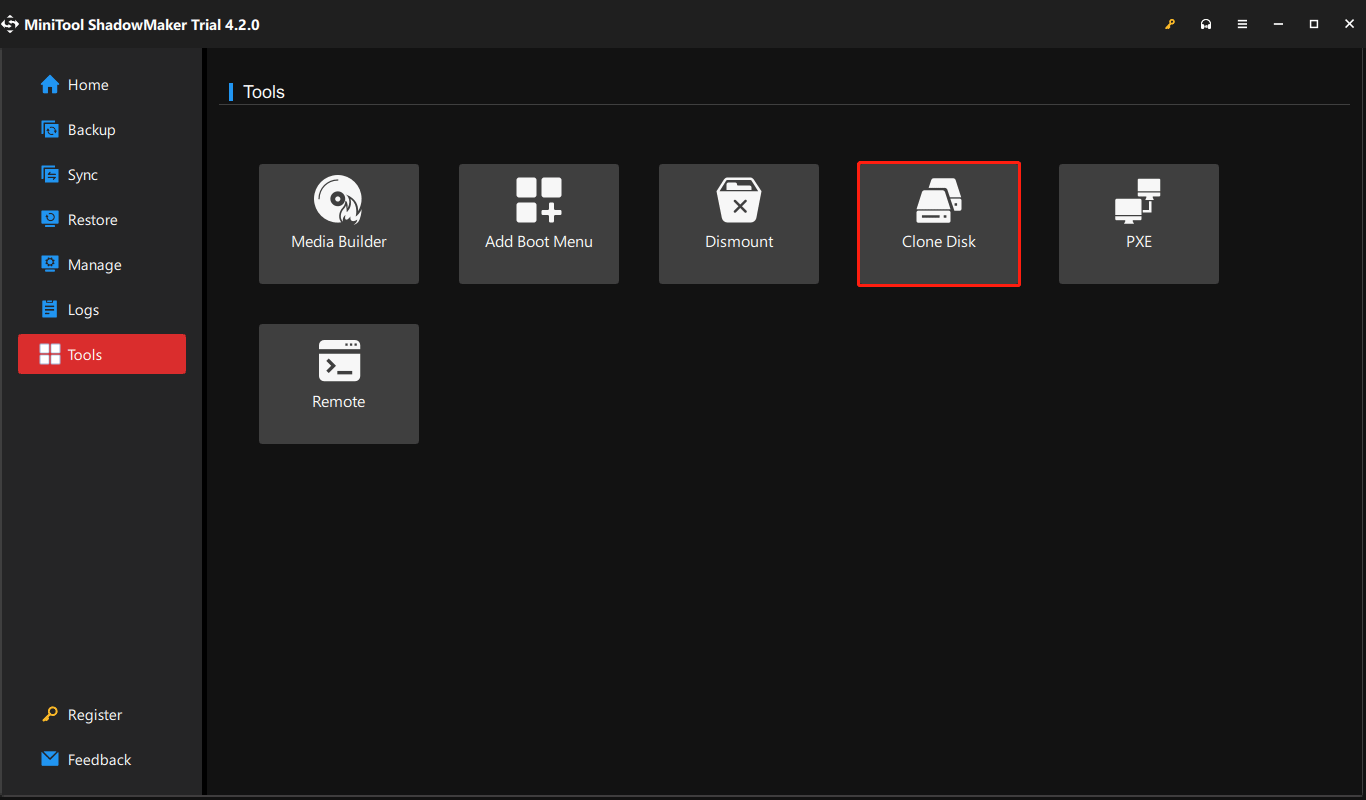
Step 1: Open MiniTool ShadowMaker and choose Tools and then Clone Disk.
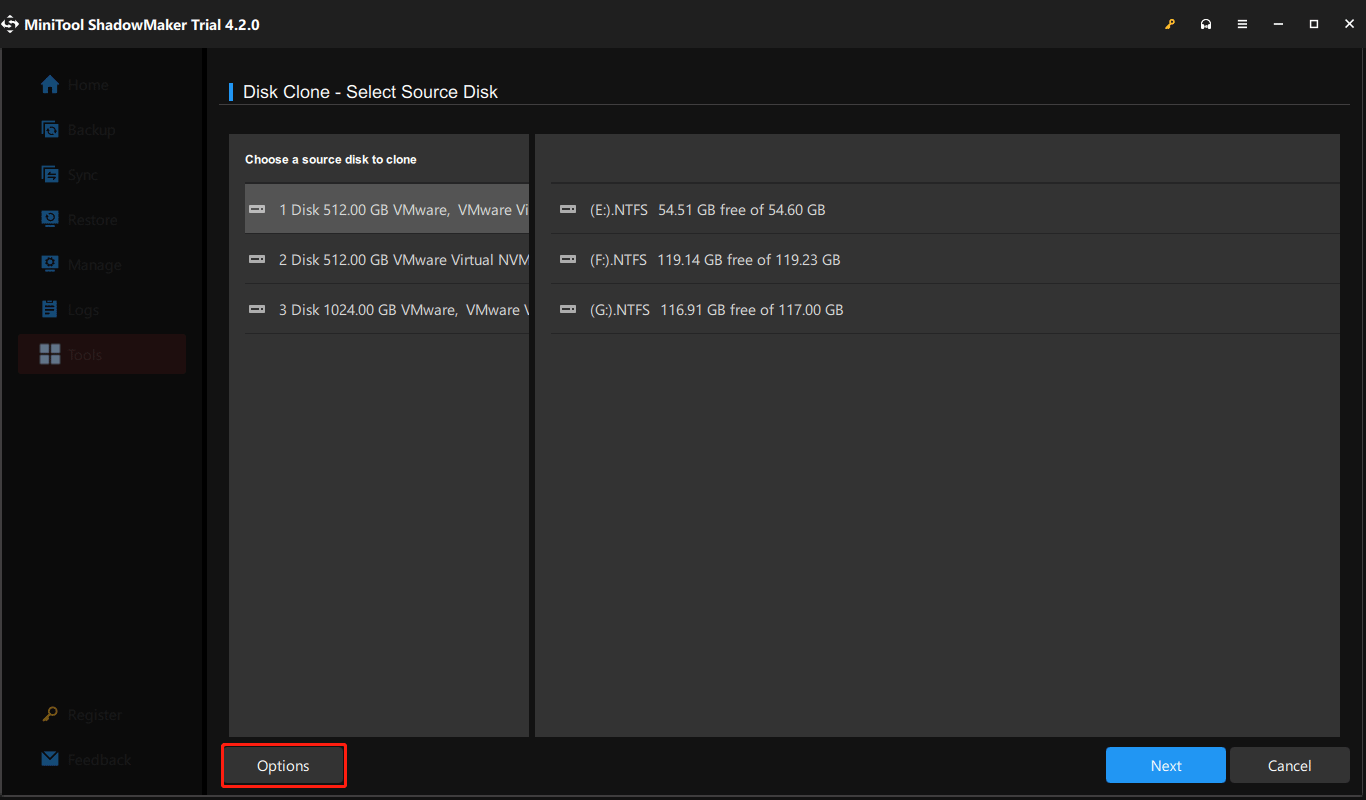
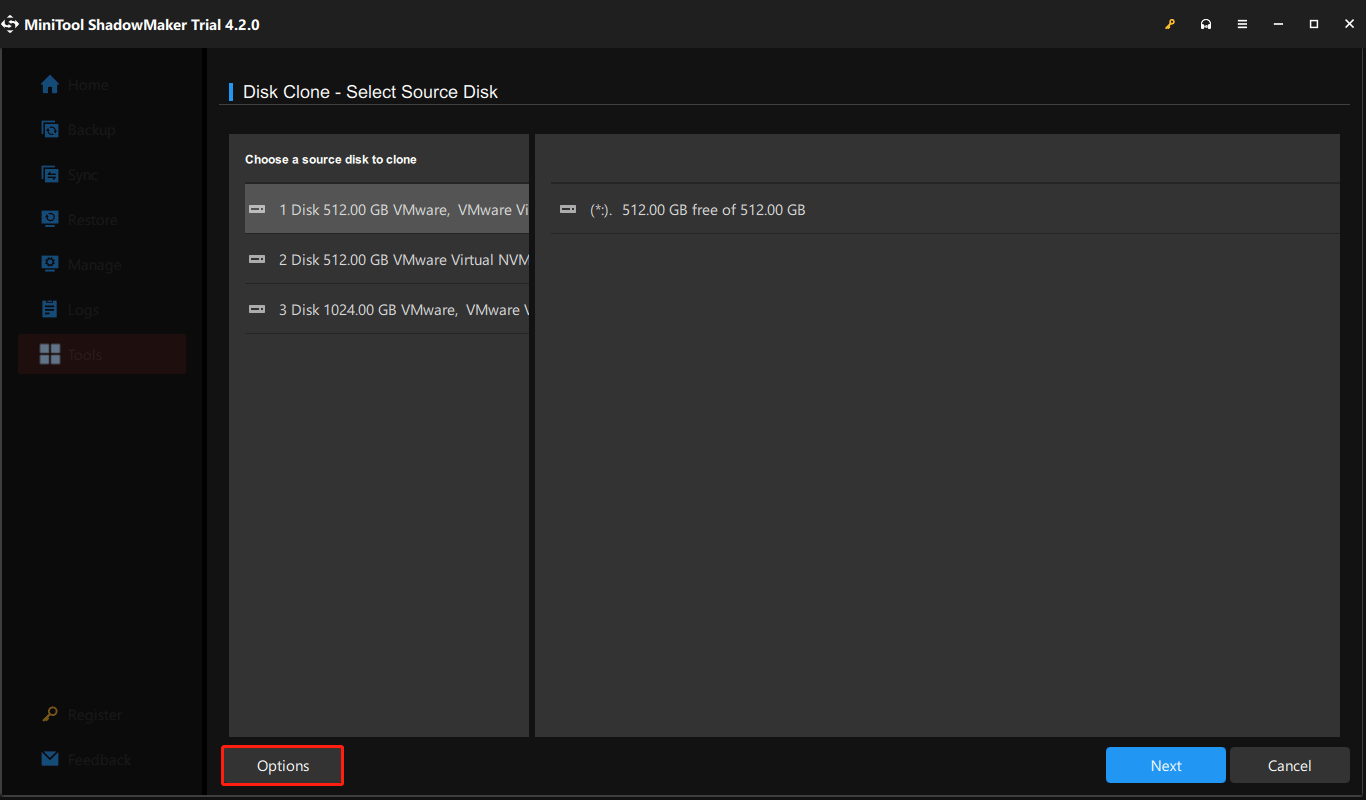
Step 2: Click the Options button at the bottom.
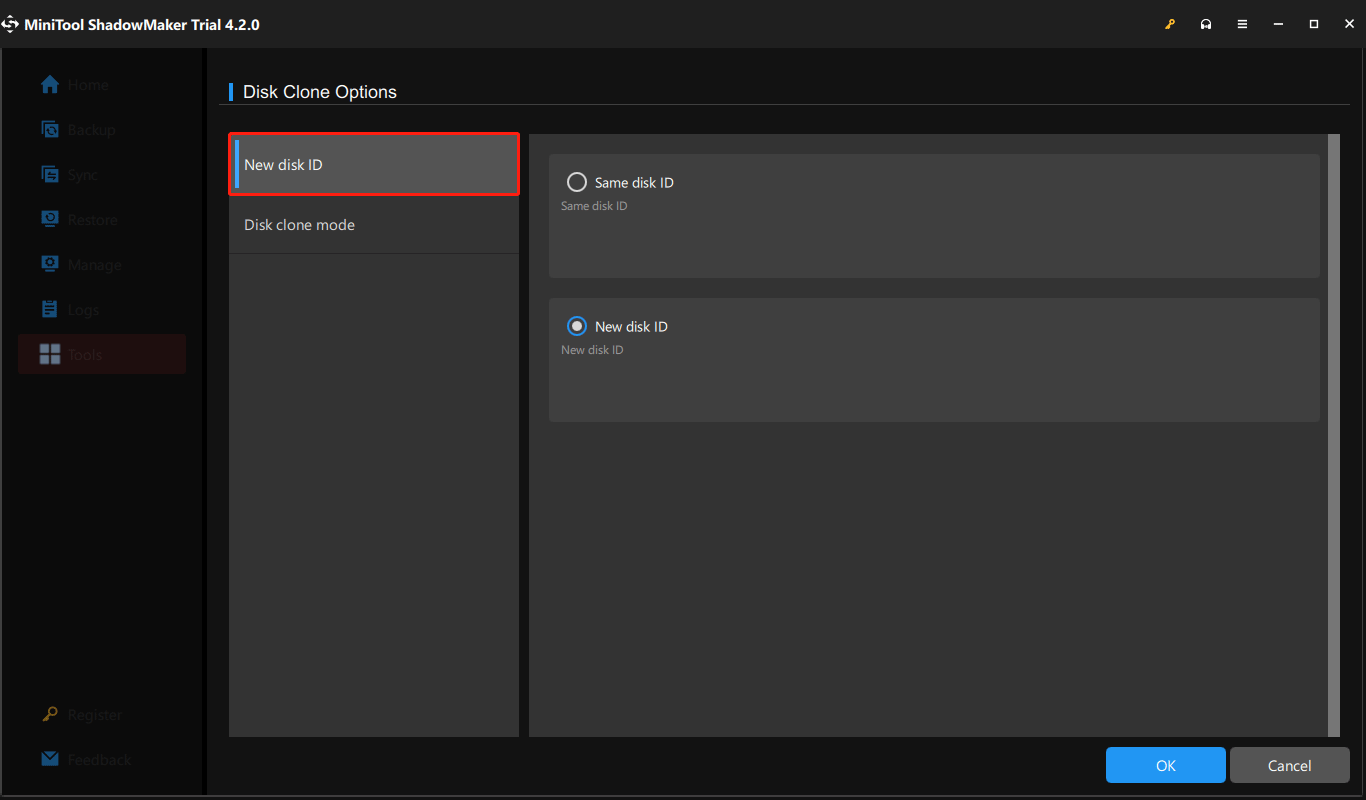
Step 3: Select Same disk ID or New disk ID under the New disk ID tab according to your requirement.
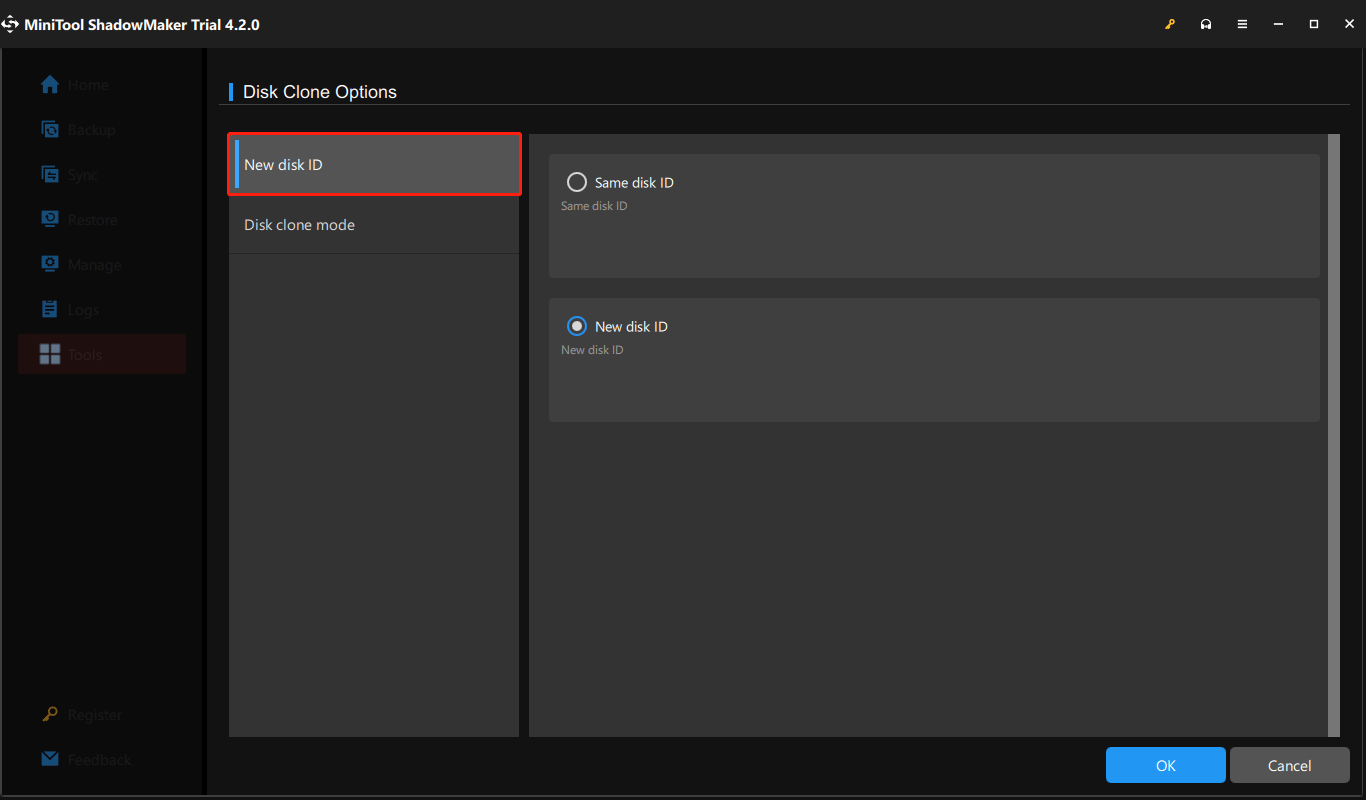
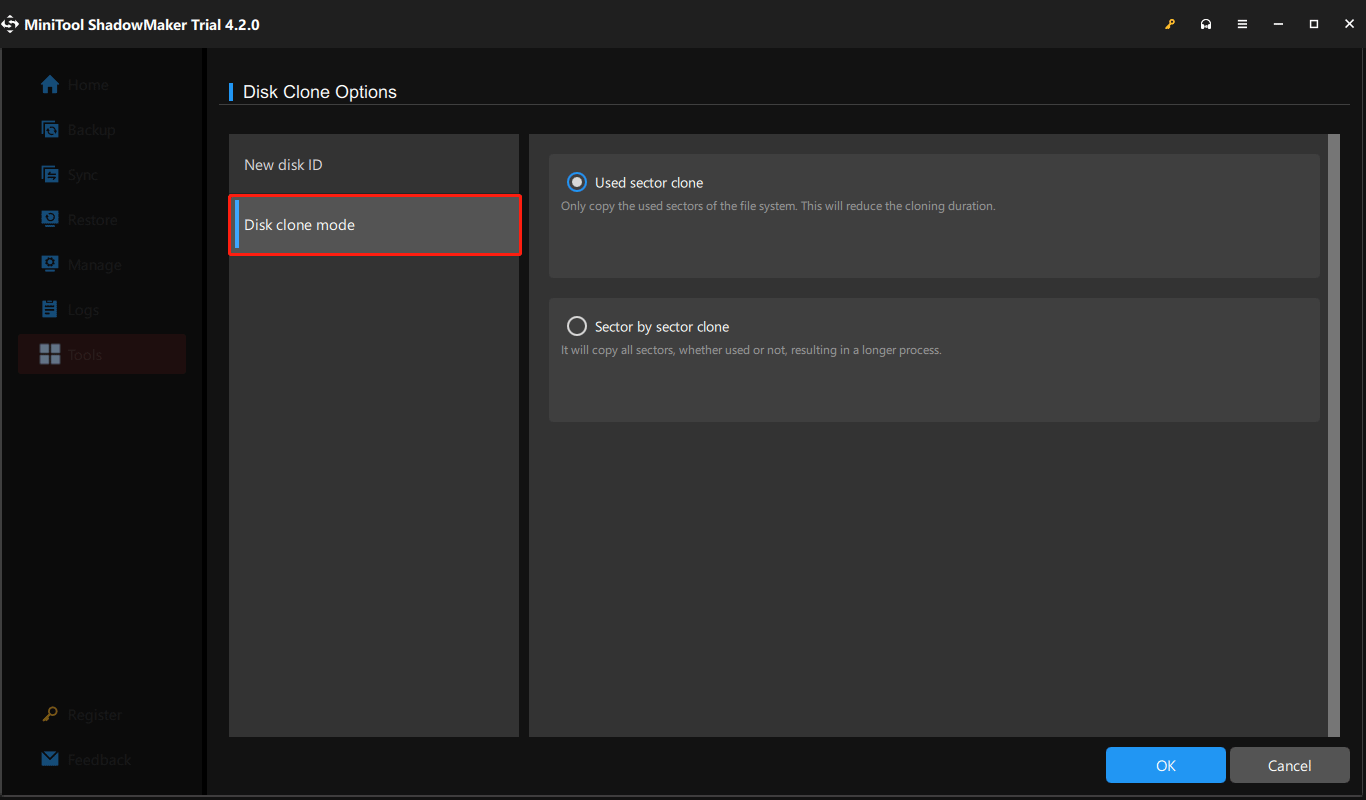
Switch to Disk clone mode, and then select Used sector clone or Sector by sector clone if necessary.

Step 4: Click OK to save the settings.
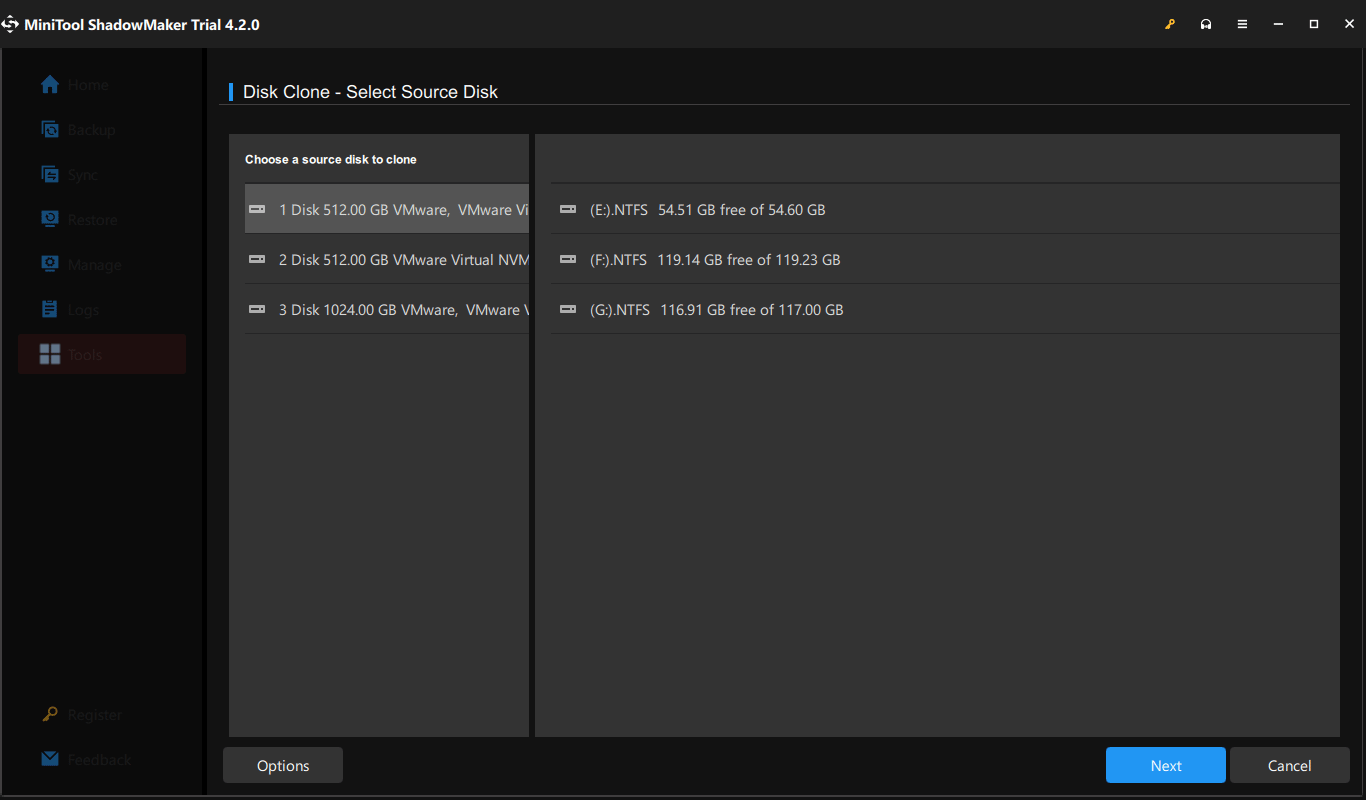
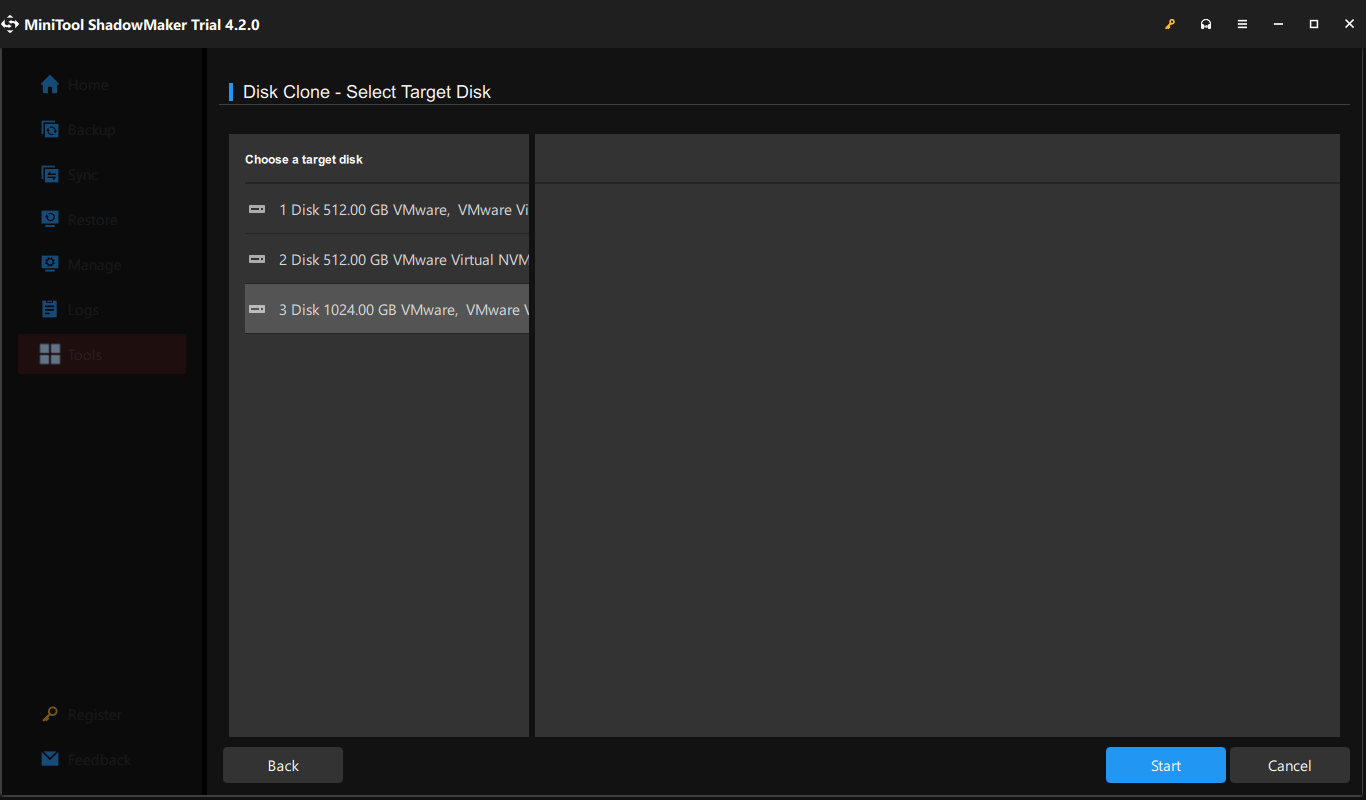
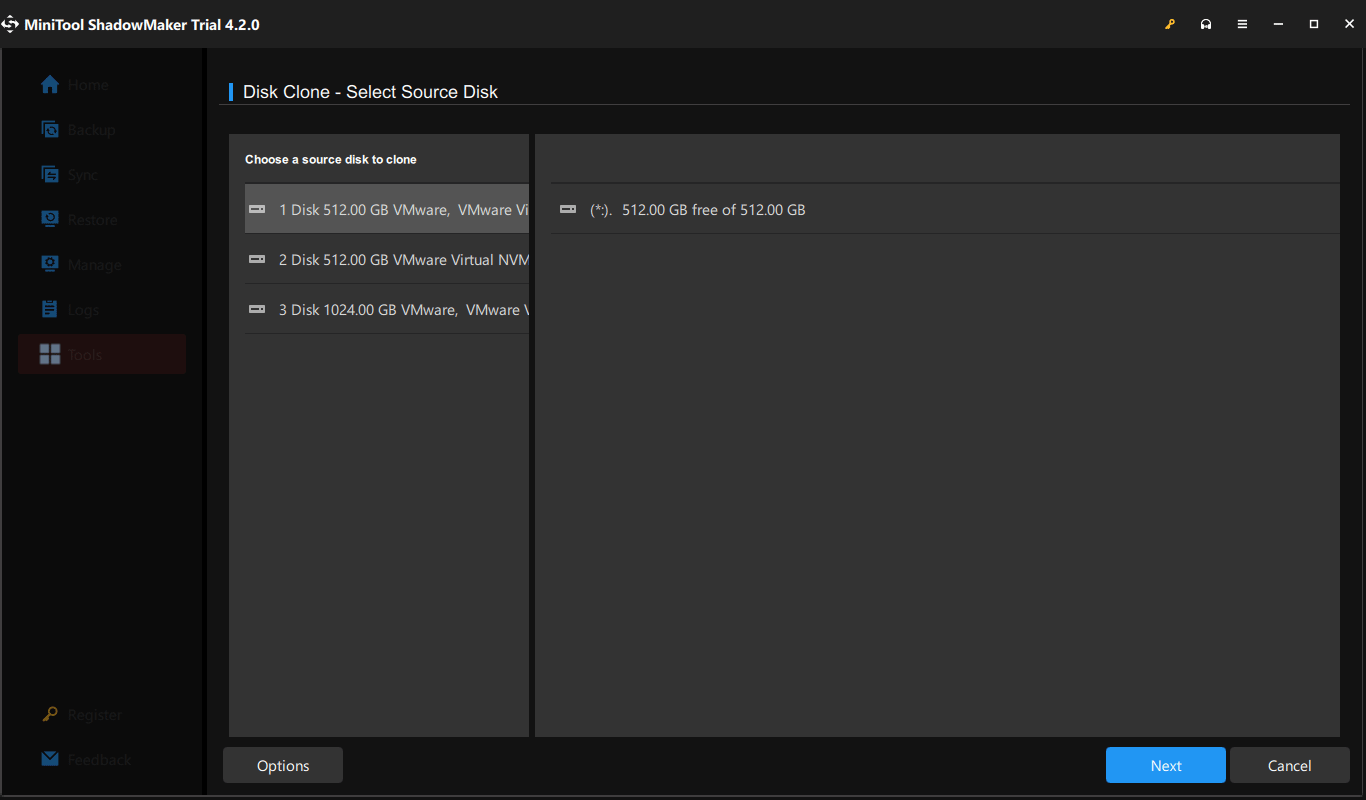
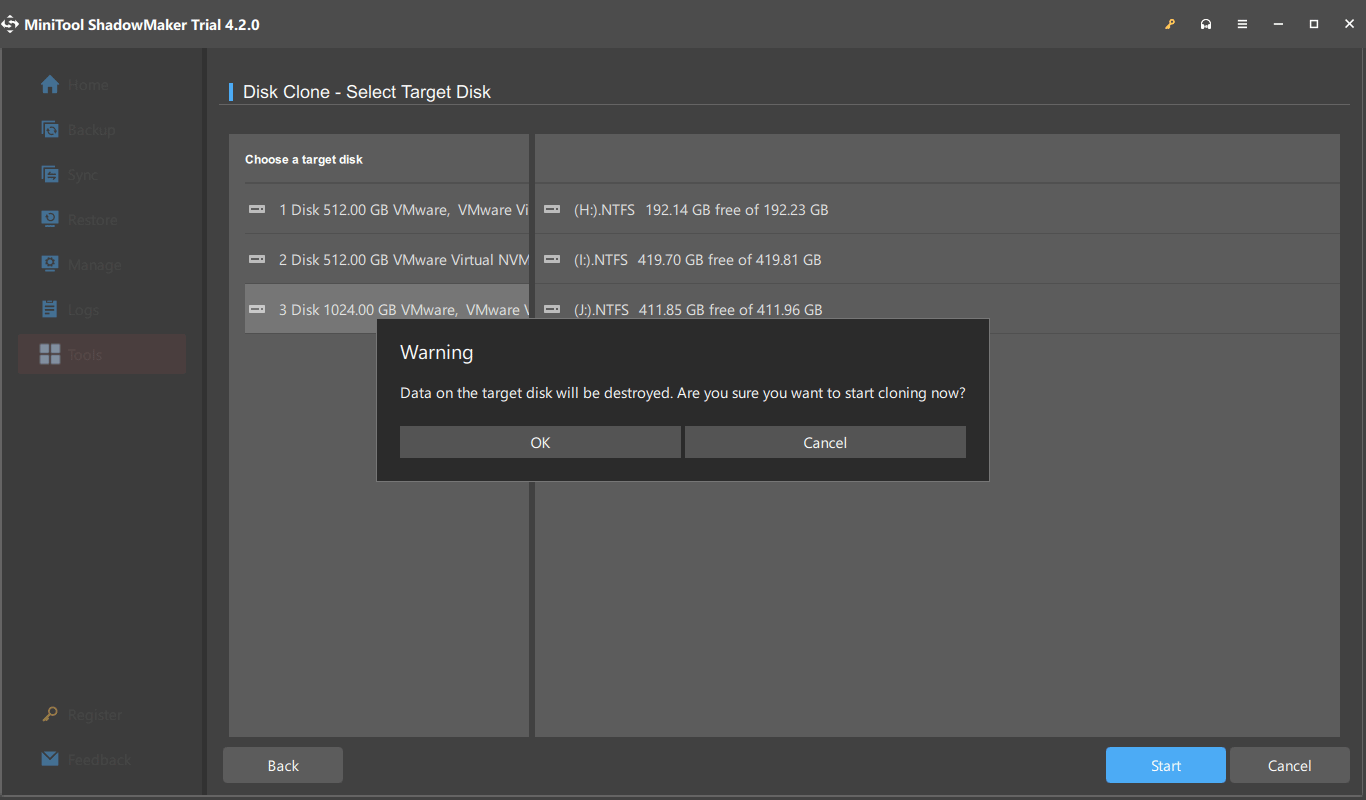
Step 5: Choose the disk you want to clone, then click Next.
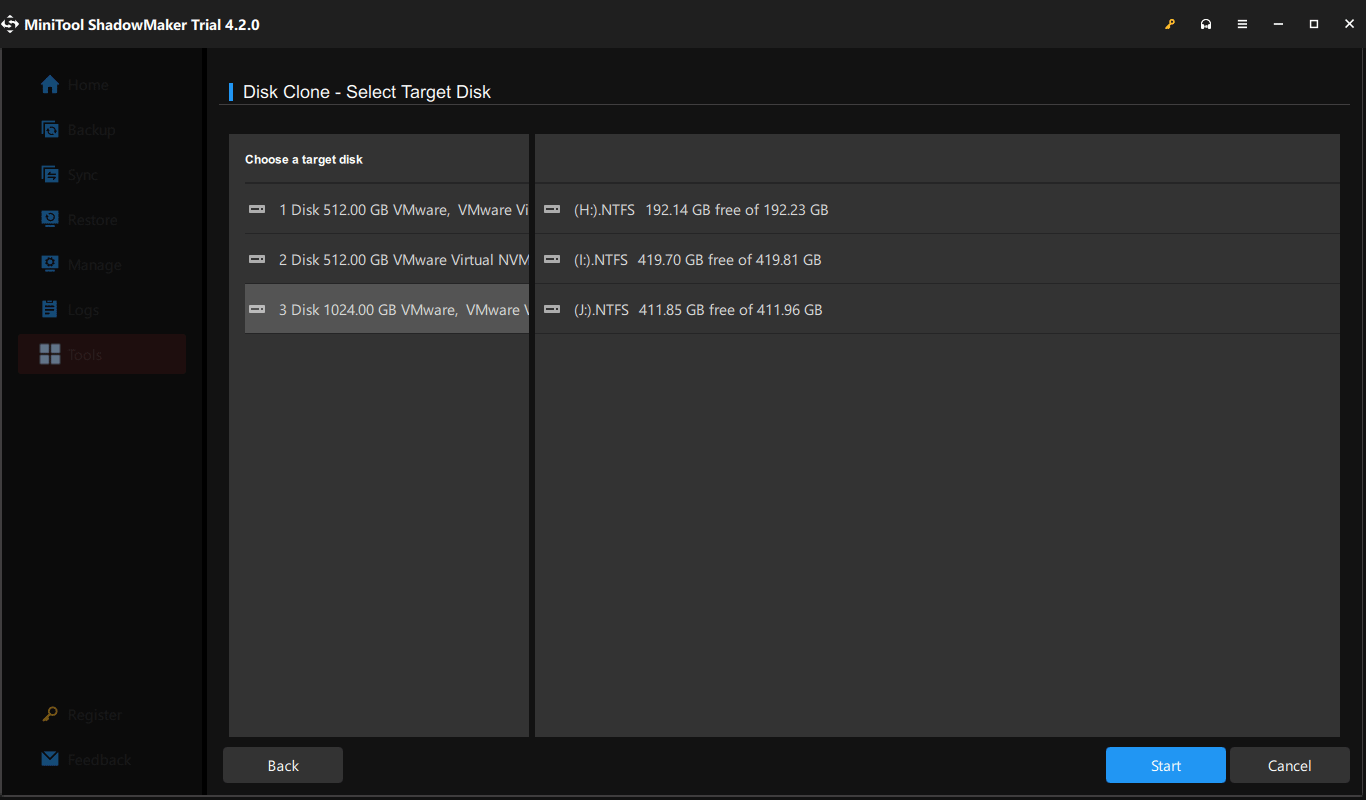
On the next page, choose where to store the copy. Then click Start to begin the process.
Step 6: Confirm that you want to start the task.
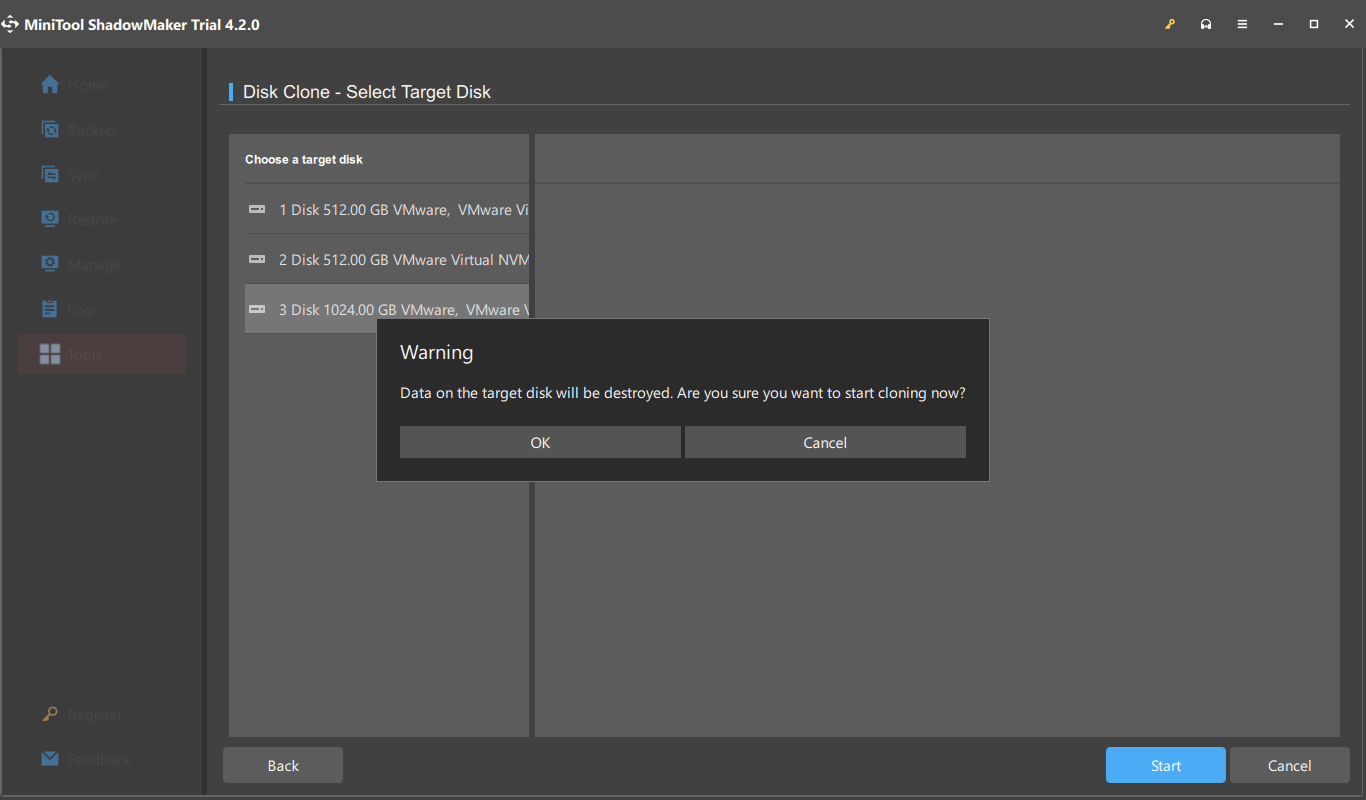
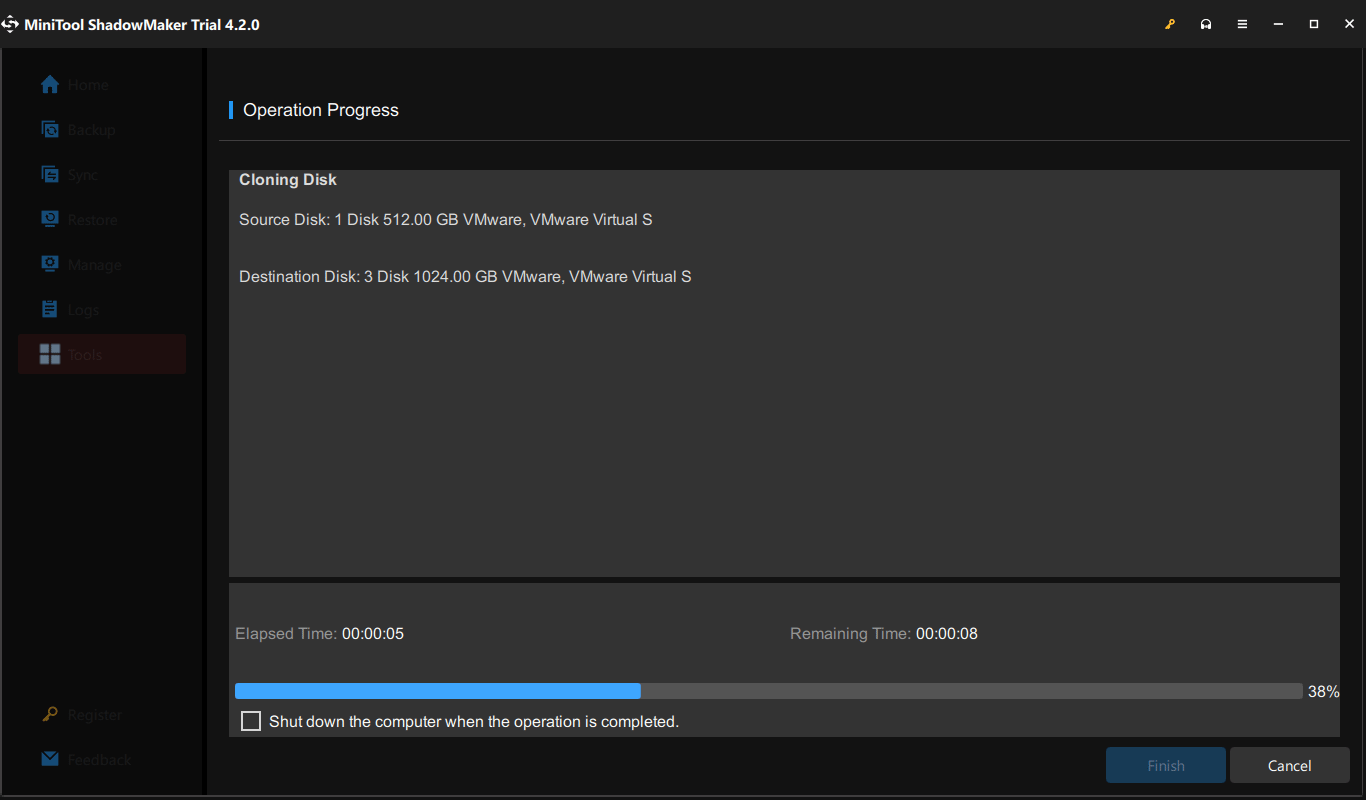
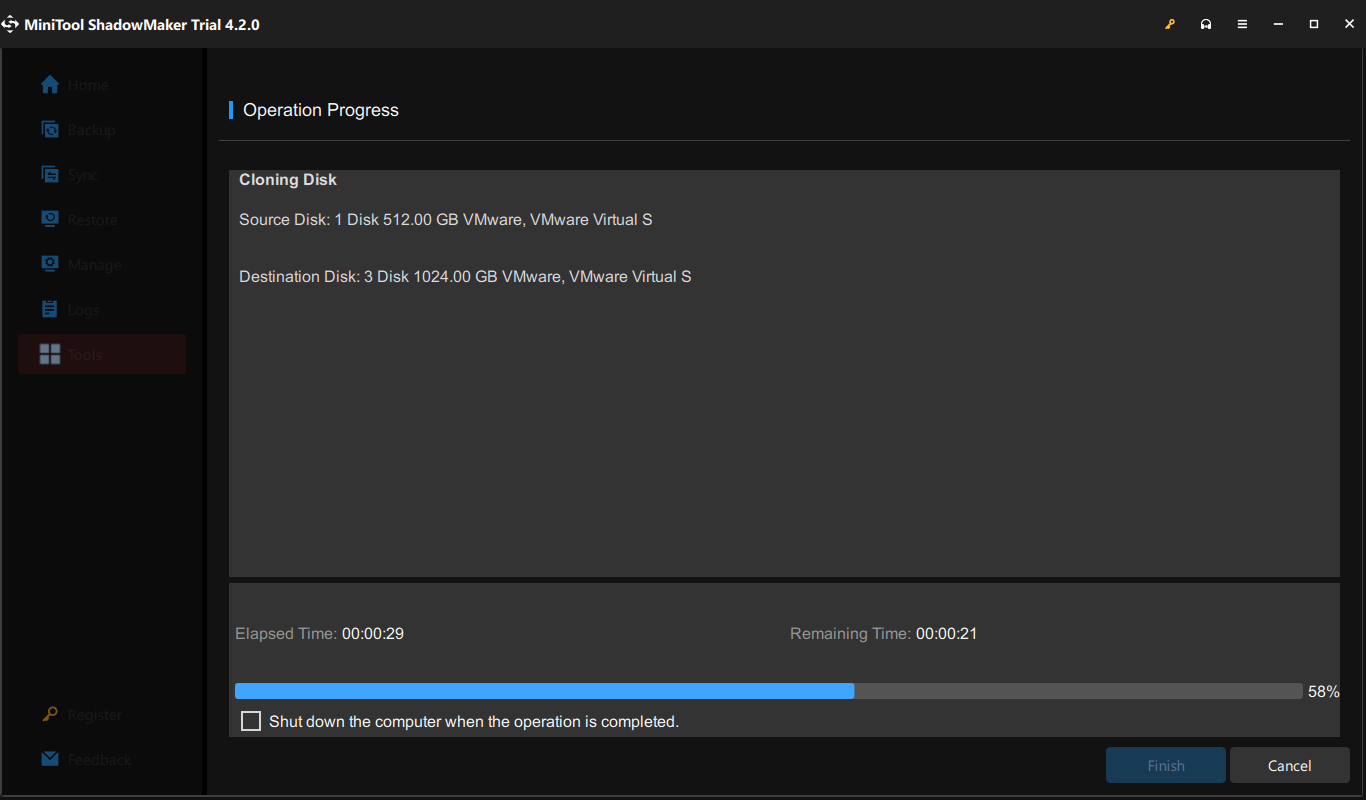
Wait for the process to finish.
The message you should pay attention to:
If you select Same disk ID in step 3, you will see the following message when disk cloning is finished successfully:

This means both the source disk and the target disk have the same signature, thus one disk is marked as offline by Windows. Just remove one that you don’t need.
How to Clone Dynamic Disk?
MiniTool ShadowMaker also enables you to clone the dynamic disk. Now, you can refer to the following instructions.
Step 1: Open MiniTool ShadowMaker first. Go to Tools and choose Clone Disk.

Step 2: Click the Options button at the bottom.
Step 3: Select Same disk ID or New disk ID under the New disk ID tab according to your requirement.
Switch to Disk clone mode, and then select Used sector clone or Sector by sector clone if necessary.
Step 4: Click OK to save the settings.
Step 5: Choose the dynamic disk you want to clone and click Next to continue.
Then, choose the target to store the copy. Then click Start to begin the process.
Step 6: Confirm that you want to start the task.
Step 7: Wait for the process to be finished.
Step 8: If you select Same disk ID in step 3, you will see the following warning message when dynamic disk cloning is finished successfully:
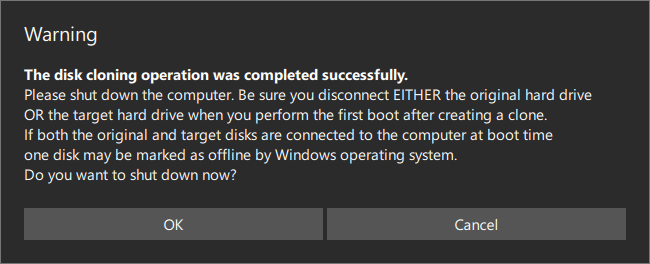
This means both the source disk and the target disk have the same signature, thus you need to disconnect or remove either of them.
User Comments :