Virtualization Based Security
Virtualization Based Security is a security feature in Windows that creates an isolated region of memory for security features. It can protect the vital system and operating system resources by enforcing restrictions.
However, enabling this feature will lower your device performance, especially while playing games. To get maximum performance in games and applications, you can try disabling Virtualization Based Security. In this post, we will introduce 5 ways to disable VBS for you.
It is highly recommended to back up your data to an external hard driver or USB flash drive before proceeding. In this case, MiniTool ShadowMaker is a good choice to you. This is a piece of Windows backup software that is available on Windows 11/10/8/7. It supports backing up multiple items like files, folders, systems, partitions, and even the whole disk. Get this freeware and have a try by hitting the button below!
MiniTool ShadowMaker TrialClick to Download100%Clean & Safe
How to Disable Virtualization Based Security on Windows 10/11?
# Way 1: Disable Virtualization Based Security via Windows Settings
Step 1. Press Win + I to open Windows Settings.
Step 2. Go to Update & Security > Windows Security > Device security.
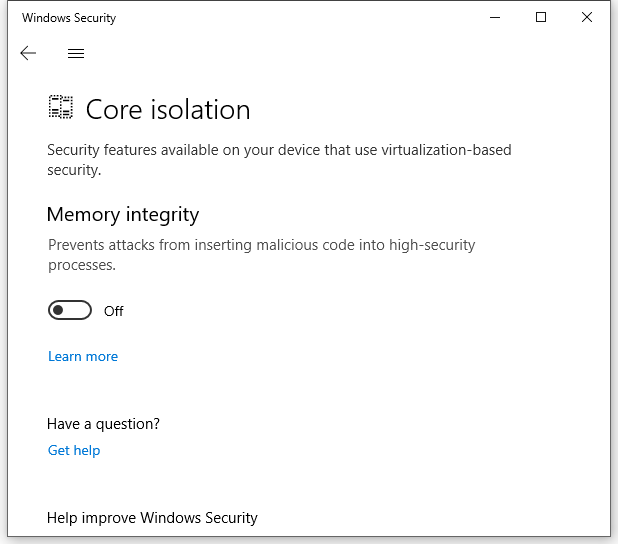
Step 3. Click on Core isolation details under Core isolation and then toggle off Memory integrity.
# Way 2: Disable Virtualization Based Security via Command Prompt
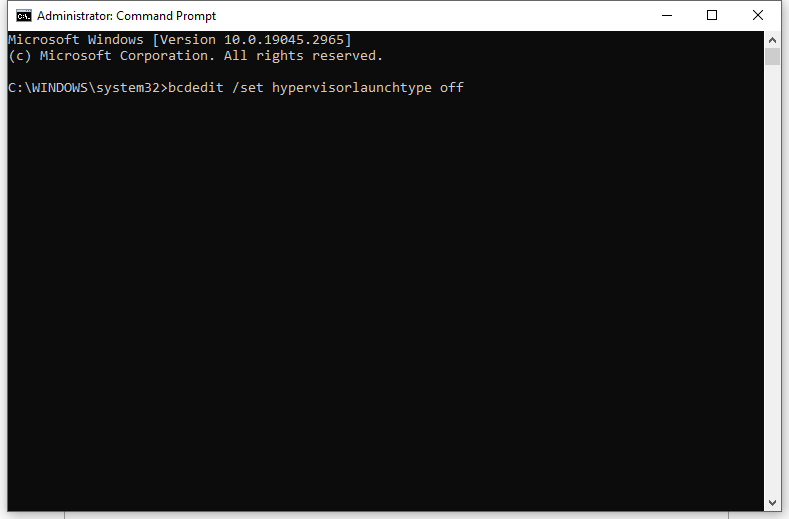
Step 1. Type cmd in the search bar to find Command Prompt and right-click on it to choose Run as administrator.
Step 2. In the text area, type bcdedit /set hypervisorlaunchtype off and hit Enter.
Step 3. After the process is done, reboot your computer.
# Way 3: Disable Virtualization Based Security via Windows Features
Step 1. Type control panel in the search bar and hit Enter.
Step 2. Go to Programs > Programs and Features > Turn Windows features on or off.
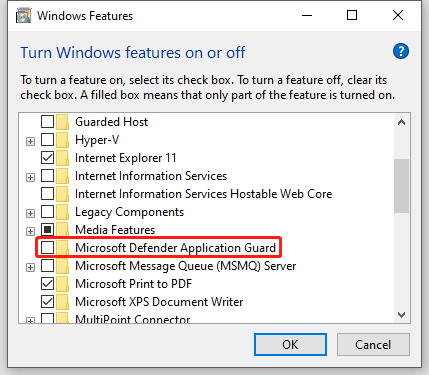
Step 3. In Windows Features, untick Microsoft Defender Application Guard, Virtual Machine Platform, and Windows Hypervisor Platform in the list.
Step 4. Click on OK and restart your computer to apply the changes.
# Way 4: Disable Virtualization Based Security via Registry Editor
Step 1. Type registry editor in the search bar and hit Enter.
Step 2. Navigate to the path below:
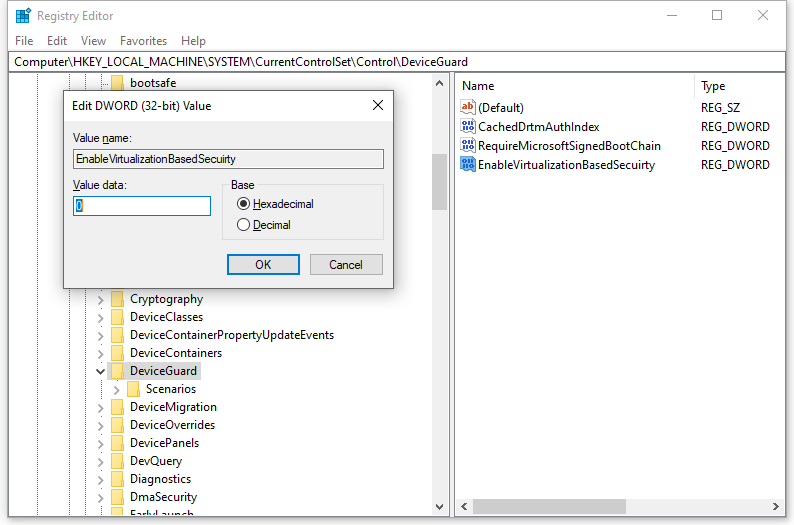
HKEY_LOCAL_MACHINE\SYSTEM\CurrentControlSet\Control\DeviceGuard
Step 3. In the right panel, right-click on EnableVirtualizationBasedSecuirty and set its value data to 0.
Step 4. Click on OK and reboot your system.
# Way 5: Disable Virtualization Based Security via Group Policy Editor
Step 1. Press Win + R to open the Run box.
Step 2. In the run box, type gpedit.msc and hit Enter.
Step 3. Go to the following path:
Local Computer Policy\Computer Configuration\Administrative Templates\System\Device Guard
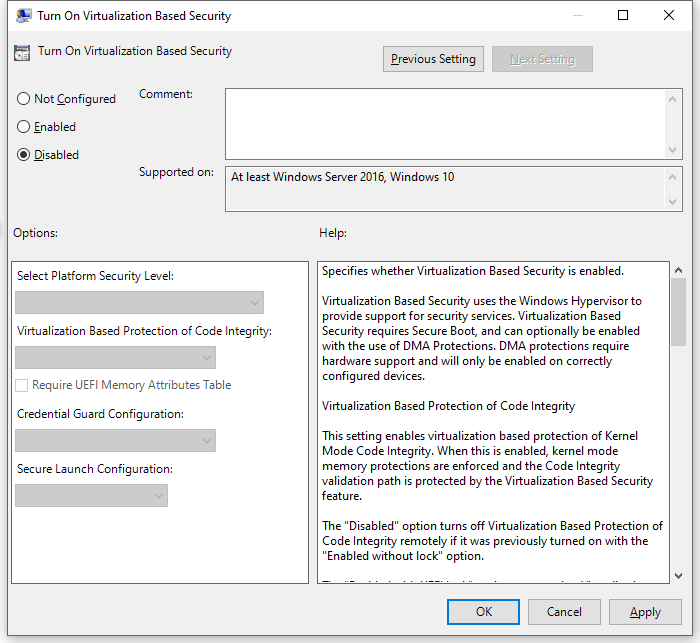
Step 4. From the right-side pane, double-click on Turn on Virtualization Based Security.
Step 5. Tick Disable and hit Apply & OK.
Final Words
In summary, although Virtualization Based Security is a very useful feature in Windows, it is safe to disable it to get maximum performance on Windows 10/11 using the methods mentioned above. Sincerely hope that you can improve your device performance and have a better gaming experience!
User Comments :