If you are also facing a problem connecting to the network when installing Windows, you can seek help from MiniTool Solution. This post shows you several methods to fix the stuck on “Let’s connect you to a network” problem.
I’ve seen that other people have this problem. No internet options to connect to, and no skip button, so I’m just stuck on this screen. I’ve restarted the laptop twice, and I’ve attempted to open the command center as other people have suggested but it just won’t open. It won’t respond to anything. I have also restarted my router and set up a hotspot on my phone and no dice. - 404OWLSreddit.com
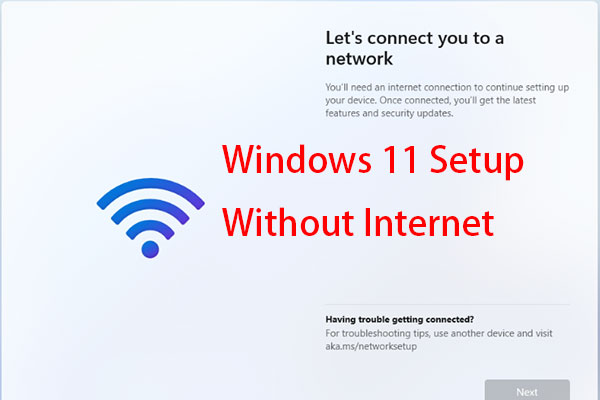
How to Bypass “Let’s Connect You to a Network”
#1 Connect with Mobile Hotspot
If you can’t connect to any Wi-Fi, try to open your mobile hotspot and connect the computer to it. Sometimes, the computer can’t detect and connect to the wireless computer while the hotspot can be easily accessed. When you do this, please make sure that no other devices are using the same hotspot.
If your mobile hotspot not working, read this article to find solutions: 5 Useful Solutions to Windows 10 Mobile Hotspot Not Working.
#2 End the Network Connection Flow Process
You can also bypass “Let’s connect you to a network” in Windows 10/11 by ending the network connection flow process. Follow the next steps to have a try.
Step 1: If you are stuck on “Let’s connect you to a network”, press Shift + F10 to open Command Prompt on your computer.
Step 2: Type taskmgr and press Enter to open Task Manager.
Step 3: Scroll down the process list to find the Network Connection Flow option.
Step 4: Right-click on it and choose End Task from the context menu.
After these steps, you will enter an interface to create a new account, then you can follow the on-screen steps to finish the process.
#3 Use the OOBE Command
Step 1: Press Shift + F10 when you receive the “Let’s connect you to network” message.
Step 2: In the Command Prompt window, type OOBE\BYPASSNRO and hit Enter.
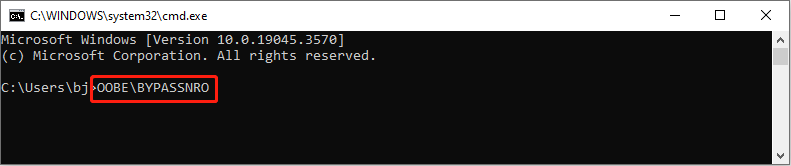
Step 3: When the process is complete, the computer will reboot and you can follow the instructions to reach the Let’s connect you to a network interface. Choose I don’t have internet option at the bottom.
Step 4: Click on the Continue with limited setup option.
Bonus Tip
I’d like to recommend you powerful file recovery software to restore deleted or missing files effectively. MiniTool Power Data Recovery works as the best free data recovery software for Windows users around the world.
Why it is highly recommended among numerous secure data recovery services? This software supports you to recover files, photos, videos, audio, and other types of files. Furthermore, it makes excellent work in hard drive recovery, SD card recovery, flash drive recovery, etc.
You can use other equipped features to improve the data recovery accuracy and efficiency and reduce the scan time. Additionally, previewing files, including videos, audio, gif, and other types of files are also supported.
If you are looking for reliable data recovery software, MiniTool Power Data Recovery is worth trying.
MiniTool Power Data Recovery FreeClick to Download100%Clean & Safe
Bottom Line
This is all about how to bypass network connection when installing Windows. Hope one of the above methods can help you get rid of the “Let’s connect you to a network” but no network in fact.
User Comments :