Windows Search Indexer High CPU Usage
Windows search indexer can help to handle file indexing hence speeding up the search process on your computer. Sometimes, it might occupy many CPU, disk or memory resources, slowing down your drive and affecting the overall performance of your computer.
If you are also bothered by Window indexing high CPU, disk, or memory usage at the moment, the solutions below might help you out.
Windows indexing high CPU usage might contribute to a system crash all of a sudden. A sudden system crash can cause unexpected data loss. Therefore, it is of necessity to back up your important files with the free backup software – MiniTool ShadowMaker to keep your data safe.
MiniTool ShadowMaker TrialClick to Download100%Clean & Safe

How to Fix Indexing High CPU/Disk/Memory Usage?
Fix 1: Restart the Search Index
If Windows Search is running for a very long time, it might open other tasks, leading to index high CPU usage. Therefore, restarting this service might help to reduce the load of the CPU usage.
Step 1. Press Win + R to open the Run box.
Step 2. Type services and hit Enter to open Services.
Step 3. Scroll down to locate Windows Search and right-click on it to choose Properties.
Step 4. Choose the Startup type to Automatic and hit Start.
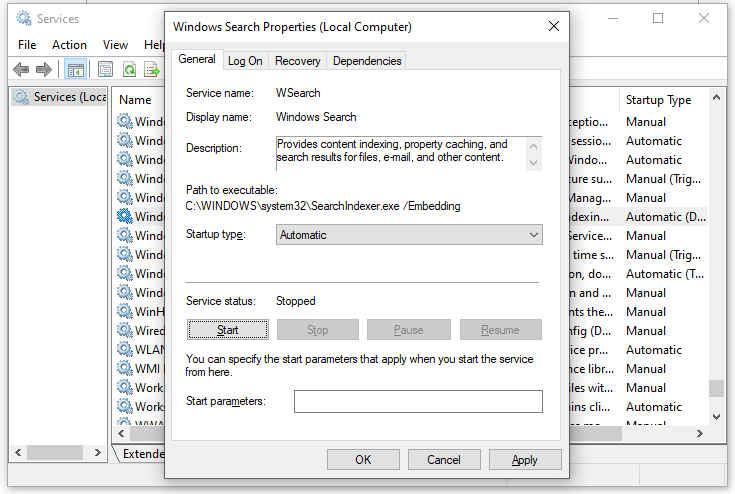
Step 5. Click on OK to save the changes.
Fix 2: Run Search and Indexing Troubleshooter
When Window encounters some errors with Windows search indexer, you can exploit the Search and Indexing troubleshooter to check and fix the problem itself.
Step 1. Press Win + I to open Windows Settings.
Step 2. Go to Update & Security > Troubleshoot > Additional troubleshooters.
Step 3. Scroll down to find Search and Indexing > hit it > hit Run the troubleshooter, and then the troubleshooter will start troubleshooting the errors in Windows Search for you.

Fix 3: Reduce Indexed Data/Locations
Reducing the amount of data the search indexer is indexing is one of the best ways to fix Windows search indexer high disk usage. To do so:
Step 1. Press Win + R to open the Run box.
Step 2. Type in Control Panel and hit Enter.
Step 3. Click on View by and select Small icons.
Step 4. Scroll down to find Indexing Options and hit it.
Step 5. Click on Modify > deselect all the locations except the C: drive > hit OK.
Fix 4: Rebuild the Index
If you don’t have any resource-intensive tasks planned for the new couple of hours, you can try rebuilding the search index. Here’s how to do it:
Step 1. Press Win + R to open the Run box.
Step 2. Type in Control Panel and hit Enter.
Step 3. Click on View by and select Small icons.
Step 4. Scroll down to find Indexing Options and hit it.
Step 5. Click on Modify > deselect all the locations except the C: drive > hit OK.
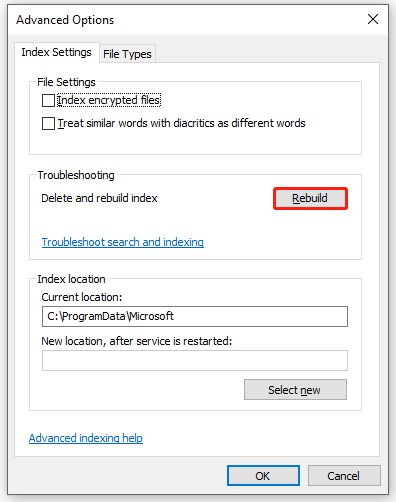
Step 6. Go back to the Advanced Options window > click on Advanced > Rebuild > OK.
Fix 5: Delete the Search Database
If the search database is corrupted or too big, Microsoft Windows search indexer high CPU usage will also appear. In this case, you can delete the Windows.ebd file to free up more resources.
Step 1. Press Win + E to open File Explorer.
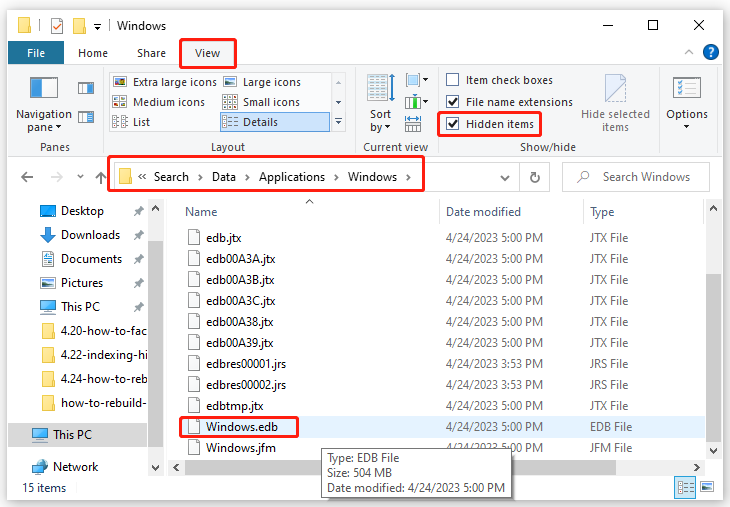
Step 2. In the View tab, tick Hidden items.
Step 3. Navigate to the following location:
C:\ProgramData\Microsoft\Search\Data\Applications\Windows
Step 4. Scroll down to find Windows.ebd and right-click on it to choose Delete.
Fix 6: Run SFC & DISM
System file Corruption is another possible culprit of Indexing high CPU usage. Here’s how to fix the faulty system files:
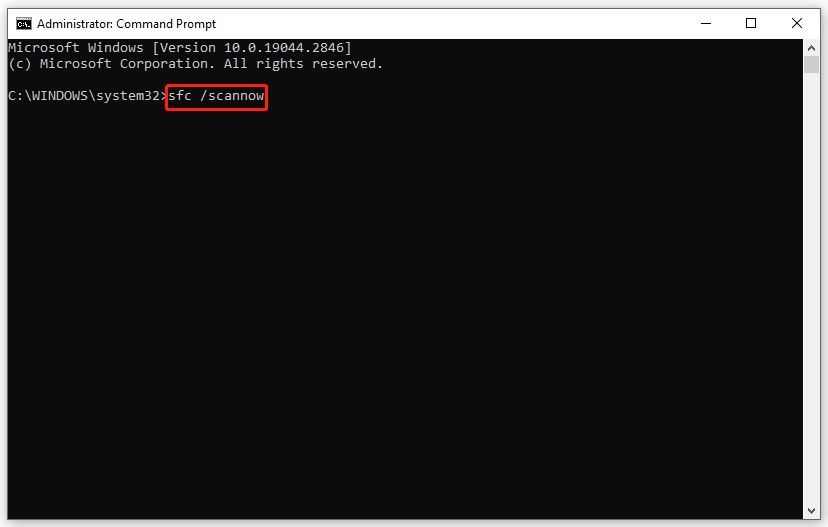
Step 1. Type cmd to locate Command Prompt and right-click on it to choose run it as an administrator.
Step 2. Type sfc /scannow and hit Enter.
Step 3. After the process is complete, reboot your computer and run CMD as an administrator.
Step 4. Run the following command one by one and remember to hit Enter after each command.
DISM /Online /Cleanup-Image /CheckHealth
DISM /Online /Cleanup-Image /ScanHealth
DISM /Online /Cleanup-Image /RestoreHealth
Step 5. Restart your system.
User Comments :