After updating your Windows, you may find that the WiFi disappears from your computer and you will receive an error message saying that Intel Wireless AC-9560 not working. This post from MiniTool provides solutions for you.
Sometimes, you may encounter the Intel Wireless AC-9560 not working issue and the WiFi function is not working on Windows 10. Now, let’s see how to fix the Intel Wireless AC-9560 issue.
Fix 1: Make Sure the WiFi Is Turned on
You should make sure that Wi-Fi is enabled on your computer, here is how to do it.
Step 1: Press the Windows key + R key to open the Run dialog box.
Step 2: Then, type ms-settings:network-wifi and click OK.
Step 3: In the Wi-Fi tab, ensure that the toggle associated with Wi-Fi is turned On.
If you find that the WiFi is turned on and the issue still appears, you can move down to the next method.
Fix 2: Re-enable the AC-9560 Adapter
Sometimes it may just be a glitch in Windows. Some users report that the “turn it off and turn it on again” trick will bring back their WiFi. Thus, you can try to enable the Intel® Wireless AC-9560 adapter. Here are the steps:
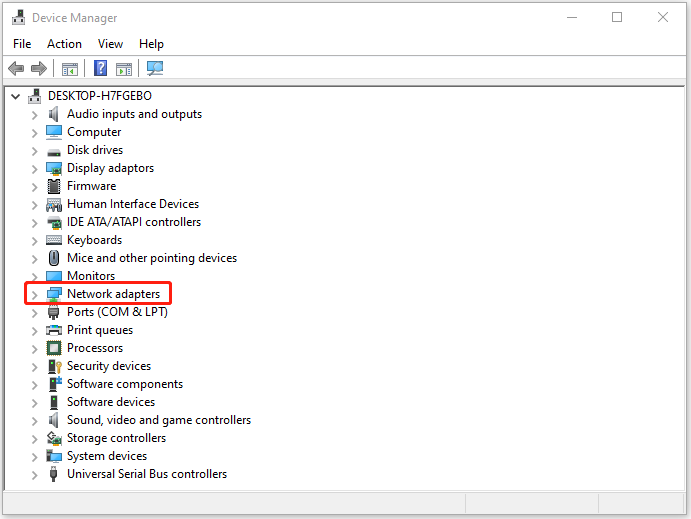
Step 1: Press the Windows + R keys at the same time and type devmgmt.msc in the dialogue box, then press OK to open Device Manager.
Step 2: Then navigate to Network adapter and right-click Intel Wireless-AC 9560 and select Disable device.
Step 3: Restart the computer and repeat these steps to enable the AC-9560 adapter.
Fix 3: Turn on WLAN AutoConfig Service
To solve the error of Intel Wireless AC-9560, you can also choose to turn on the WLAN AutoConfig service. Now, here is the tutorial.
Step 1: Press Windows key and R key together to open Run dialog.
Step 2: Then type services.msc in the box and click OK to continue.
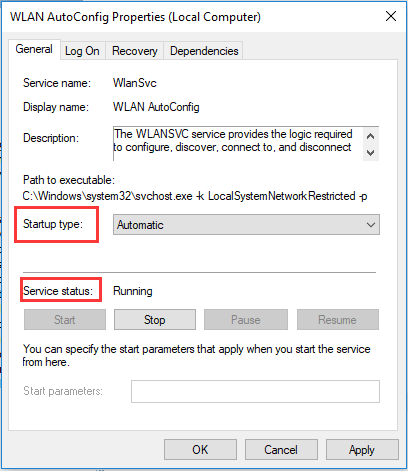
Step 3: In the Services window, scroll down to find WLAN AutoConfig service.
Step 4: Right-click it and choose Properties.
Step 5: Next, change its Startup type to Automatic and change its Service status to Running.
Step 6: At last, click Apply and OK to save the changes.
Once all steps are finished, reboot your computer and check whether the issue has been fixed.
Fix 4: Reinstall the AC-9560 Driver
Your drivers are outdated after updating to Windows 10, and you need to apply compatible updates with the new system. So, you need to uninstall the Intel Wireless AC-9560 and reinstall them. Here are the steps.
Step 1: You need to open Device Manager, then navigate to Network adapter.
Step 2: Right-click Intel Wireless AC-9560, and select Uninstall device.
Step 3: Wait for the process to complete.
Step 4: Click the Action tab, and select Scan for hardware changes.
Then you can download the latest drivers directly from your manufacturer’s website. After you reinstall them, you can check if the issue is fixed.
Final Words
To sum up, this post has shown 4 reliable solutions to fix the issue of Intel Wireless AC-9560. If you come across the same error, try these solutions. If you have any better solutions to fix it, you can share them in the comment zone.
User Comments :