Windows 10 is the most used operating system all over the world. The operating system offers several different personalization options. Read this post from MiniTool to get the methods to personalize Windows 10 lock screen images.
You always see the lock screen before signing in to your account on Windows 10. Although it seems like something unnecessary, it offers some useful functionalities.
For example, you can see the current date & time, calendar events, and notifications from other apps in the lock screen. In addition, you can also interact with Cortana, and use Windows Spotlight to showcase your personal pictures, favorite background images, and beautiful images from Bing.
You can see the lock screen on your Windows operating system with two methods. The first one is that the computer starts up normally and waits for your input to select the user at the lock screen. The second one is that you lock the screen by using Windows + L or through the timeout settings.
How to Personalize Windows 10 Lock Screen Images
Windows 10 offers several different options to customize your lock screen images. Here, I will introduce how to change Windows 10 lock screen image.
Method 1: Change Background to Windows Spotlight
You can use the following method to personalize Windows 10 lock screen images.
Step 1: Press the Windows + I keys at the same time to launch the Settings application on your Windows.
Step 2: Then click Personalization, and click the Lock screen tab.
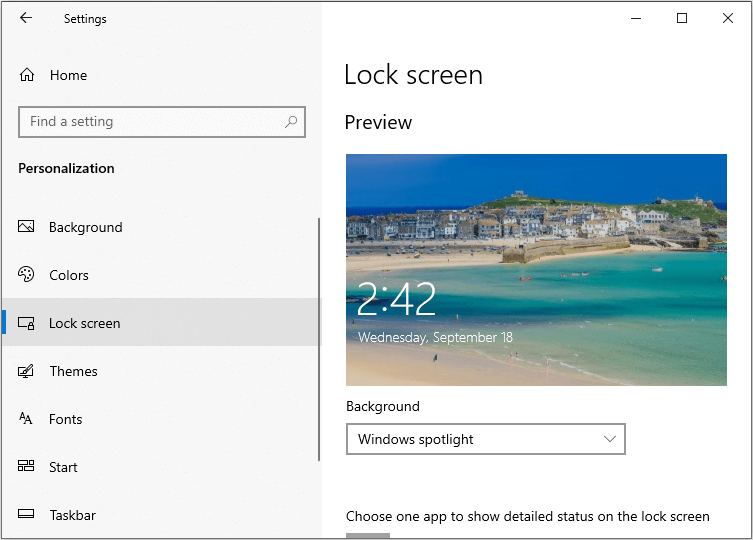
Step 3: Now, click the drop-down menu of the Windows spotlight.
Method 2: Change Background to a Picture
The second method to personalize Windows 10 lock screen images is to select a Picture. This picture can be any image that you want to display on your lock screen. Follow the steps below:
Step 1: Navigate to the Lock Screen Settings as steps 1 – 2 of the last solution.
Step 2: Now, select the Picture option.
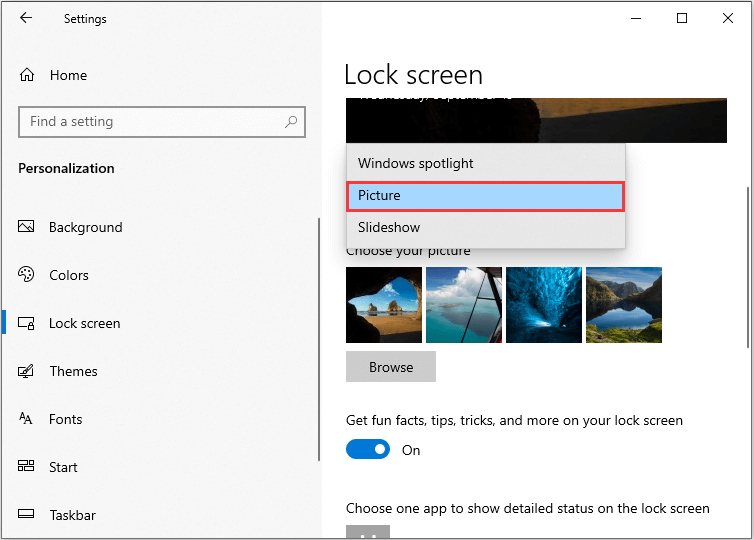
Step 3: You can open the File Explorer to navigate to the image that you want to set by clicking the Browse option.
Step 4: Select the picture that you want to set as the background and save changes.
Now you can lock the screen and see your changes.
Method 3: Setting a Slideshow
The last method for you is to set a slideshow. This feature allows you to select a set of pictures that will then be shuffled automatically on your lock screen. You can follow the steps below to set a slideshow.
Step 1: Navigate to the Lock Screen Settings as we did in the previous solutions.
Step 2: Now choose the Slideshow option and then choose the Add a folder option.
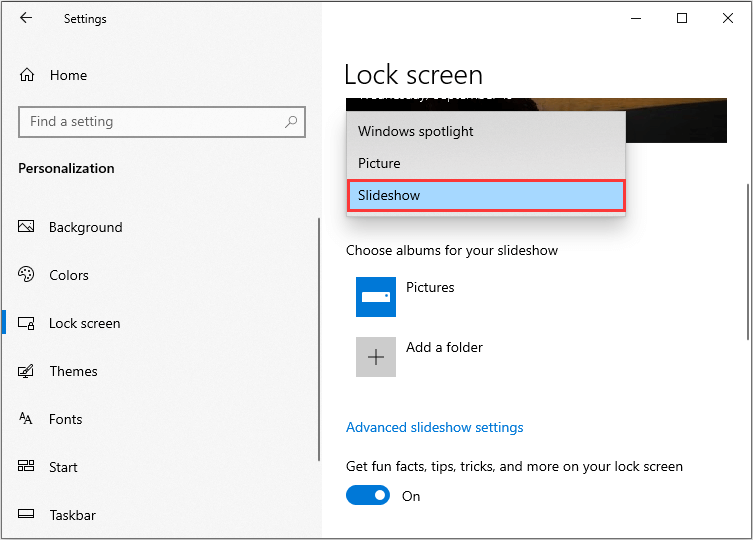
Step 3: Now navigate to the folder where all the images you want to include in the slideshow are located.
Step 4: Save changes and exit.
Now lock the screen and see your changes.
Final Words
That is all information about Windows 10 lock screen images. You can use these three methods above to customize lock screen images, which can provide you with a better experience on Windows 10.
User Comments :