Windows 11 PE
Windows PE is also known as Windows Preinstallation Environment and WinPE. It is used to install, deploy and repair Windows Desktop, Windows Server, and other Windows operating systems. Windows PE has always been part of the Windows ADK, but since Windows 10 it has become a separate download.
Windows 11 PE is the Windows PE for Windows 11 PC/laptops. Windows 11 PE can be used for the following situations:
- Set up your hard drive before installing Windows.
- Install Windows by using apps or scripts from a network or a local drive.
- Capture and apply Windows images.
- Modify the Windows operating system while it’s not running.
- Set up automatic recovery tools.
- Recover data from unbootable devices.
- Add your custom shell or GUI to automate these kinds of tasks.
How to Download and Install Windows 11 PE
To download Windows 11 PE, you need to have the Windows Assessment and Deployment Kit (Windows ADK). Here is how to do that:
Step 1: Go to the Microsoft official website to download Windows ADK for Windows 11 22H2. You can also download the Windows PE add-on for Windows 11.

Step 2: Find the adksetup.exe file and double-click it to run. Then, choose a location to install it and click Next.
Step 3: Select the features you need and click the Install button.

Step 4: After installing it, you can use copype.cmd to create a bootable disk by Windows 11 PE builder.
1. Connect a USB drive to your PC. Launch the Deployment and Imaging Tools Environment as an administrator.
2. Run CopyPE to create a working copy of the Windows PE files. Type the following path and press Enter.
copype amd64 %USERPROFILE%\WinPE
3. Type the following path and press Enter after each one.
- cmd /ISO %USERPROFILE%\WinPE .\WinPE.iso
- MakeWinPEMedia /UFD c:\Users\me\WinPE G:
Tip: G: should be the USB drive letter.
Another Way to Create a Bootable Disk
Many users have tried to use the command-line tool to create a bootable USB in Windows 11 PE, but they find that it is a little difficult. There is another easier way to create a bootable disk. It’s recommended to try the professional backup program – MiniTool ShadowMaker.
This backup software is designed to back up the Windows 11/10 operating systems and it offers a feature called Media Builder to create a bootable USB drive or CD/DVD to boot the crashed PC and perform a system recovery.
Step 1: Download and install MiniTool ShadowMaker.
MiniTool ShadowMaker TrialClick to Download100%Clean & Safe
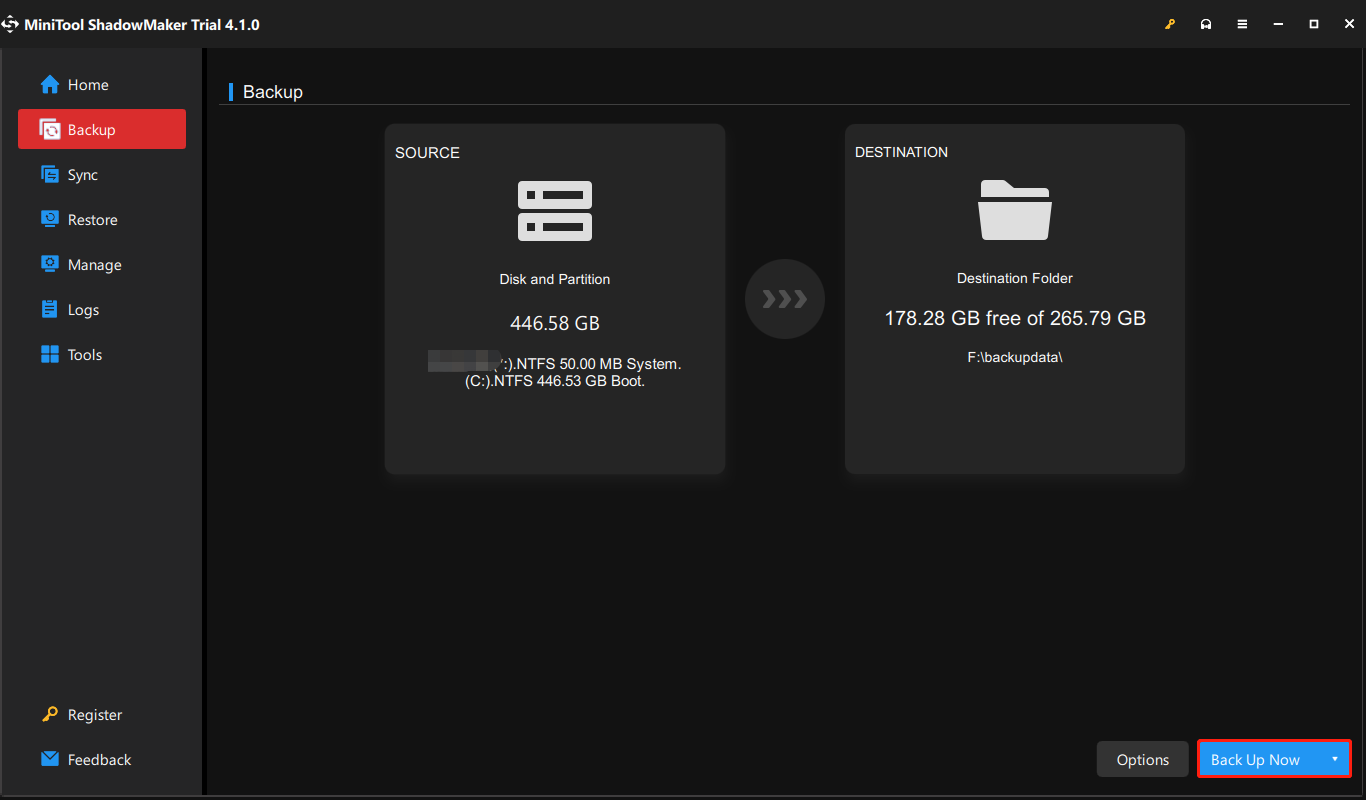
Step 2: Launch it and you can find the program selects the operating system as default. Then, you need to choose a destination to store the backup image.
Step 3: Now, click Back Up Now to start the backup task.
Step 4: Connect an empty USB flash drive to your computer.
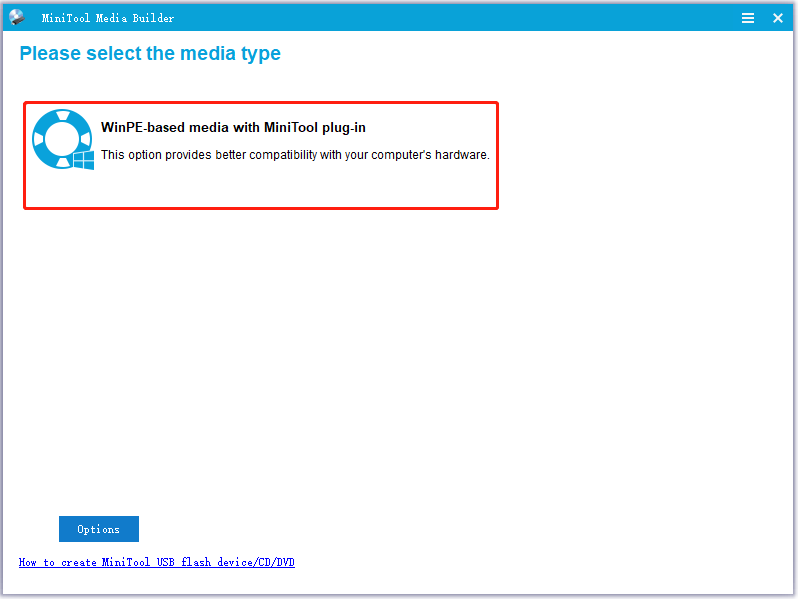
Step 5: Open this tool and go to its Tools page.
Step 6: Click the Media Builder feature and then click WinPE-based media with MiniTool plug-in to continue.
Step 7: Select your USB stick and click Yes to confirm the operation. Then, this tool starts creating a USB bootable drive.
Final Words
This article introduces what is Windows 11 PE and what Windows 11 PE can do. Besides, you can know how to create a bootable USB based on Windows 11 PE and how to do that easily with the free professional backup software MiniTool ShadowMaker.
User Comments :