If your video files get damaged or corrupt, do you know how to fix them? You can try MiniTool Video Repair, free and safe video repair software, to fix broken video files. Here is a user manual on how to fix corrupted video files using this software.
Getting Started
What Is MiniTool Video Repair?
MiniTool Video Repair is free and 100% safe video repair software for Windows computers. It helps you repair MP4/MOV/M4V/F4V files if they get damaged/corrupt unexpectedly. It can fix broken video files from all devices, including computers, phones, SD cards, USB flash drives, HDDs, various cameras like GoPro, DJI drones, Canon, Sony, Nikon, Panasonic, and more. Besides, it supports batch video repair.
System Requirements
- Supported operating systems: Windows 10/8/8.1/7
- CPU: Intel Pentium Processor
- RAM: 2GB (4GB recommended)
- Storage: 250MB or larger free hard disk space
Download and Install
MiniTool Video Repair is a free video repair tool. Click to download this video repair software and follow the on-screen instructions to install it on your computer.
MiniTool Video RepairClick to Download100%Clean & Safe
Main Interface Introduction
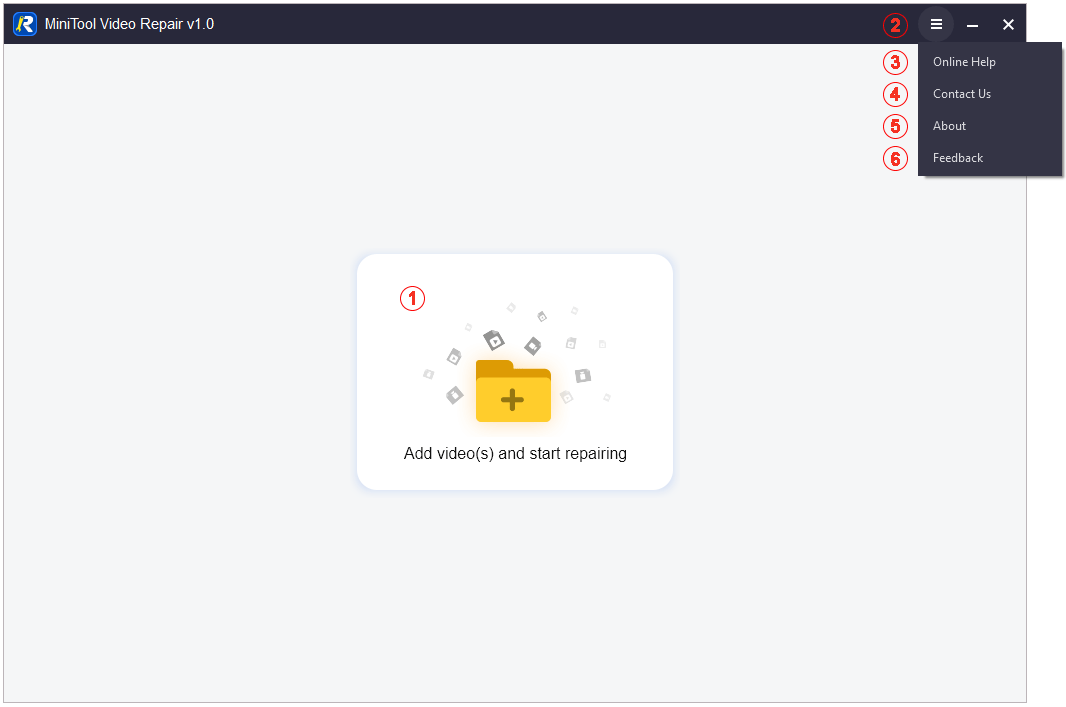
- Add video(s) and start repairing: the add video(s) button.
- Hamburger icon: the menu button.
- Online Help: view the online manual for users
- Contact us: fetch our support contact information.
- About: learn more information about this software.
- Feedback: give us online feedback.
How to Fix Corrupt Video Files with MiniTool Video Repair?
Here’s how to use MiniTool Video Repair to repair MP4 files under different situations.
How to Repair a Corrupt MP4 File?
Step 1: Launch this software to access its main interface.
Step 2: Click the middle Add video(s) button and select the corrupt video file you want to fix from your device.

Step 3: Click Repair to start the video repairing process.
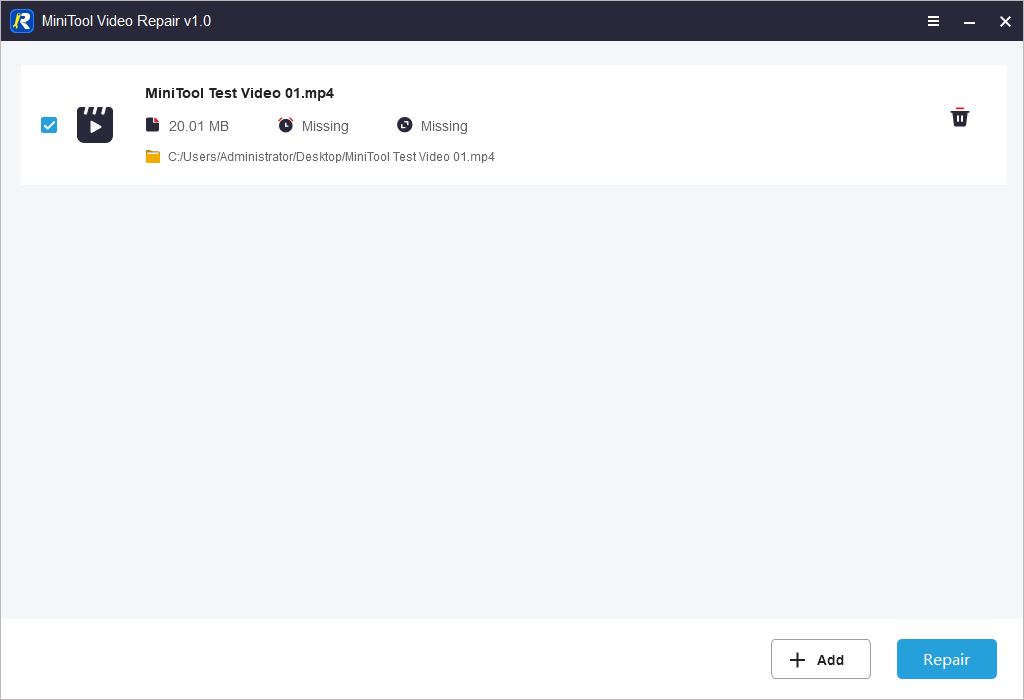
Step 4: If the repair is successful, you will see the following pop-up window. Click OK to close the window.
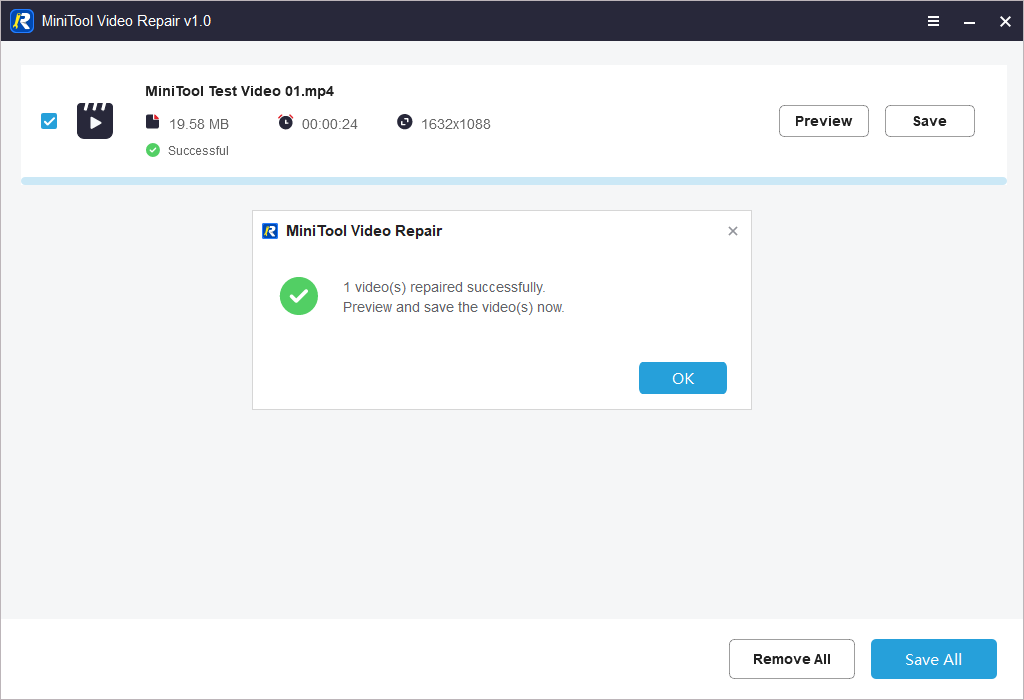
Step 5: Click Preview to preview the video repair effect.
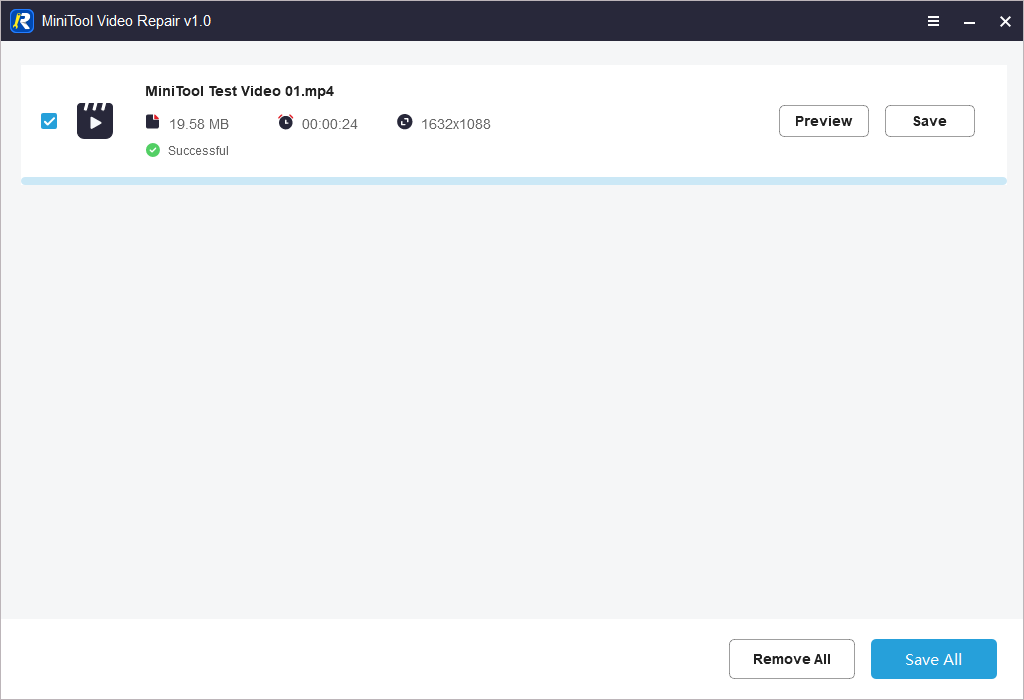
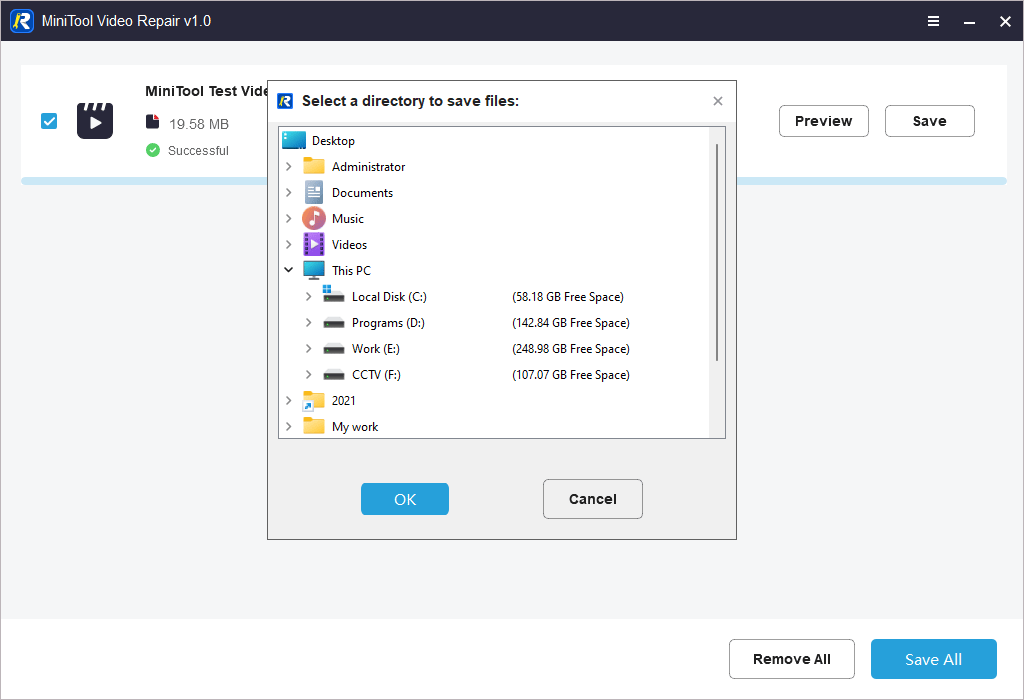
Step 6: Click Save All and select a suitable location to save the repaired video file.
How to Perform an Advanced Repair?
If your video file is heavily damaged, you can use the Advanced Repair feature to repair it. This feature allows you to add a sample video to assist in repairing the broken video.
Step 1: Open the software.
Step 2: Click Add video(s) and select the video file you want to repair from your device.

Step 3: Click Repair to start repairing the MP4 file.
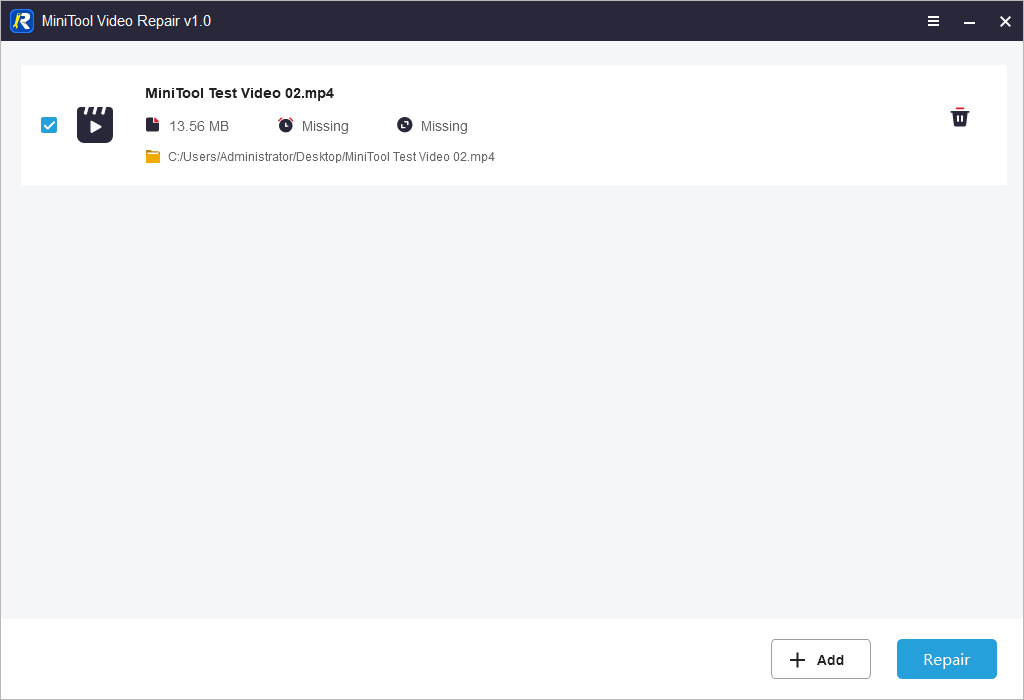
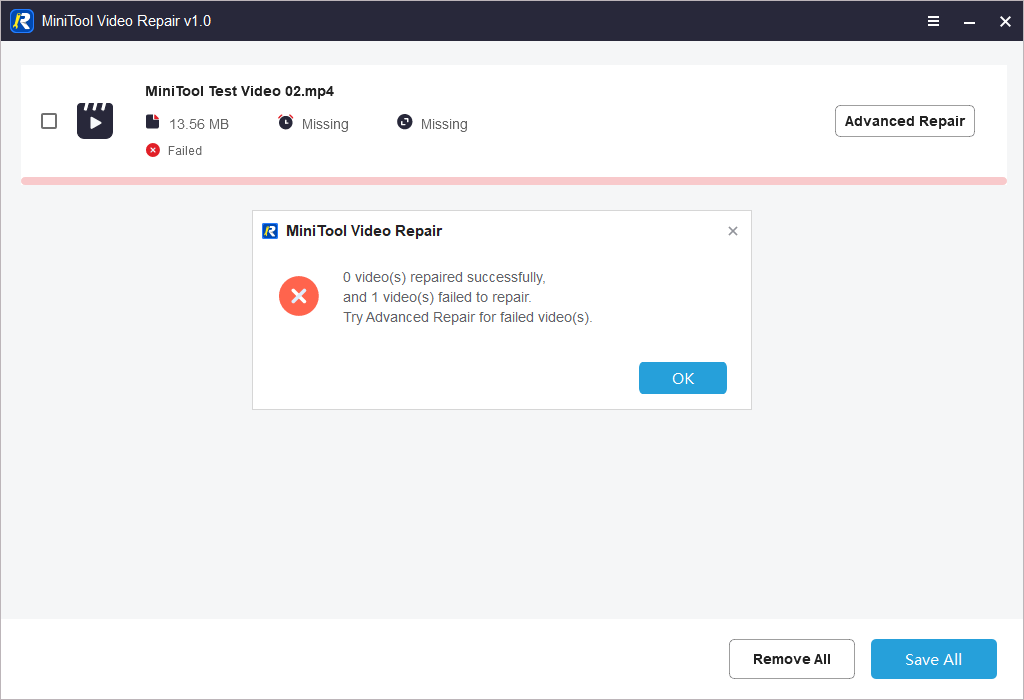
Step 4: If the video file is severely corrupted, you will see the following pop-up window. Click OK to close the window.
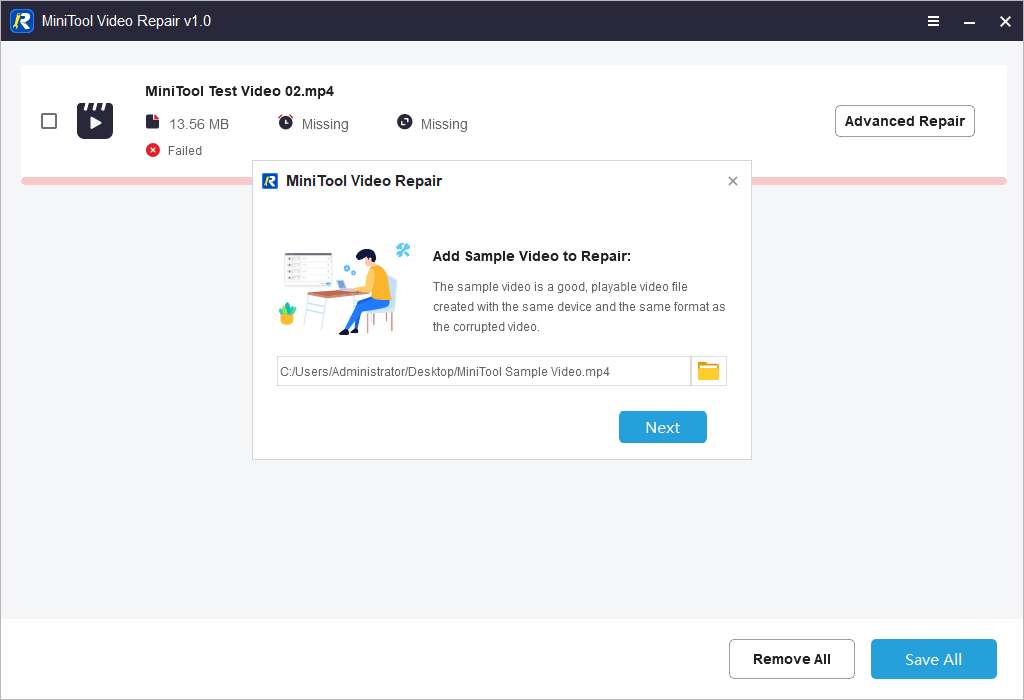
Step 5: Click Advanced Repair and select a sample video from your device.
Step 6: After the video is successfully repaired, preview it and click Save All to save it to a suitable path.
How to Perform a Batch Video Repair?
MiniTool Video Repair also supports batch video repair. In this part, we show you how to do this.
Step 1: Open the software.
Step 2: Click Add video(s) and select the video files you want to repair. If the corrupt video files are in the same folder, you can press the Ctrl key on your keyboard and select the target video files. Then, click Open to add these selected video files to the software.
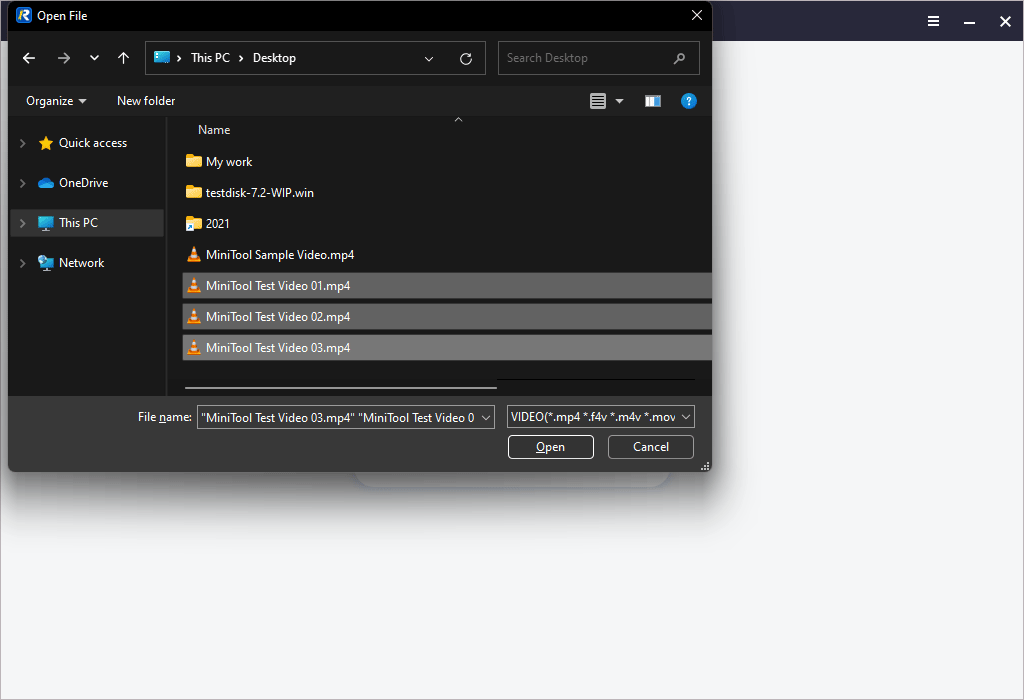
If the target video files are distributed in different folders, you can add them one by one. After adding one video, you can click the Add button on the bottom to add another one.
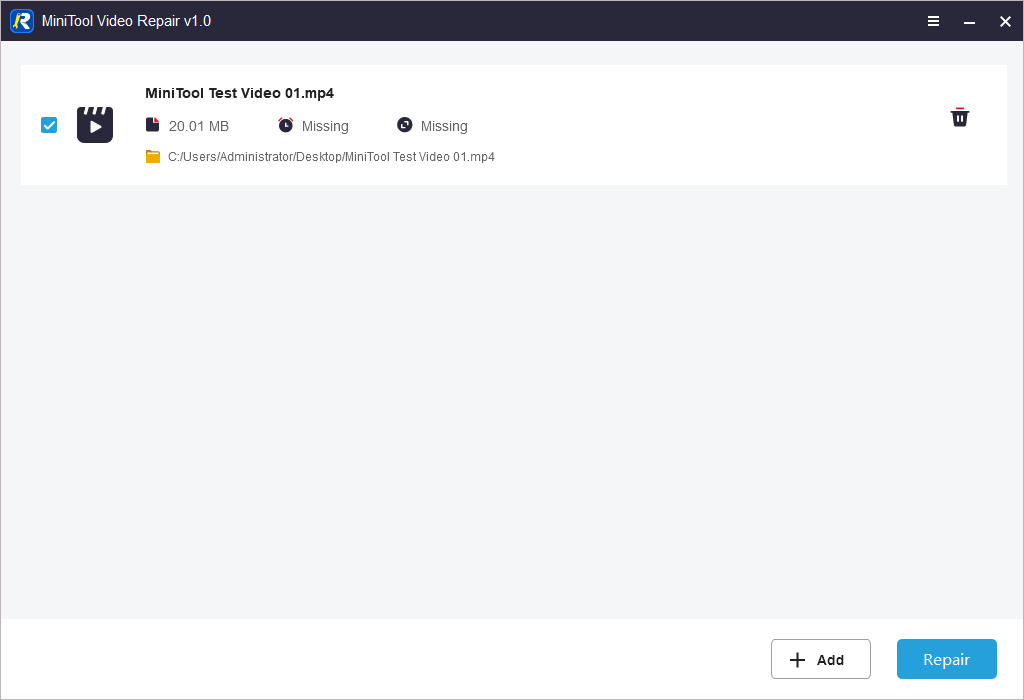
Step 3: Click Repair to start repairing these video files at the same time.
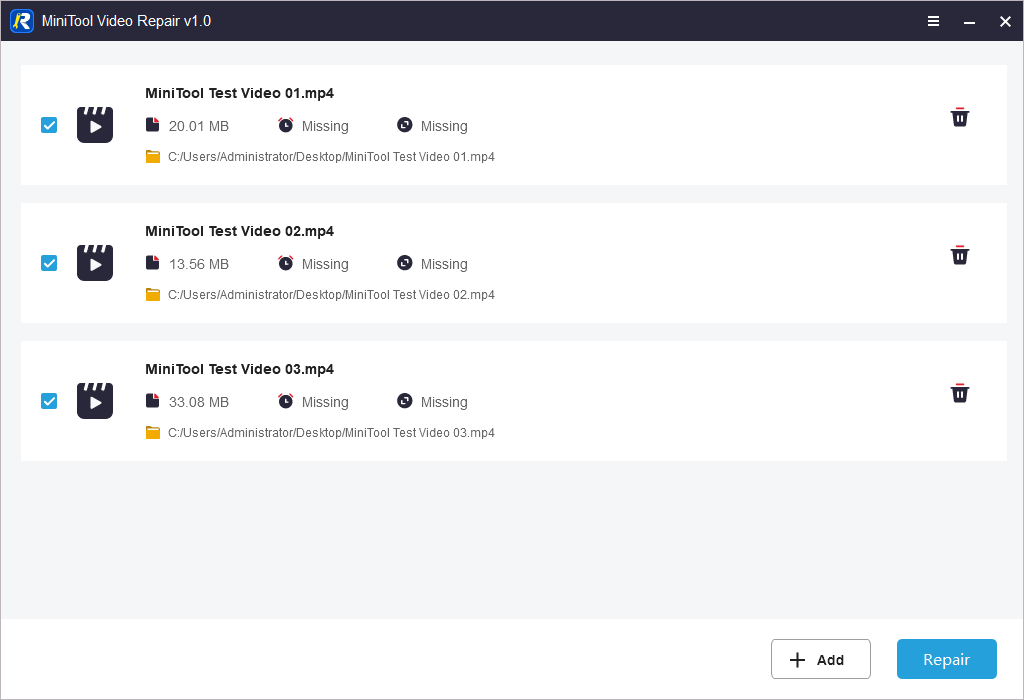
Step 4: When the video repair processes end, you can preview them and click Save All to choose a suitable location to save the repaired video files.
Bottom Line
Reading here, you should know what MiniTool Video Repair is and how to fix corrupted video files using this free video repair tool. Should you have other questions about this software, you can feel free to contact us via [email protected].
User Comments :