Windows 10 background slideshow makes the usage of your Windows 10 computer not so bored. But do you know how to make slideshow wallpaper on your Windows 10 computer? In this MiniTool post, we will show you a simple guide. No matter you are using a desktop computer, or a laptop, or a Windows Surface, you can find what you can do to enable this feature.
What Is Windows 10 Background Slideshow?
Windows 10 background slideshow is one feature that is included in Windows customization. Unlike Windows solid wallpaper, if you enable Windows 10 wallpaper slideshow, the system will shuffle your specific wallpapers in your specific folder.
Some of you may don’t know how to make slideshow wallpaper on your Windows 10. It is very simple to do this. However, if you are using a laptop or a Windows Surface and you want to enable this feature when the device is not plugged into AC power, you need to make some extra settings.
How to Make Slideshow Wallpaper on Windows 10?
You need 2 steps to make Windows 10 wallpaper slideshow available:
- Step 1: Create a folder to save the pictures that are used for Windows 10 background slideshow
- Step 2: Set your computer to loop playback wallpaper
Now, we will show you these two steps in detail:
Step 1: Create a Slideshow Pictures Folder
Windows 10 background slideshow can only play the pictures saved in a folder. Thus, you need to create a folder to save the images you want to use.
Tip: Windows 10 has some default wallpaper and they have a special location: C:\Windows\Web\Wallpaper. You don’t need to create a new folder if you only want to make your computer loop playback the images in that folder
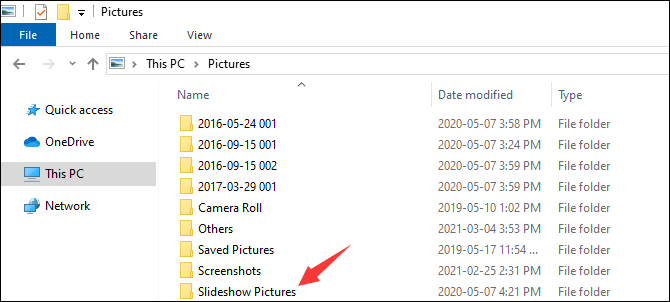
- Access the location where you want to create the slideshow folder. We suggest the Pictures
- Create a new folder and name it. For example, you can name it Slideshow Pictures.
- Transfer all your needed pictures to that folder. Remember that these images should fit your screen. Otherwise, the slideshow effect will not be as perfect as you expect.
Step 2: Set Windows 10 Wallpaper Slideshow
- Click Start.
- Go to Settings > Personalisation.
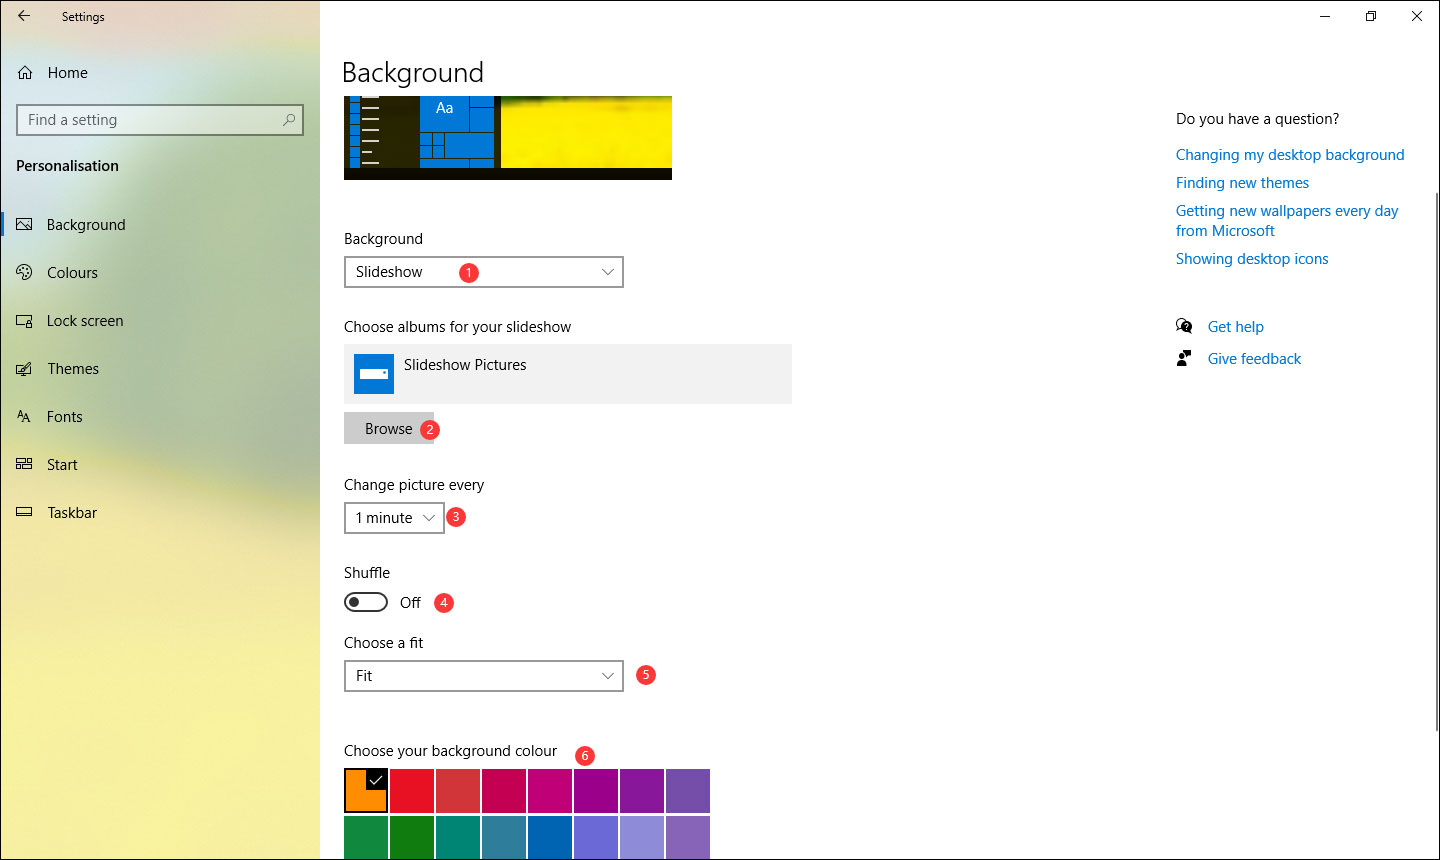
- You will go to the Background section by default. Then, extend Background and select Slideshow.
- Click Browse and select the Slideshow Pictures folder from your computer.
- Select the frequency used for Windows wallpaper slideshow in the Change picture every section.
- Turn on or off Shuffle according to your requirement.
- Choose a fit according to your requirement.
- Choose your background colour if you please.
After these settings, your computer will begin to loop playback the pictures that are saved in the Slideshow Pictures folder.
How to Enable Windows 10 Background Slideshow when Not Plugged in?
If you are using a laptop or a Windows Surface, the Windows 10 wallpaper slideshow feature is disabled by default when the device is unplugged from AC power. However, you can change some settings to enable it.
Here is how:
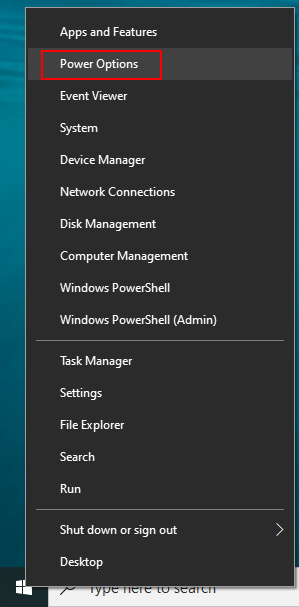
1. Right-click Start and then select Power Options.
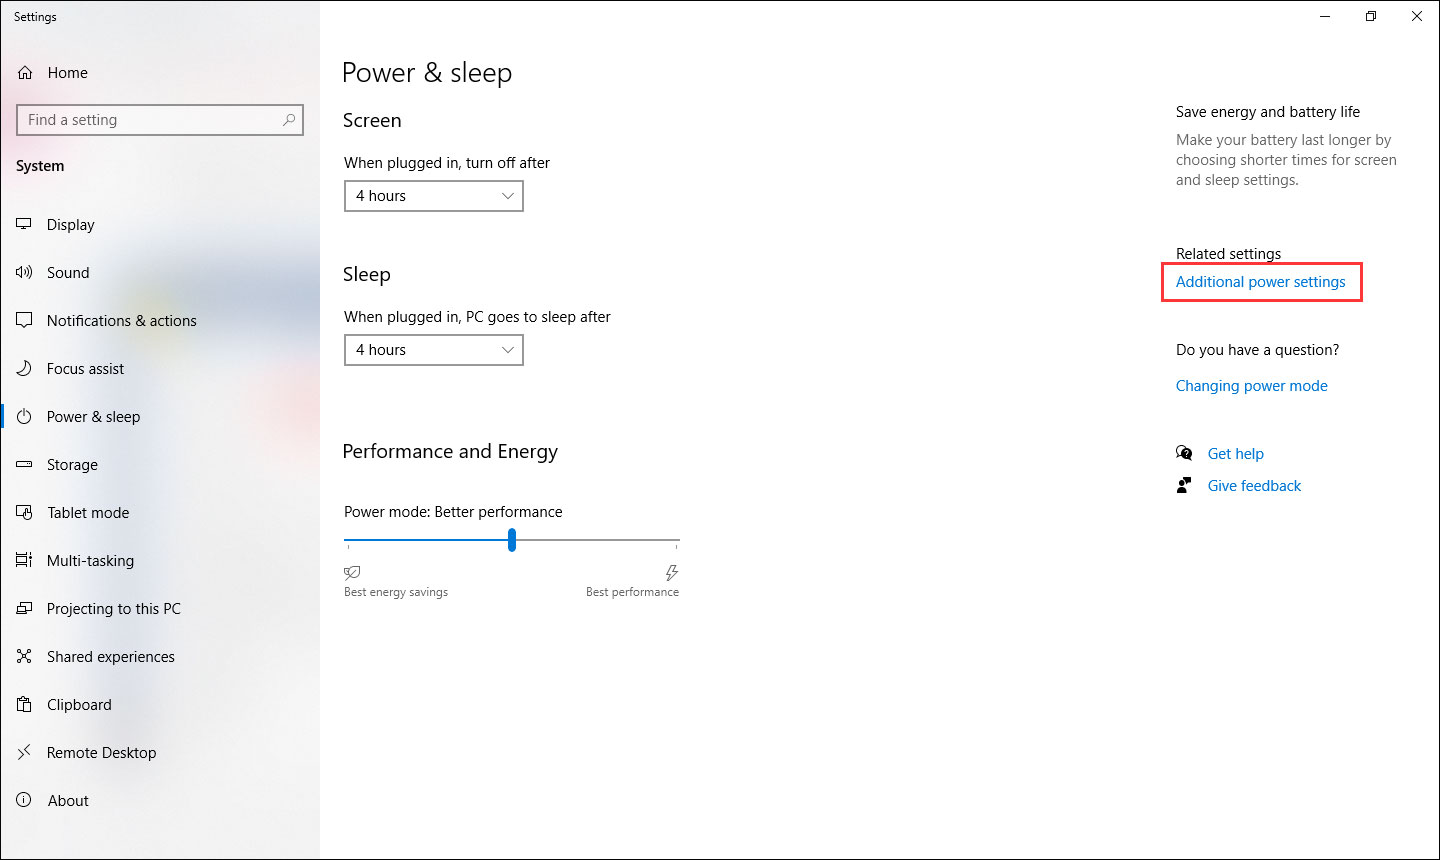
2. Click Additional power settings from the left menu.
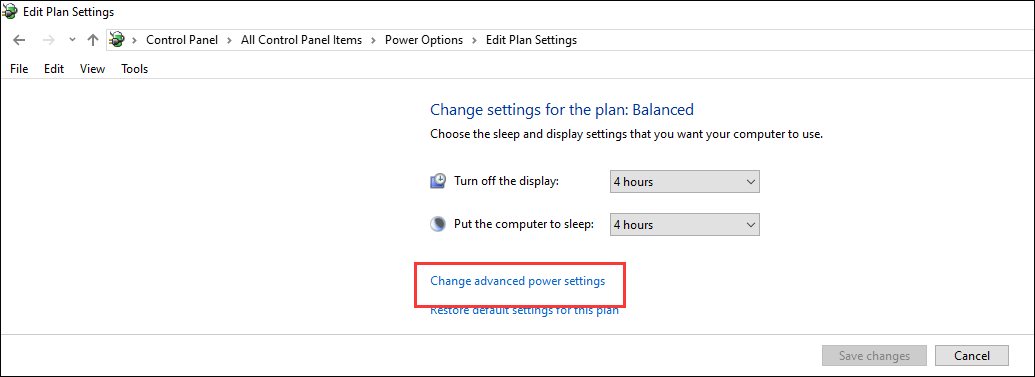
3. Click Change plan settings next to the selected preferred plan.

4. Click Change advanced power settings.
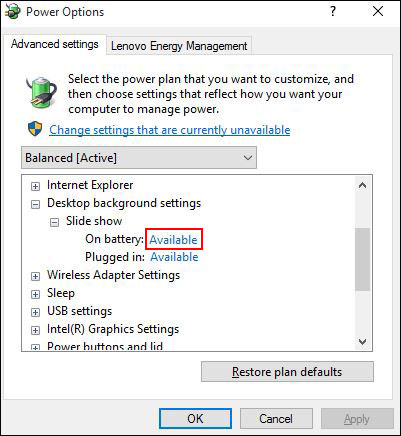
5. Go to Desktop background settings > Slide show.
6. Expand On battery and select Available.
7. Click Apply.
8. Click OK.
After these steps, your laptop or Surface will be able to play wallpaper slideshow ever it is using the battery for power.
Bottom Line
This is the full guide to enable Windows 10 background slideshow. You see it is very simple. Moreover, if you lose some important wallpaper that can’t be re-created, you can use the free data recovery software, MiniTool Power Data Recovery, to restore them.
MiniTool Power Data Recovery FreeClick to Download100%Clean & Safe
If you are facing some other issues related to Windows 10 background, you can let us know in the comment.
About The Author

Position: Columnist
Stella has been working in MiniTool Software as an English Editor for more than 8 years. Her articles mainly cover the fields of data recovery including storage media data recovery, phone data recovery, and photo recovery, videos download, partition management, and video & audio format conversions.
User Comments :