Something goes wrong when people connect their external hard drive and check for its capacity. They find the “external hard drive not showing full capacity” issue happen and don’t know what to do. Then, this article on MiniTool Website will help resolve the issue.
External Hard Drive Not Showing Full Capacity
When you run into the hard drive not showing full capacity issue, you can infer the following possible reasons and then you can jump to the next part to troubleshoot them one by one.
- The hard drive is out of date.
- Insufficient storage space for the data.
- Incomplete or incorrect formatting process.
- Errors caused by bad sectors.
- Configuration error in partition table.
Fix: External Hard Drive Not Showing Full Capacity
Fix 1: Update the Hard Driver
When you find that an external hard drive shows wrong capacity, you can try to update the hard driver first. First of all, make sure the external hard drive is connected.
Step 1: Right-click on the Start icon to choose Device Manager and expand Universal Serial Bus controllers.
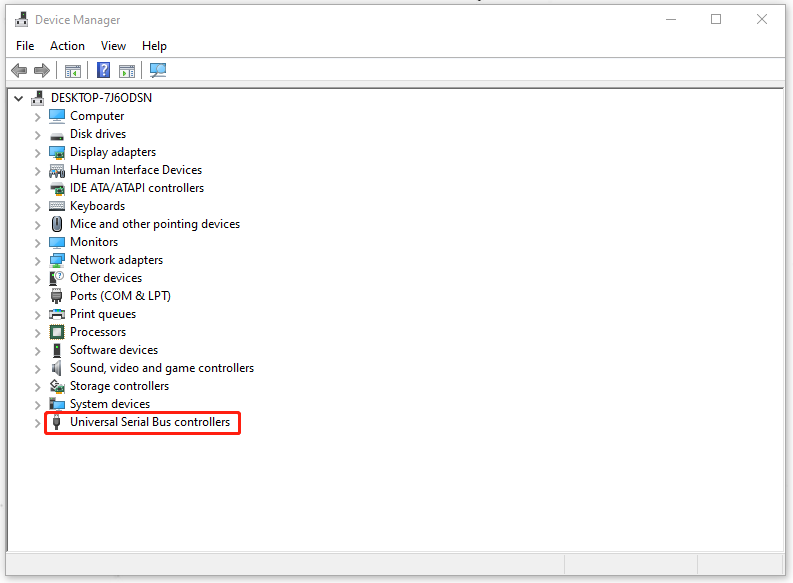
Step 2: Then please right-click on the driver to choose Update driver and then choose Search automatically for updated driver software.
Fix 2: Format the Hard Drive
This part will teach you how to format the hard drive so that you can fix “external hard drive showing wrong capacity”.
Step 1: Type Command Prompt in Search and choose Run as administrator.
Step 2: Type diskpart in the window and press Enter and then execute list disk to show all connected disk drives.
Step 3: Then please execute the following commands one by one. Note that you should replace n with the number of the external hard drive showing wrong capacity.
- select disk n
- clean
- create partition primary
- format fs=ntfs quick
- assign
Now, you can check if the error has been gone.
Fix 3: Check for Bad Sectors
In case that the bad sectors in that external hard drive make “hard drive not showing full capacity”, you can go check for that.
Step 1: Open File Explorer and locate and right-click on the drive to choose Properties.
Step 2: Go to the Tools tab and click Check under Error checking.
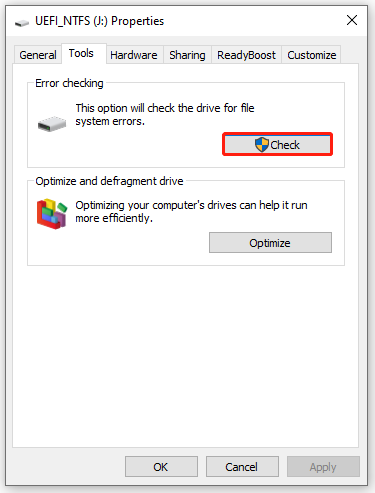
Then you can follow the instruction to go on with the next moves.
Related article: Can We Remove Bad Sector from Hard Disk Permanently?
Fix 4: Backup Data and Initialize the Hard Drive
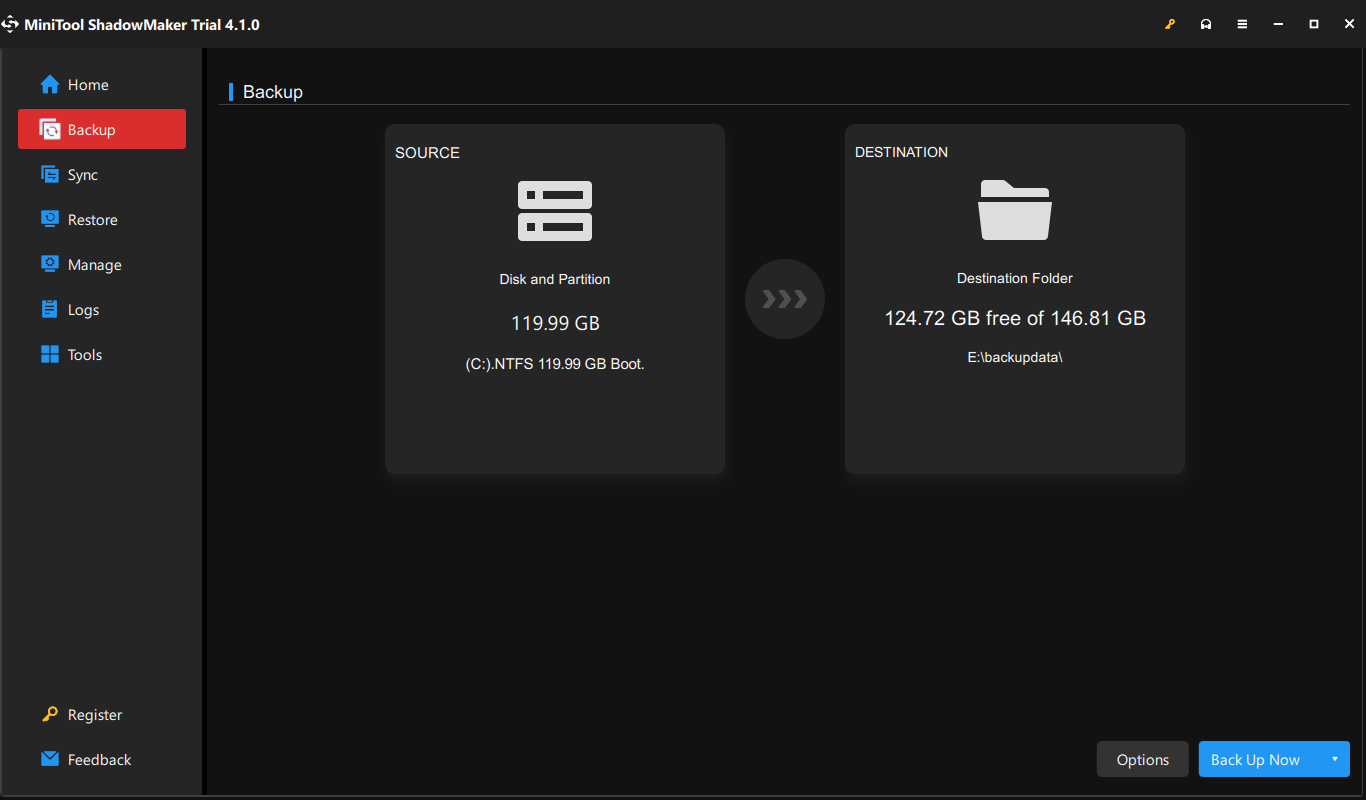
The last method is to initialize the hard drive. But before that, you can back up your data in the external hard drive first. We would like to recommend MiniTool ShadowMaker – this free backup software.
You can use it to clone the whole disk driver or back up your systems, partitions & disks, and files & folders. With its straightforward interface and instructions, the whole process will be quick and easy to go.
Download and install the program and when you open the program, you can click Keep Trial to get a 30-day free trial version.
MiniTool ShadowMaker TrialClick to Download100%Clean & Safe
Then in the Backup tab, choose your backup source and destination, and click Back Up Now to start the task.
When you finish the backup, you can start initializing the hard drive.
Step 1: Right-click on the Start icon to choose Disk Management and locate the external hard drive.
Step 2: Right-click on the drive to select Initialize Disk. If the disk is listed as Offline, right-click on it to select Online first.
Then you can follow the on-screen instruction to finish the work.
Bottom Line:
If you encountered the “external hard drive not showing full capacity” issue, you can follow the above methods for troubleshooting. Hope these methods can help resolve your issue.
User Comments :