The wizard could not start microphone Windows 10 error will stop you from successfully setting up your microphone on your computer. MiniTool Software will show you some solutions that are proved to be effective to fix this issue in this post. You can try them to help you out.
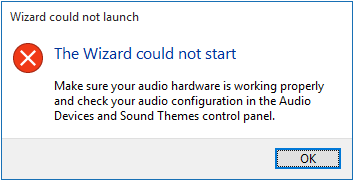
When you set up your microphone on your Windows 10 computer, you may get a Wizard could not launch error saying The Wizard could not start after clicking Set up microphone. The detail prompt is Make sure your audio hardware is working properly and check your audio configuration in the Audio Devices and Sound Themes control panel.
This is a typical microphone setup wizard not working issue. You need to take some measures to fix it. This post will show you some effective solutions.
How to Fix Set up Microphone Wizard Could Not Start?
- Update the Microphone Driver
- Reinstall the Microphone Driver
- Run the Recording Audio Troubleshooter
- Turn on Allow apps to access your microphone
- Make Sure Microphone Is Enabled
Fix 1: Update the Microphone Driver
When the wizard could not start microphone Windows 10 issue happens on your computer, the first thing you need to consider is to reinstall the driver for the microphone. Here is a guide:
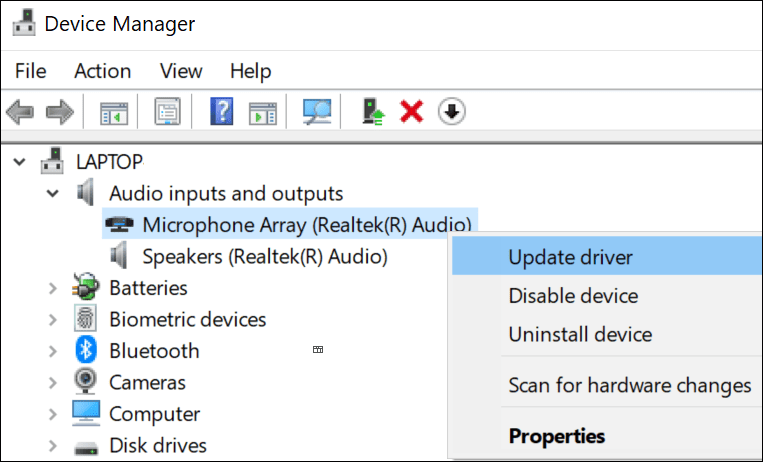
1. Use Windows Search to search for device manager and select the first result to open Device Manager.
2. Expand Audio inputs and outputs.
3. Right-click on the target Microphone and then select Update driver.
4. Select Search automatically for updated driver software and follow the rest wizards to complete the update process.
After updating the driver for the microphone, you can go to check whether you can set up the device successfully. If not, you can reinstall the driver to have a try.
Fix 2: Reinstall the Microphone Driver
- Open Device Manager.
- Expand Audio inputs and outputs.
- Right-click on the target Microphone and then select Uninstall device.
- Restart your computer and Windows will automatically reinstall the driver to your computer.
Fix 3: Run the Recording Audio Troubleshooter
1. Click Start.
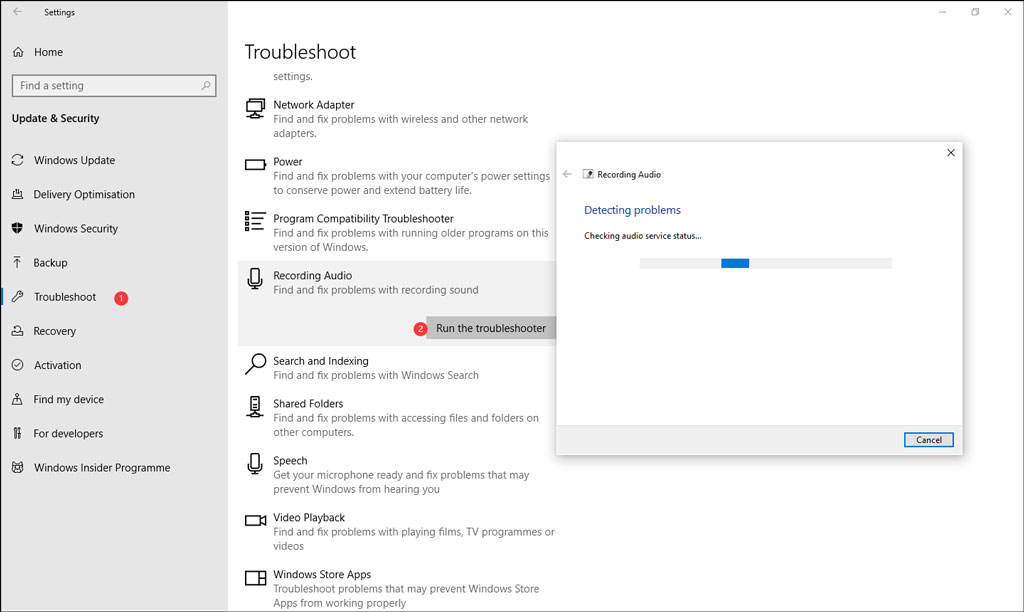
2. Go to Setting > Update & Security > Troubleshoot.
3. Scroll down to find the Recording Audio option and click it. Next, click Run the troubleshooter to continue.
4. On the pop-up window, select the microphone you want to fix and click Next to follow the wizard to fix the found issues.
Fix 4: Turn on Allow Apps to Access Your Microphone
If you want to use the microphone along with some apps on your computer, you need to turn on the Allow apps to access your microphone feature.
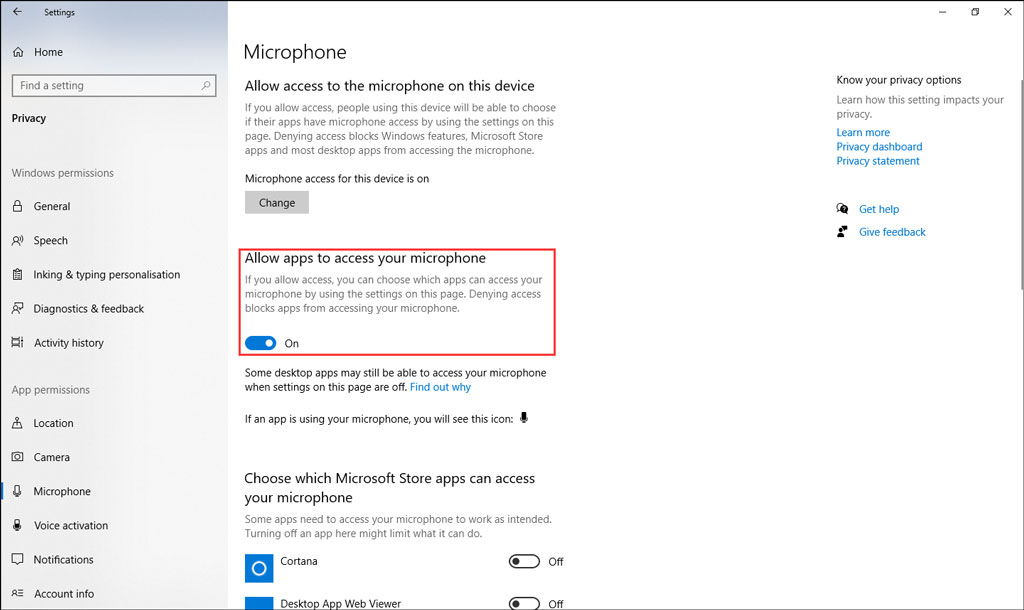
- Use Windows Search to search for microphone privacy settings and select the first result.
- Turn on the button for Allow apps to access your microphone.
- Reboot your computer.
Fix 5: Make Sure Microphone Is Enabled
If you want to use a microphone on your computer, you should enable it of course. So, if set up microphone wizard could not start, you need to check whether the microphone is enabled on your PC.
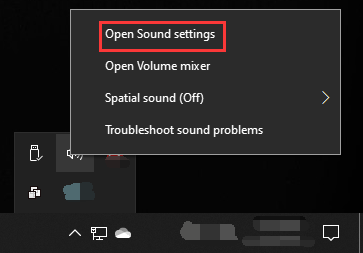
1. Right-click the speaker icon from the Windows system tray or the taskbar, and select Open Sound settings.
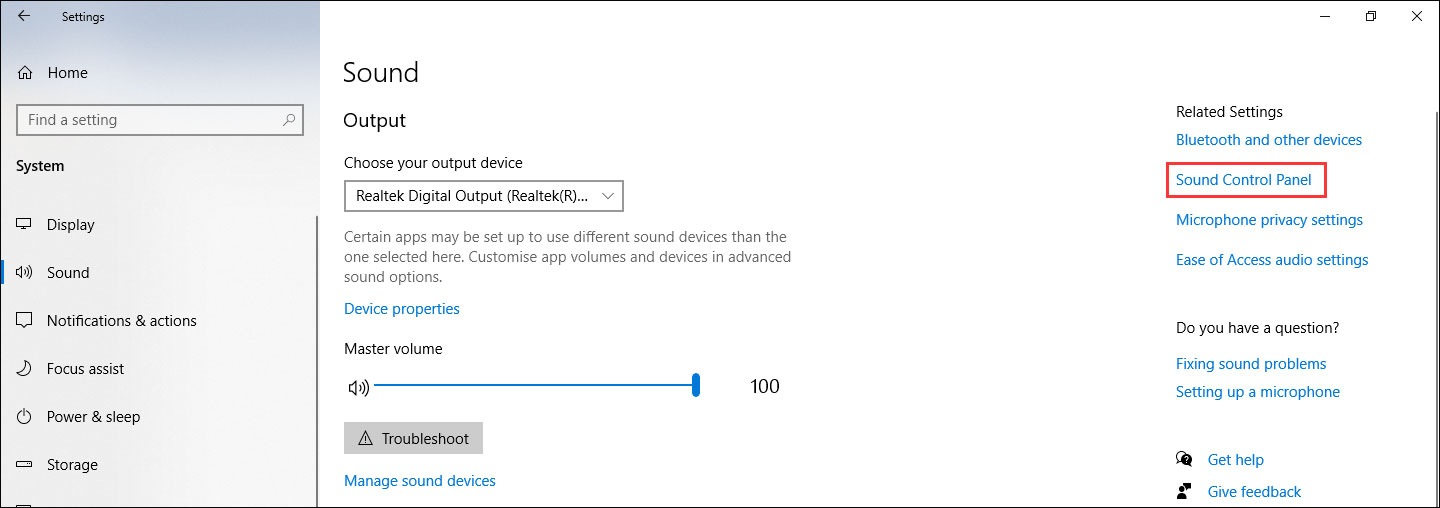
2. Click Sound Control Panel under Related Settings.
3. Right-click on the microphone you want to enable and select Enable.
4. Click the Set Default button to make the selected microphone the default one.
5. Click Apply.
6. Click OK.
We hope these 5 methods can effectively get rid of the wizard could not start microphone Windows 10. Should you have any related problems, you can let us know in the comment.
About The Author

Position: Columnist
Stella has been working in MiniTool Software as an English Editor for more than 8 years. Her articles mainly cover the fields of data recovery including storage media data recovery, phone data recovery, and photo recovery, videos download, partition management, and video & audio format conversions.
User Comments :