SSH keys are authentic credentials for securing file transfer and computer connection. Compared with using the SSH protocol with username and password, SSH keys can be more reliable. This post on MiniTool shows you how to generate SSH keys in Windows within a few steps.
SSH refers to Secure Shell, a remote administrator protocol that creates a secure connection tunnel with another computer. Relying on this protocol, all your communication and transferring files to and from a remote server will be done in an encrypted manner. Windows 11, as well as Windows 10, comes with a built-in OpenSSH client, which allows you to generate SSH keys in Windows without the help of third-party software.
MiniTool Power Data Recovery FreeClick to Download100%Clean & Safe
You can enable the OpenSSH client in Windows Settings by following these steps:
Step 1: Press Win + I to open Windows Settings.
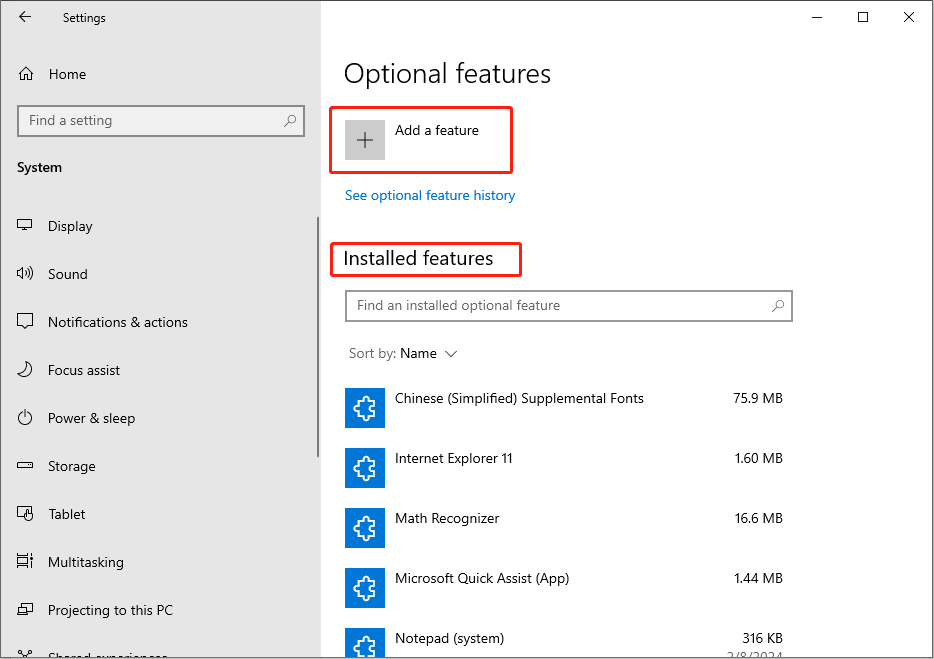
Step 2: Type optional features in the search bar and choose Add an optional feature from the result list.
Step 3: You can check the list of Installed features to see whether the OpenSSH client is installed. If not, click Add a feature to search and install it.
Way 1: Generate SSH Keys Using CMD in Windows
After you have enabled the OpenSSH client feature on your Windows, you can try to refer to the following guide to create an SSH key with Command Prompt.
Step 1: Press Win + R to open the Run window.
Step 2: Type cmd into the text box and press Shift + Ctrl + Enter to run Command Prompt as administrator.
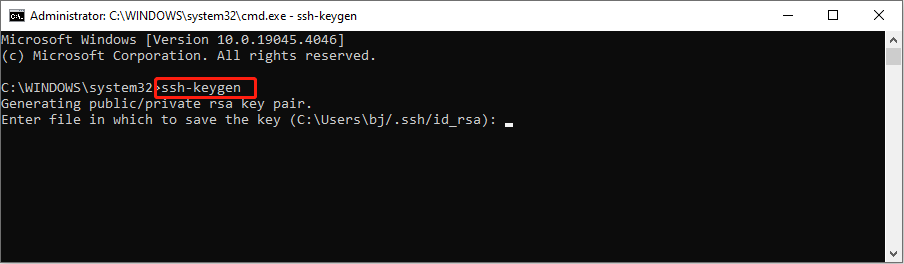
Step 3: Type ssh-keygen and hit Enter. It will generate an RSA SSH key automatically.
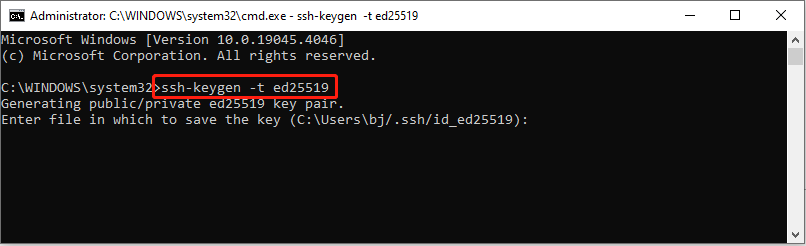
If you want to generate Ed25519 SSH keys, you should change the command line to ssh-keygen -t ed25519 and hit Enter.
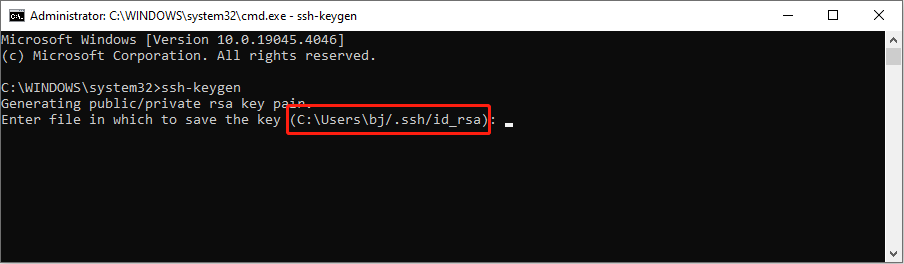
Step 4: You will be asked to enter a file path to save the key. As a default location is given, you can choose to use this location and hit Enter, or change the path based on your requirement.
Step 5: Then, you can set a passphrase. The SSH passphrase is used to protect your private key, preventing people who can access your computer from copying your private key. Therefore, though this is an optional step, we suggest you set a passphrase. If you really don’t want a passphrase, simply hit Enter to complete the process.
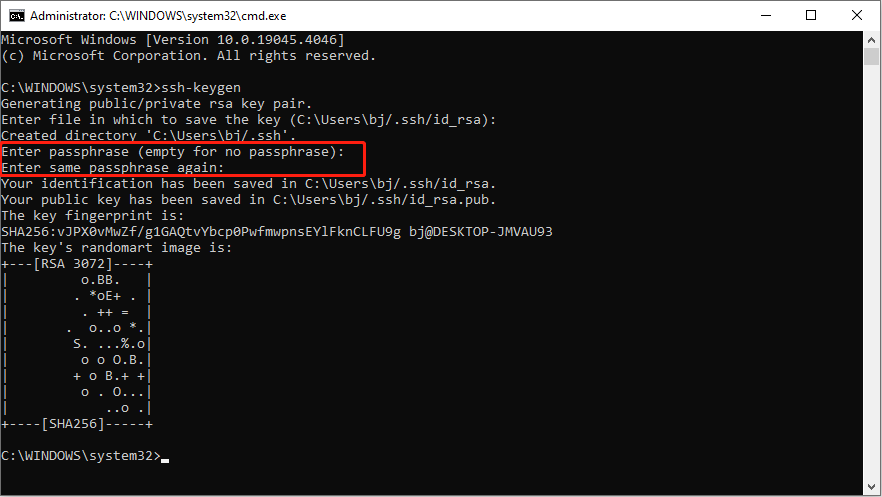
The key fingerprint can be used to confirm authenticity when first connected to a remote server. Now the SSH key has been generated. You can find two keys in the location: a private key and a public one. The file with a .pub extension is the public key.
The public key is for authorizing identification when you upload a server and you can share it with others to give them permission while the private key should be kept by yourself only.
Way 2: Generate SSH Keys Using WSL
If you are a WLS user, the steps to generate SSH keys are similar to the above method. But you need to specify what kind of SSH key you want to create initially. Here are the detailed steps.
Step 1: Launch the WSL terminal on your computer.
Step 2: Type different commands to create different types of keys.
- For an RSA-4096 key, you should type ssh-keygen -t rsa -b 4096 and hit Enter.
- For an Ed25519 key, you need to input ssh-keygen -t ed25519 and hit Enter.
You are suggested to add your email address to distinguish which account the key belongs to. For instance, the command line should be ssh-keygen -t rsa -b 4096 -C “[email protected]” or ssh-keygen -t ed25519 -C “[email protected]”.
Step 3: Set the save location or use the default location and hit Enter.
Step 4: Set the passphrase or skip this step by pressing Enter.
Now, you have successfully generated SSH keys.
Bottom Line
It is easy and convenient to generate SSH keys in Windows with the methods above. After reading this post, you should know the detailed steps about how to generate an RSA and Ed25519 key.
User Comments :