Why your GPU performance is not showing in Task Manager? How to view the real-time updates of GPU usage of different process again? You will be enlightened from the solutions mentioned in MiniTool Website.
AMD or NVIDIA GPU Not Showing up in Task Manager
By default, Task Manager will show how much the system resources including GPU, CPU, Memory, Disk, and Network are being used. However, sometimes, you may fail to check the real-time updates of the GPU usage process. What’s wrong with it? There are some potential causes:
- Improper installation of GPU
- Corrupted system files
- Faulty graphics driver
- Outdated BIOS
MiniTool ShadowMaker TrialClick to Download100%Clean & Safe
How to Fix NVIDIA or AMD GPU Not Showing in Task Manager?
Fix 1: Check If GPU Is Properly Installed
First, you should make sure if your GPU is installed properly. If you are using an integrated GPU, there is a chance that it doesn’t recognize by the system. If you are using a dedicated GPU, the device driver for your GPU might be outdated.
![[Easy Guide] How to Check GPU Health Windows 10/11?](https://images.minitool.com/minitool.com/images/uploads/2023/06/how-to-check-gpu-health-thumbnail.png)
Fix 2: Update Graphics Driver
It is reported that updating the graphics driver is helpful to most users. Here’s how to update your GPU driver:
Step 1. Type device manager in the search bar and hit Enter.
Step 2. Expand Display adapters and right-click on your graphics card to select Update driver.
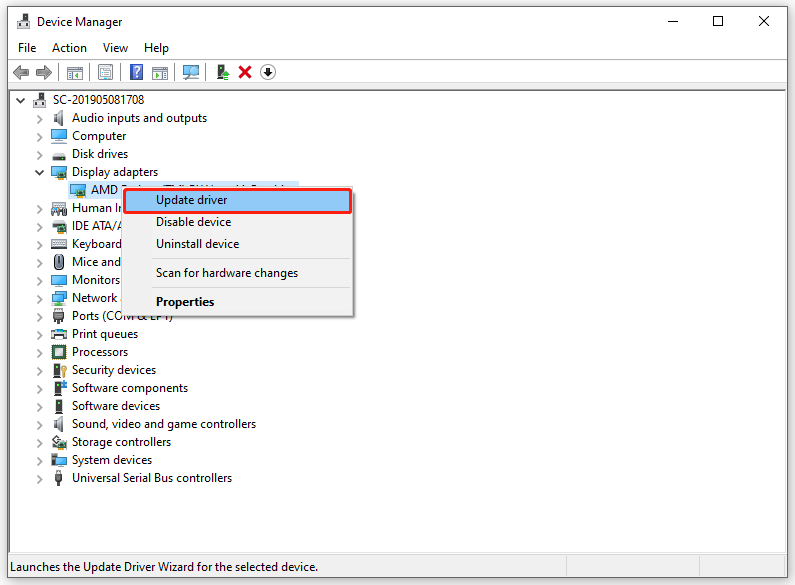
Step 3. Click on Search automatically for drivers and follow the guidelines on the screen to update your graphics driver to the latest version.
Fix 3: Repair Corrupted System Files
Corrupted system files can also lead to GPU not showing up in Task Manager. To scan and repair these faulty system files, you can run a combination of SFC and DISM. To do so:
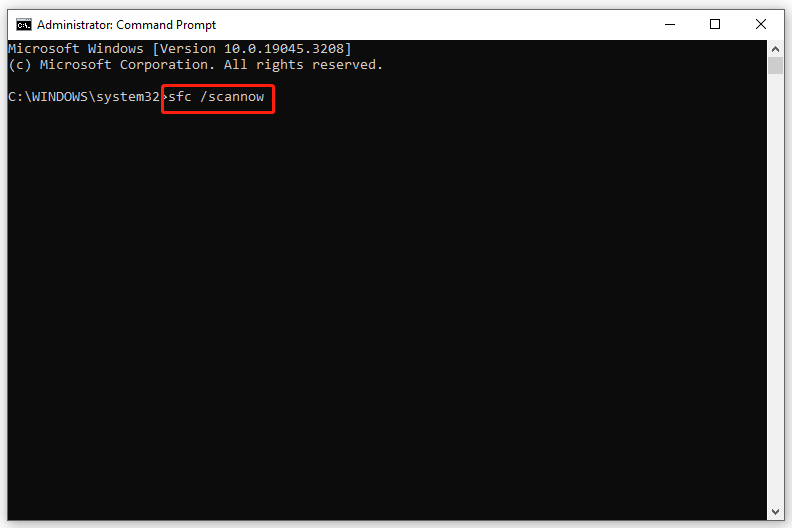
Step 1. Type cmd in the search bar to locate Command Prompt and right-click on it to choose Run as administrator.
Step 2. Type sfc /scannow and then hit Enter.
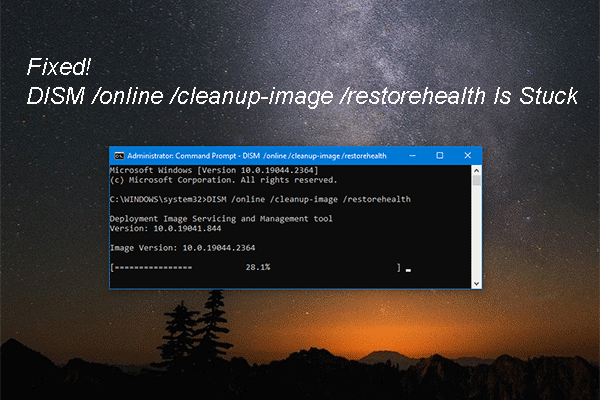
Step 3. Run the following commands one by one and don’t forget to hit Enter.
Dism /Online /Cleanup-Image /CheckHealth
Dism /Online /Cleanup-Image /ScanHealth
Dism /Online /Cleanup-Image /RestoreHealth
Fix 4: Update BIOS
The last resort to GPU not showing up in Task Manager is to update your BIOS. Follow these steps carefully:
Move 1: Check the BIOS Version
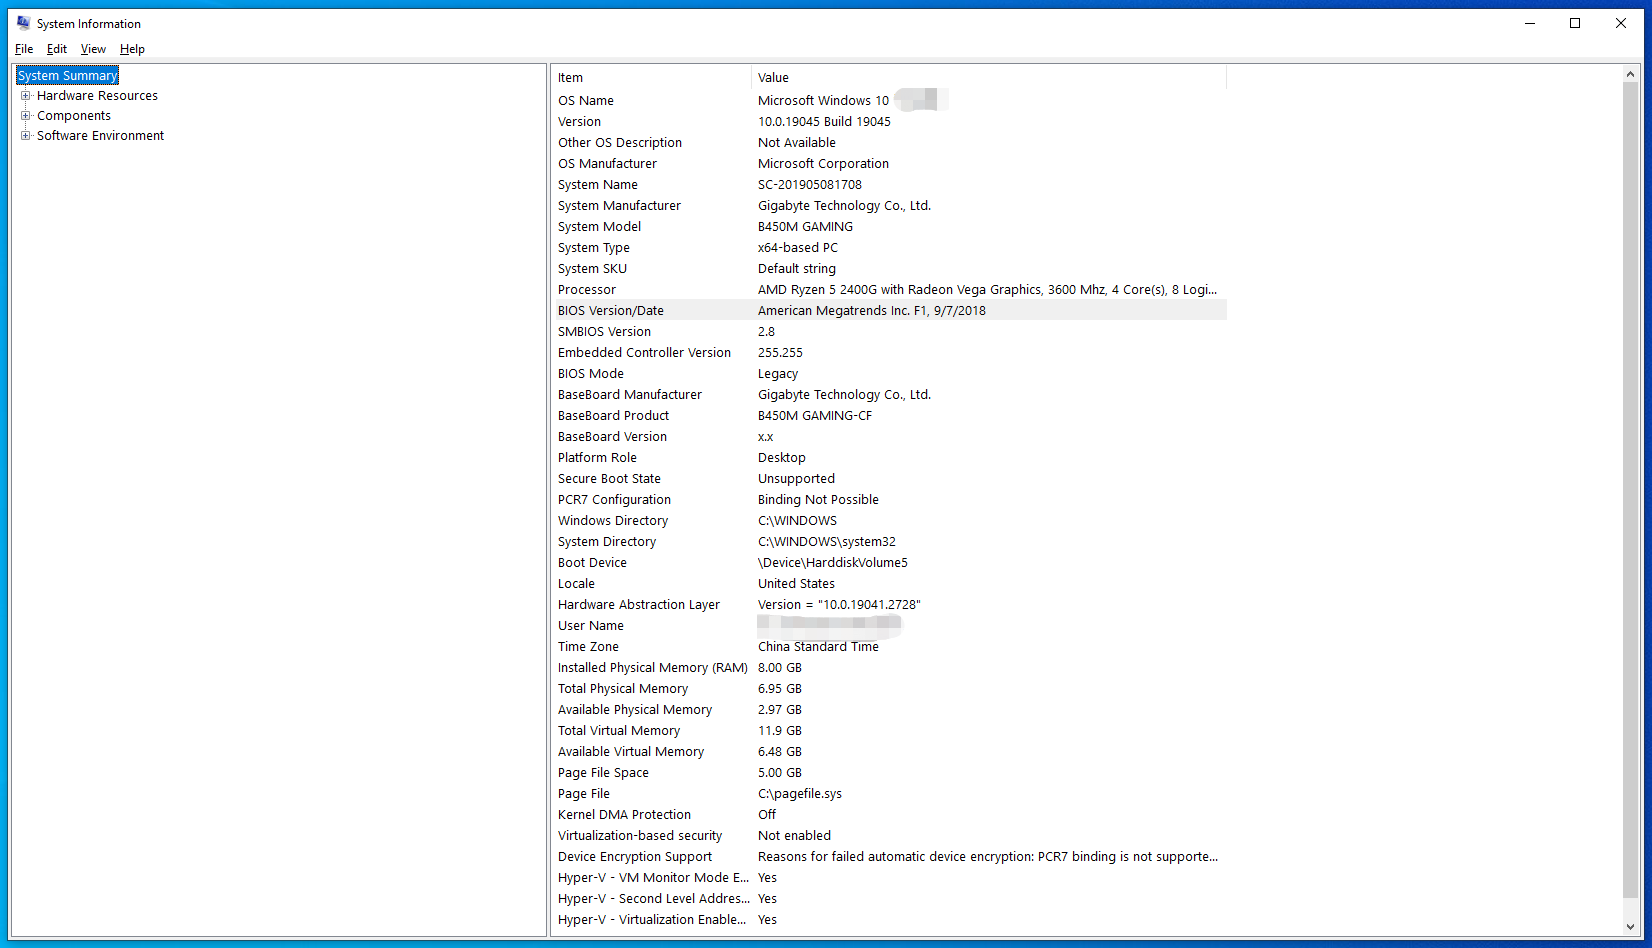
1. Type system information in the search bar and hit Enter.
2. Find BIOS Version/Date and note down the BIOS version you are running.
Move 2: Format the USB Drive to FAT32
1. Plug the USB flash drive into your computer.
2. Find your USB flash drive in File Explorer and right-click on it to choose Format.
3. Select FAT32 from the File System dropdown menu and click on Start.
Move 3: Update Your BIOS
1. Go to the official website of the motherboard manufacturer and download the BIOS file to your USB flash drive.
2. Restart your computer and press the BIOS key repeatedly to enter BIOS.
3. Select the Update BIOS option, locate the BIOS file and select it to start the BIOS updating process.
4. Save the changes, exit BIOS and reboot your computer.
User Comments :