Windows Photo Gallery download is not officially available at present. But, you can still use other safe source to download and install it on your computer for further use. In this MiniTool post, we will show you where to get the Windows Photo Gallery download source and install it on your computer. We will also show you how to use it to manage your images.
In this post, we will show you some useful information about Windows Photo Galley.
About Windows Photo Gallery
- What is Windows Photo Gallery?
- How to download and install Windows Photo Gallery?
- How to Use Windows Photos Gallery?
What Is Windows Photo Gallery?
Windows Photo Gallery, which is formally known as Windows Live Photo Gallery, was an image organizer & editor and photo sharing app. It is a part of Windows Essentials software suite. This app has been disabled for download since January 10, 2017 because the Windows Essentials line of products have been discontinued.
Microsoft is no longer offering the Windows Essentials 2012 suite for download, but if you have already installed it on your computer, it can still work for you. What if you can’t find it on your computer?
How to Download and Install Windows Photo Gallery?
When you search for Windows Photo Galley on the internet, you will find many download sources. After trying, you will find that not all these sources are useful and some may contain virus that can destroy your computer.
In this post, we will show you a safe source: you can click this download page to download this Windows Essentials 2012 on your computer. After downloading, you can click the downloaded file and then start the installation:
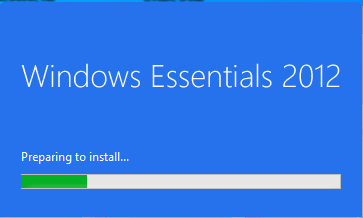
1. After clicking the setup file, you will see the following interface that says preparing to install….You need to wait until you enter the next interface.
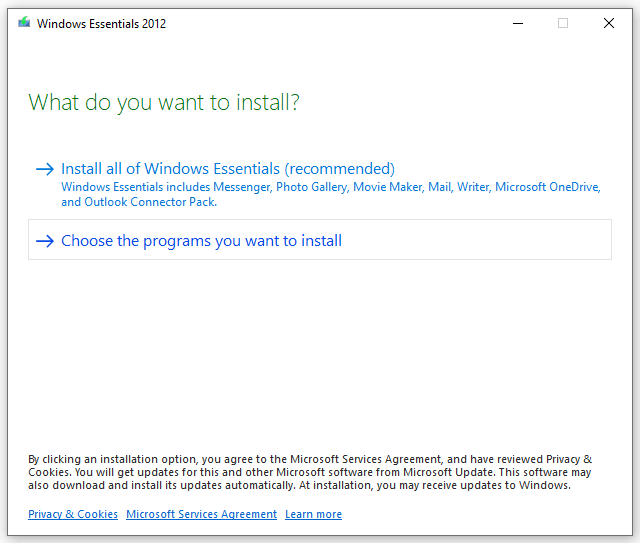
2. Click Choose the programs you want to install to continue.
3. Uncheck the programs you don’t want to install.
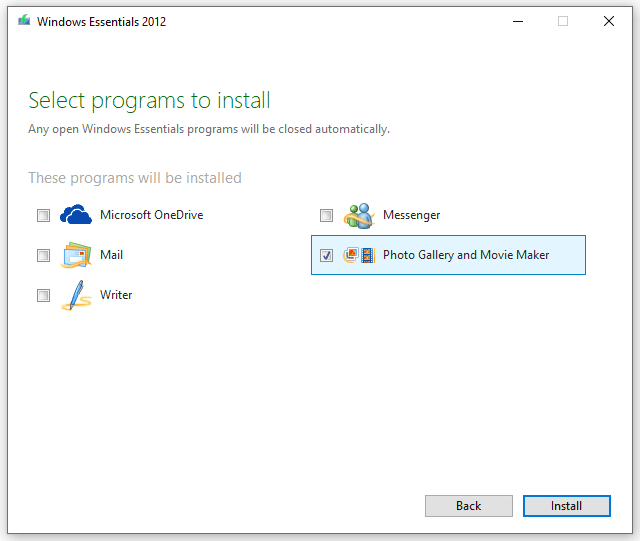
4. Click Install.
5. The installation process will start.
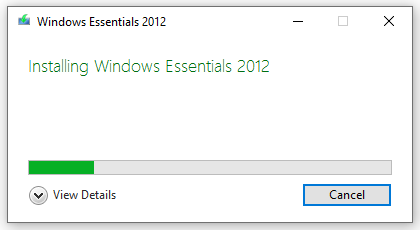
You need to wait until the entire process ends. You may get a message saying the installation fails. Don’t worry, you can restart your computer. Then, you can find the Windows Photo Galley app has been installed on your computer successfully.
How to Use Windows Photo Gallery?
In this part, we will show you how to use Windows Photo Gallery to manage your images on the computer. It is very simple:
How to Use Windows Photo Gallery?
- Open Windows Photo Gallery
- Add photos from your PC
- Import photos from an external device
- Organize your photos in Photo Gallery
- Share your photos using Photo Gallery
- Export photos to an external device
Open Windows Photo Gallery
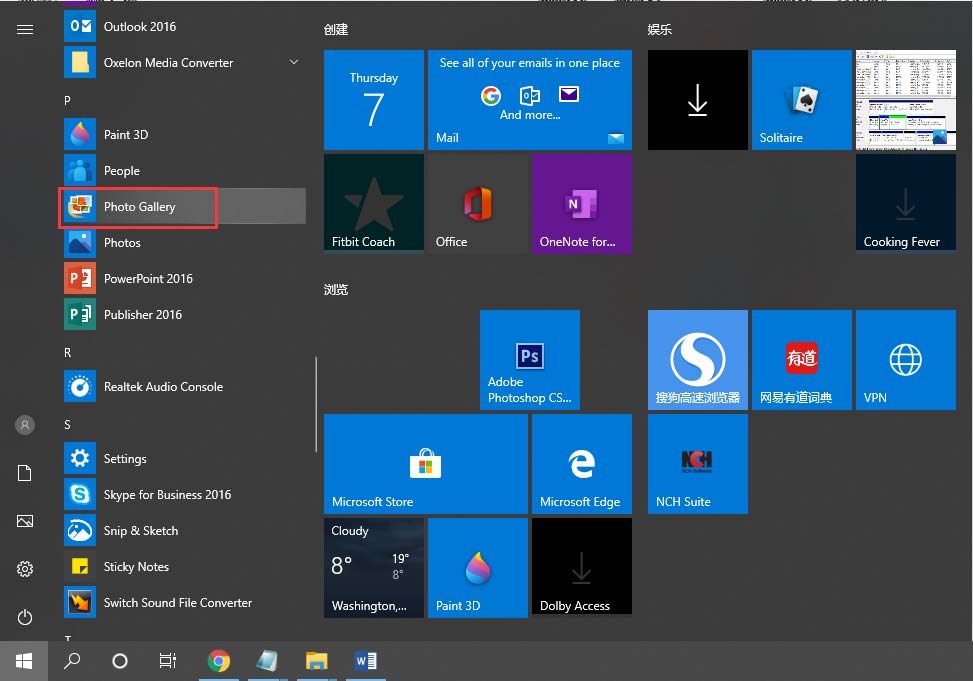
1. Click Start.
2. Select Photo Gallery from the program list.
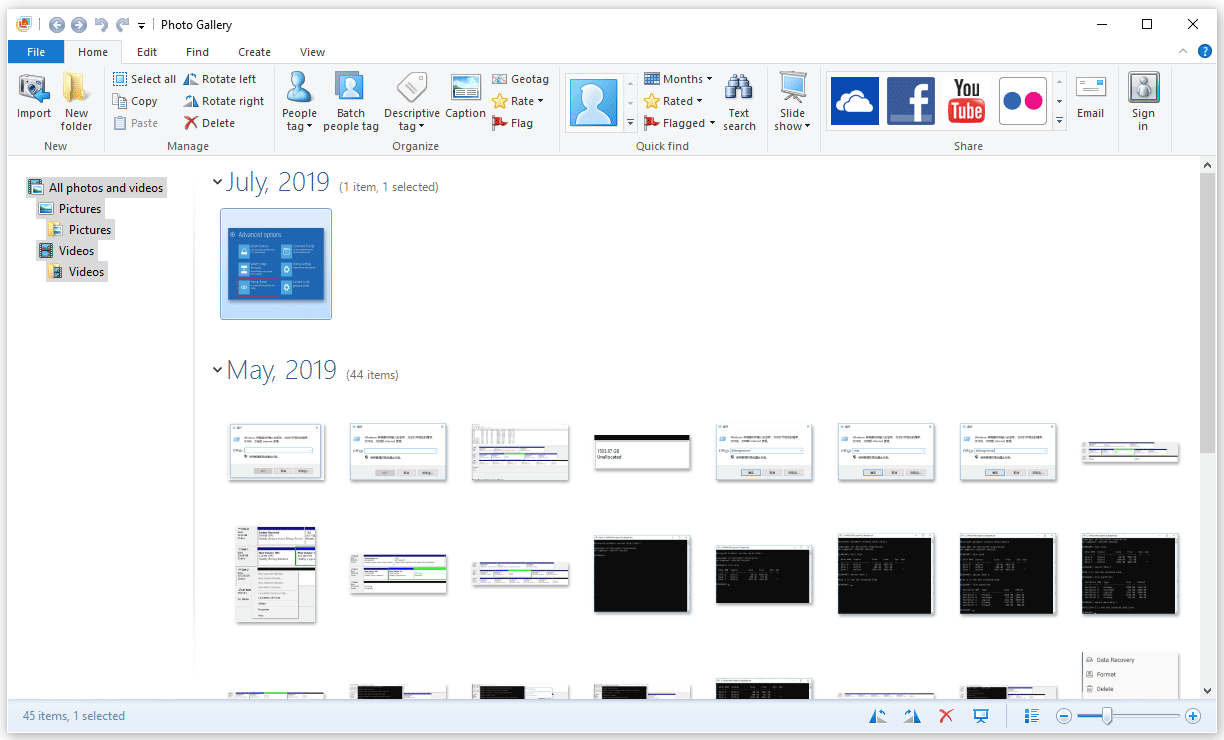
3. Then, Windows Photo Gallery is opened as follows.
Add Photos from Your PC
It is very simple to add the existed images, photos, and videos from your computer:
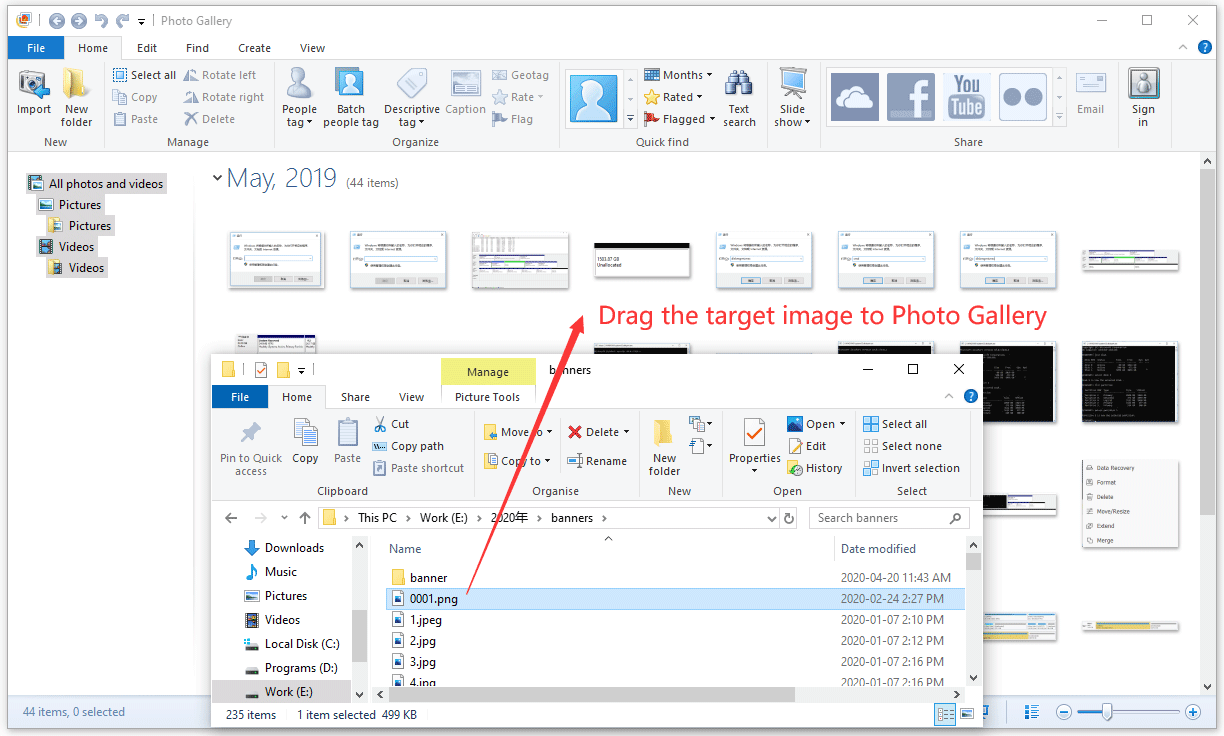
- Open File Explorer.
- Go to the path that saves the items you want to add to Photo Gallery.
- Find the target file and then drag it to Photo Gallery.
Import Photos from an External Device
You can also import photos from an external device in Photo Gallery.
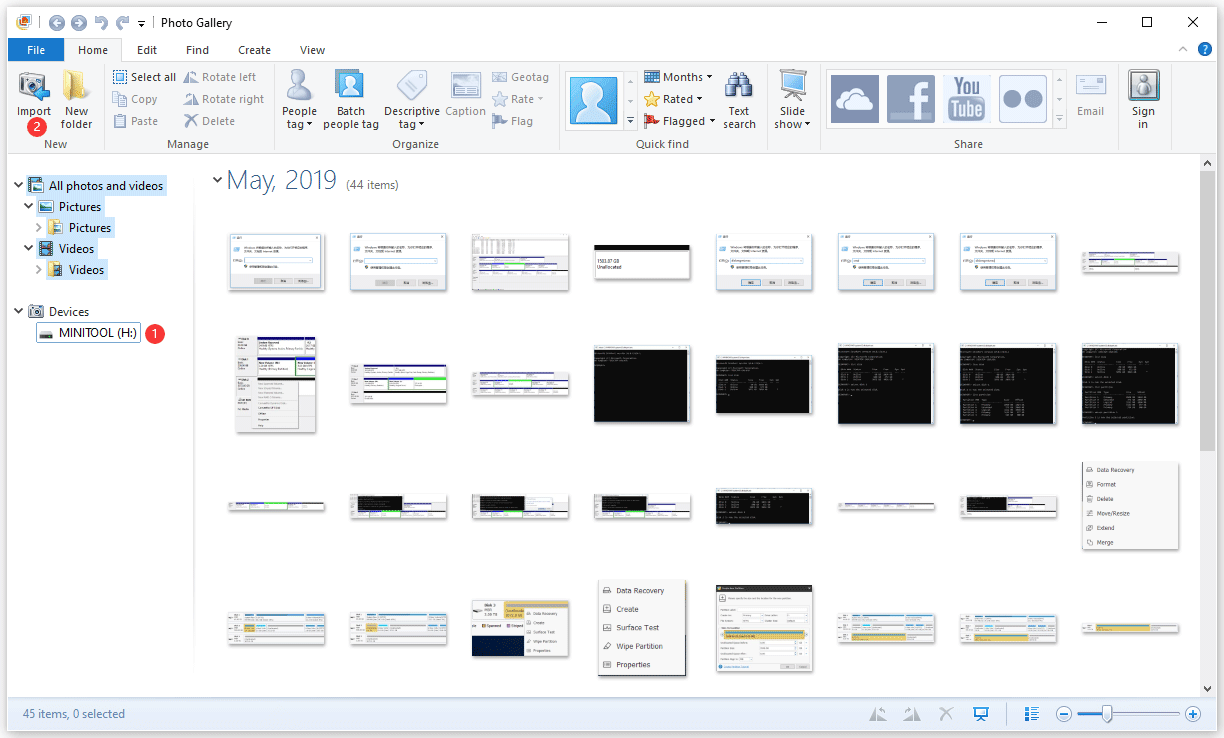
1. After you connect the external device to your computer, it can automatically appear on the left list in Photo Gallery. You can select the target device to continue. Alternatively, you can also click Import from the top Ribbon bar to select the target external device.
2. You will get three options. You can select one according to your requirements:
- Review, organize, and group items to import
- Import all new items now
- More options
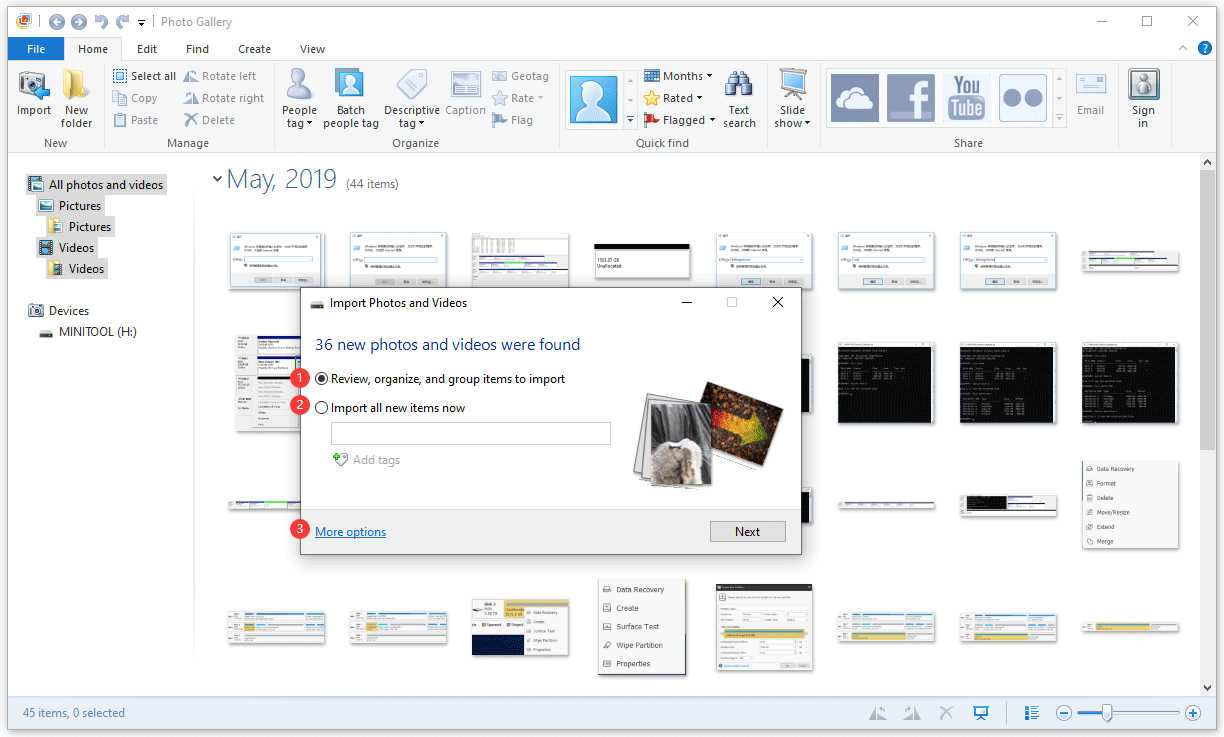
3. Click Next.
Organize Your Photos in Photo Gallery
Add Tags for the Photos in Photo Gallery
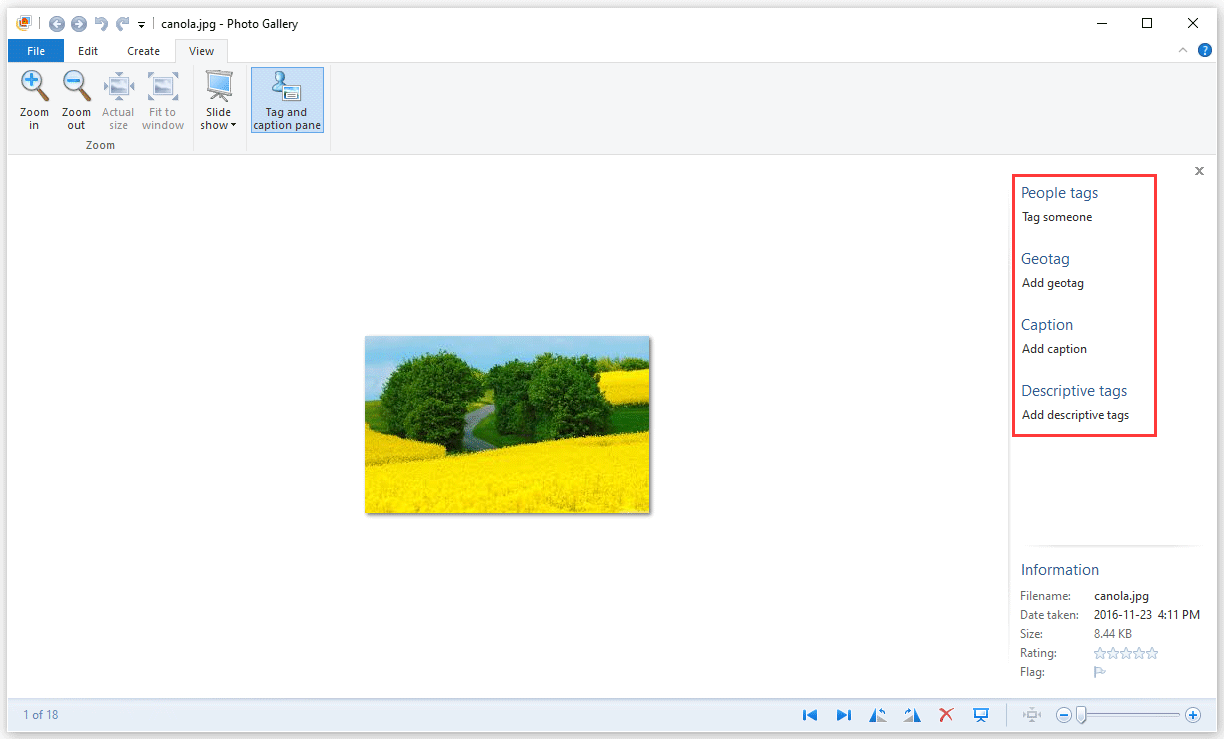
To organize your photos in Photo Gallery, you can double-click on the target file and then you can see the Tag and caption pane on the right side of the interface. Then, you can add tags for that file. If you can’t find the pane, you can go to View and click Tag and caption pane to make it display on the interface.
View the Photos in Photo Gallery
You can use the bottom pane to switch to the next or previous photos, rotate the current photo, delete it, perform a slide show, and zoom in or out.
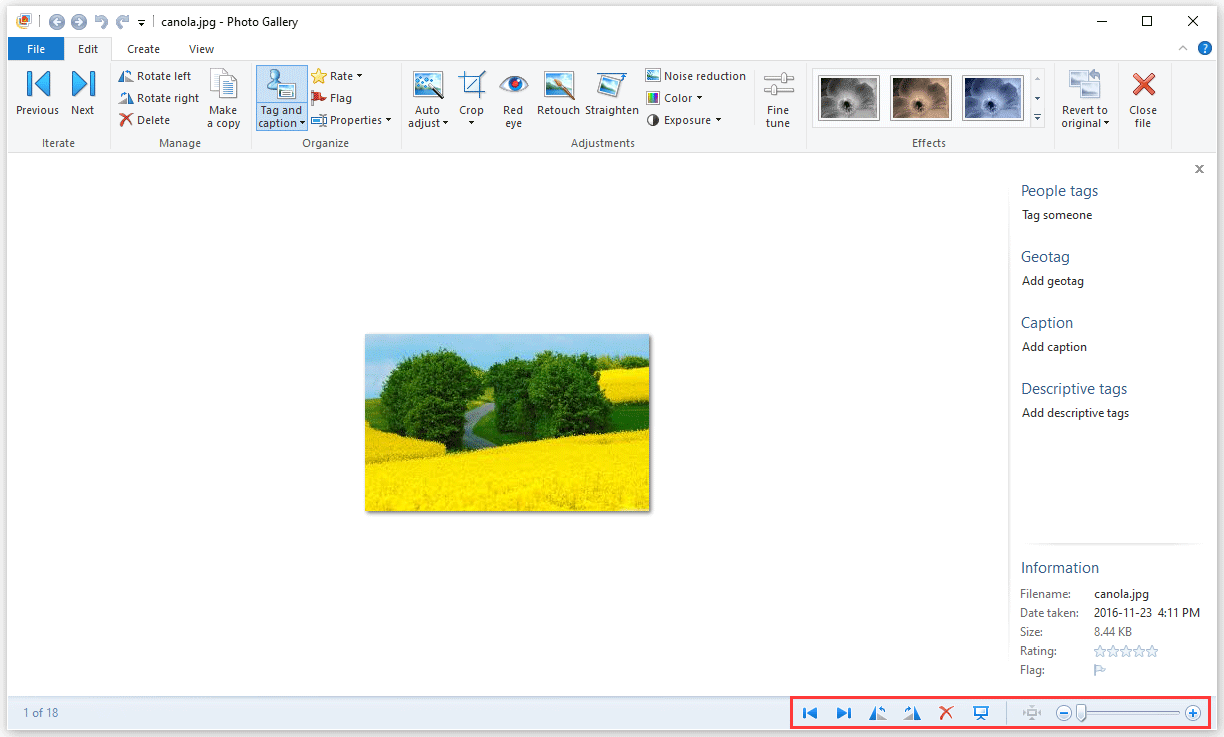
Edit and Fix Common Flaws
You can use Photo Gallery to simply edit your photos. For example, you can go to Edit > Auto Adjust to adjust picture brightness and contrast. You can also use the Effects feature to change the image effect to meet your requirement. You can view the top pane to find more available options to edit your photos.
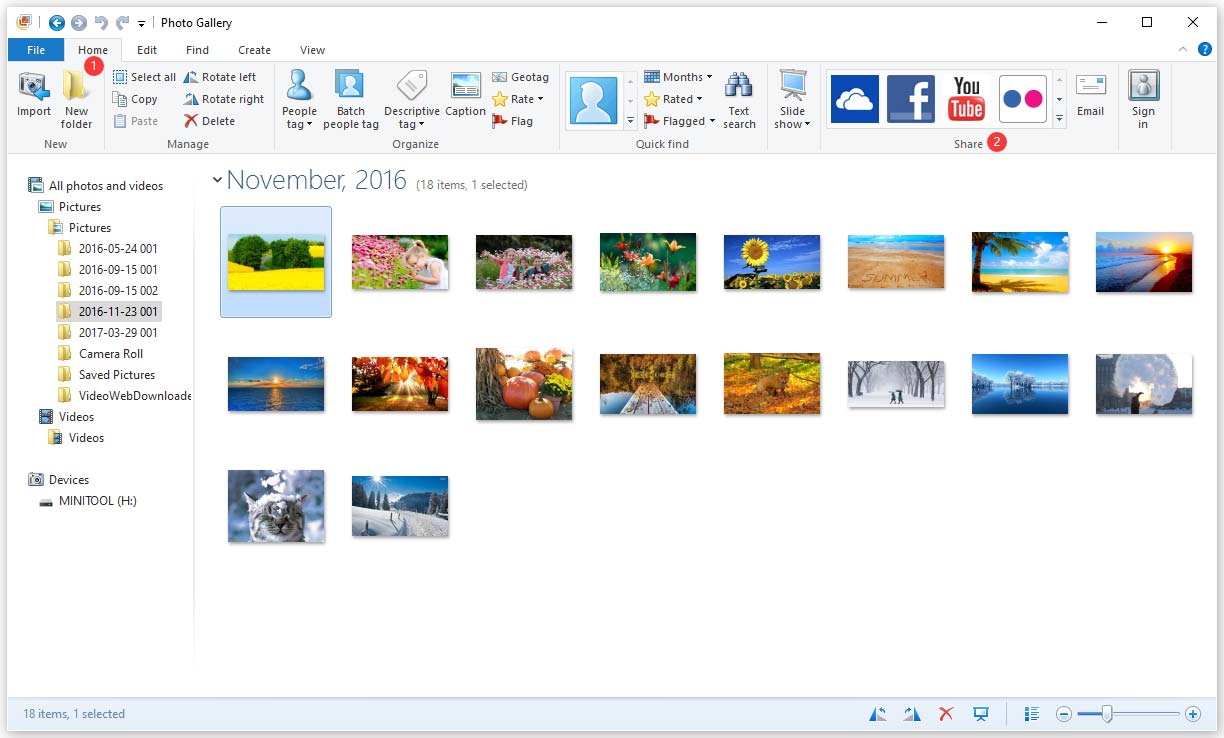
Share Your Photos Using Photo Gallery
You can also share your photos using Photo Gallery: you need to select the items you want to share with other and then go to Home > Share to select a service you want to share with.
Export Photos to an External Device
It is easy to import photos to an external storage device:
- Connect the external device to your computer and then open it.
- Go to find the files you want to export to the external drive.
- Drag the files to the external device.
About The Author

Position: Columnist
Stella has been working in MiniTool Software as an English Editor for more than 8 years. Her articles mainly cover the fields of data recovery including storage media data recovery, phone data recovery, and photo recovery, videos download, partition management, and video & audio format conversions.
User Comments :