For Windows Server 2022/2019/2016/2012/R2 users, it’s important to create a Windows Server recovery disk since it can help you boot the system when your system fails to boot. Besides, the recovery disk can also be used to create backups of your system or recover data from backups. This can help you protect your data and recover it in case of data loss.

The following part introduces how to create a Windows Server recovery disk with 2 tools. You can choose one of them based on your needs.
Way 1: Via ISO Image
First, you can create a Windows Server 2022 recovery disk via the ISO image file. Here are the detailed steps:
Step 1: Download the Windows Server ISOfile from the Evaluation Center‘s official website. Then, mount the ISO file and take note of the mounted drive letter, assuming it is g:\.
Step 2: Insert the media that you want to use as a recovery disk, such as a USB flash drive.
Step 3: Run Command Prompt as administrator and type the following commands one by one.
- Diskpart
- list disk
- select disk # (insert the disk number or the target USB)
- clean
- create partition primary
- select partition 1 active
- format fs=ntfs quick (change “ntfs” into “fat32” if you are creating UEFI bootable USB)
- assign letter=# (any available letter, assuming it is h)
- exit
Step 4: With the recovery disk created, you can continue to read the following commands:
- cd boot
- bootsect.exe /nt60 h:/ (the drive letter of your USB)
Step 5: Then, you can copy all the contents from the mounted ISO into the USB drive using the xcopy command as shown below:
xcopy g:\*.* h:\ /E /H /F
Way 2: Via MiniTool ShaodwMaker
How to create a Windows Server recovery disk? There is an easier way and that is to use MiniTool ShadowMaker. It is a Server backup software that allows you to create a system image and then perform system image recovery in case of system breakdown. It supports a wide range of Windows Server operating systems, including 2012, 2016, 2019, and 2022.
Step 1: Download and install MiniTool ShadowMaker. Launch it.
MiniTool ShadowMaker TrialClick to Download100%Clean & Safe
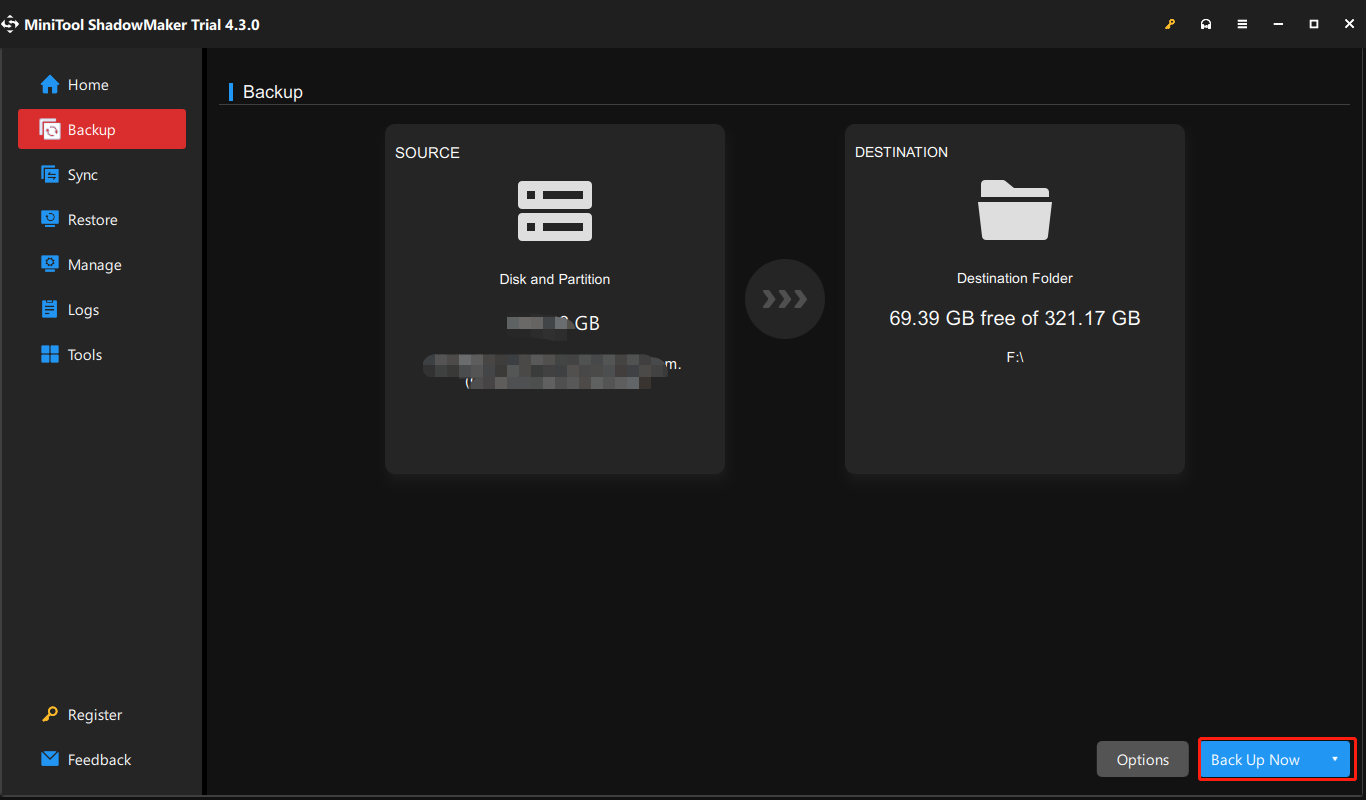
Step 2: Go to the Backup and you can see that system-related partitions are selected as the backup source. You only need to go to DESTINATION and choose a path to save the backed-up system image file.
Step 3: Click the Back Up Now button to execute the system immediately.
Step 4: Also, prepare an empty USB flash drive and connect it to your computer.
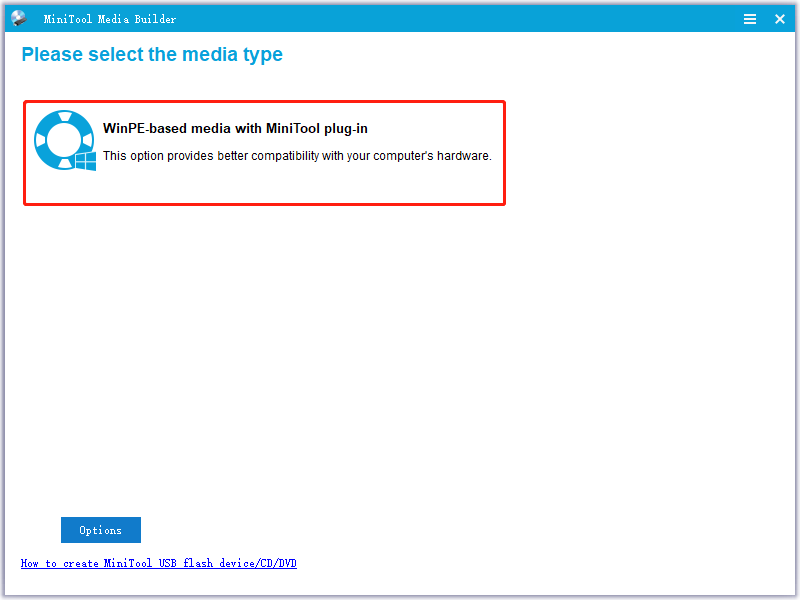
Step 5: Open this tool and go to its Tools page. Click the Media Builder feature and then click WinPE-based media with MiniTool plug-in to continue.
Step 6: Select your media destination and click Yes to confirm the operation. Then, this tool starts creating a USB bootable drive.
Final Words
That’s all the information about how to create a Windows Server recovery disk. If your Windows goes wrong, you can restore your system to a normal state with the created Windows Server recovery disk.
User Comments :