Windows Firewall, which is now known as Windows Defender Firewall since Windows 10 version 1709 in September 2017, is a Windows built-in application. It can filter information from the internet and block potentially harmful programs.
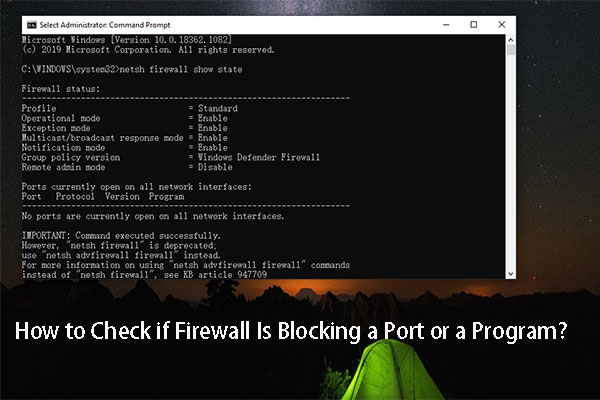
As time goes on, the settings in Windows Defender Firewall change according to your manual settings. For some reason, you may need to reset Windows Defender Firewall (Windows Firewall). In this post, MiniTool Software will show you how to do this job using different methods.
How to Reset Windows Firewall on Windows?
- Reset Windows Defender Firewall via Control Panel
- Reset Windows Defender Firewall via Windows Security
- Reset Windows Defender Firewall via Command Prompt
- Reset Windows Defender Firewall via Windows PowerShell
- Reset Windows Defender Firewall via Run
Method 1: Use Control Panel to Reset Windows Firewall
No matter which Windows operating system (OS) you are using, you can use Control Panel to reset Windows Firewall.
Here is a guide:
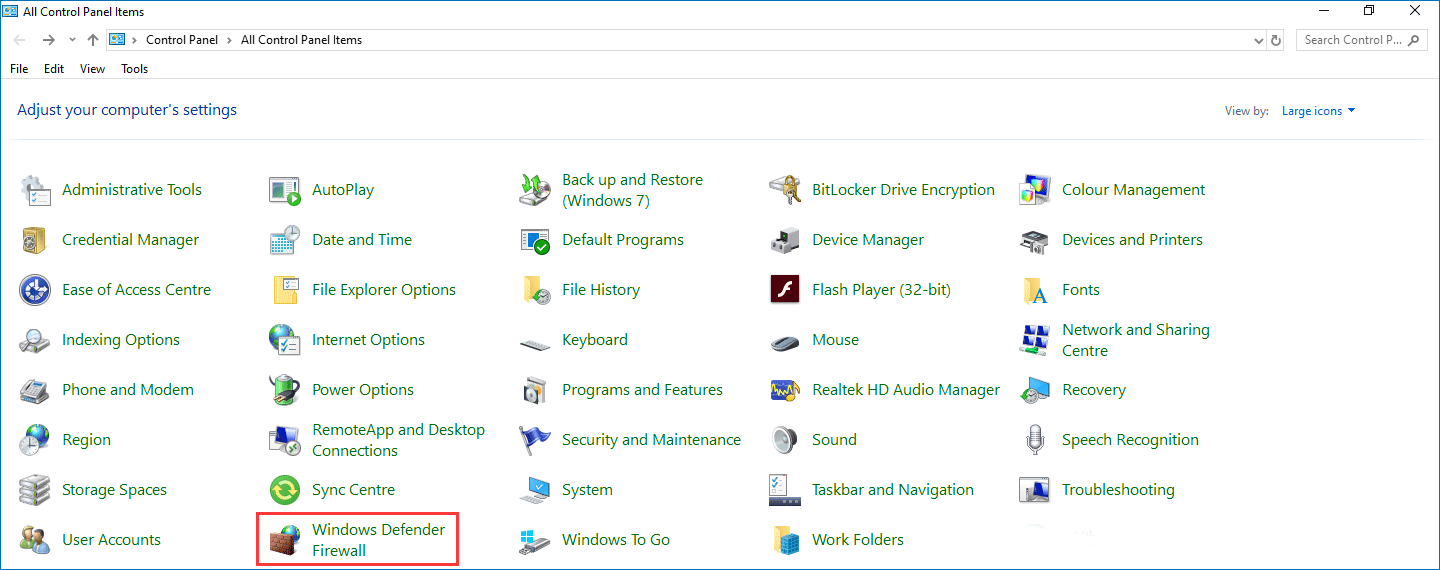
1. Use Windows Search to search for control panel and select Control Panel to open it.
2. Select Windows Defender Firewall.
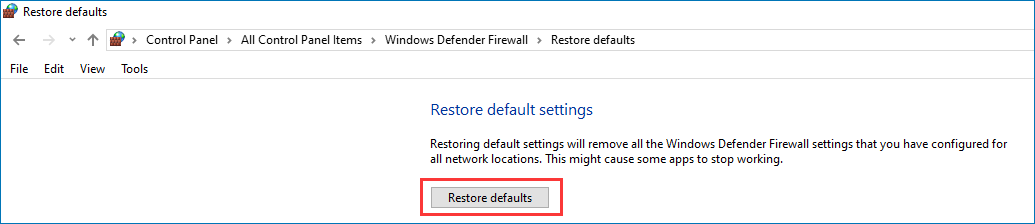
3. Click Restore defaults from the left list.

4. Click the Restore defaults button to reset Windows Firewall to default.
5. You will receive a Restore Defaults Confirmation window where you need to click Yes to confirm the operation.
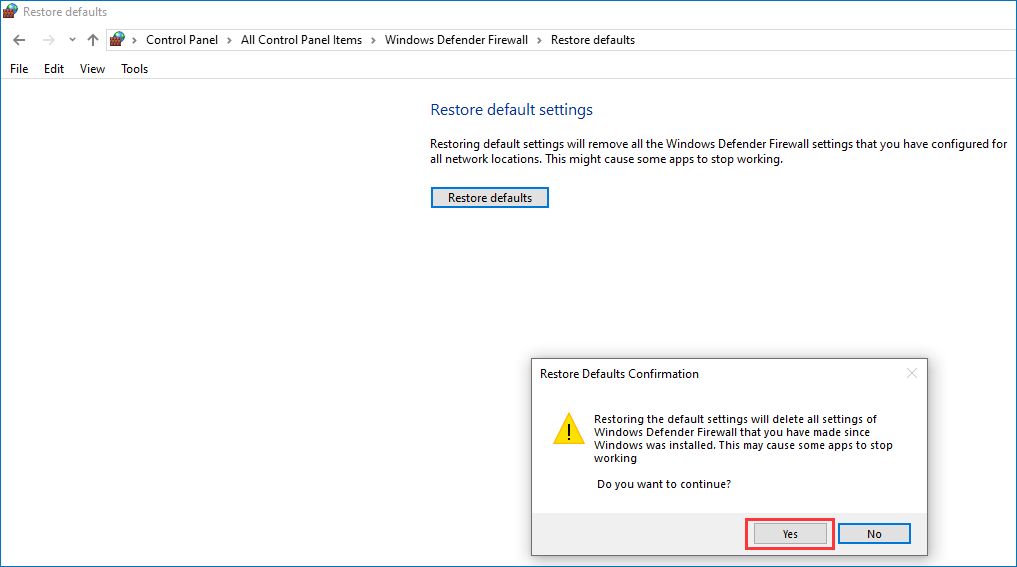
After these steps, you will go back to the Windows Defender Firewall window. All the Firewall rules are reset to the factory settings.
Method 2: Use Windows Security to Reset Windows Firewall
This method is for Windows 10 only.
1. Click Start.
2. Go to Settings > Update & Security > Windows Security > Firewall & network protection.
3. Click the Restore firewalls to default link.
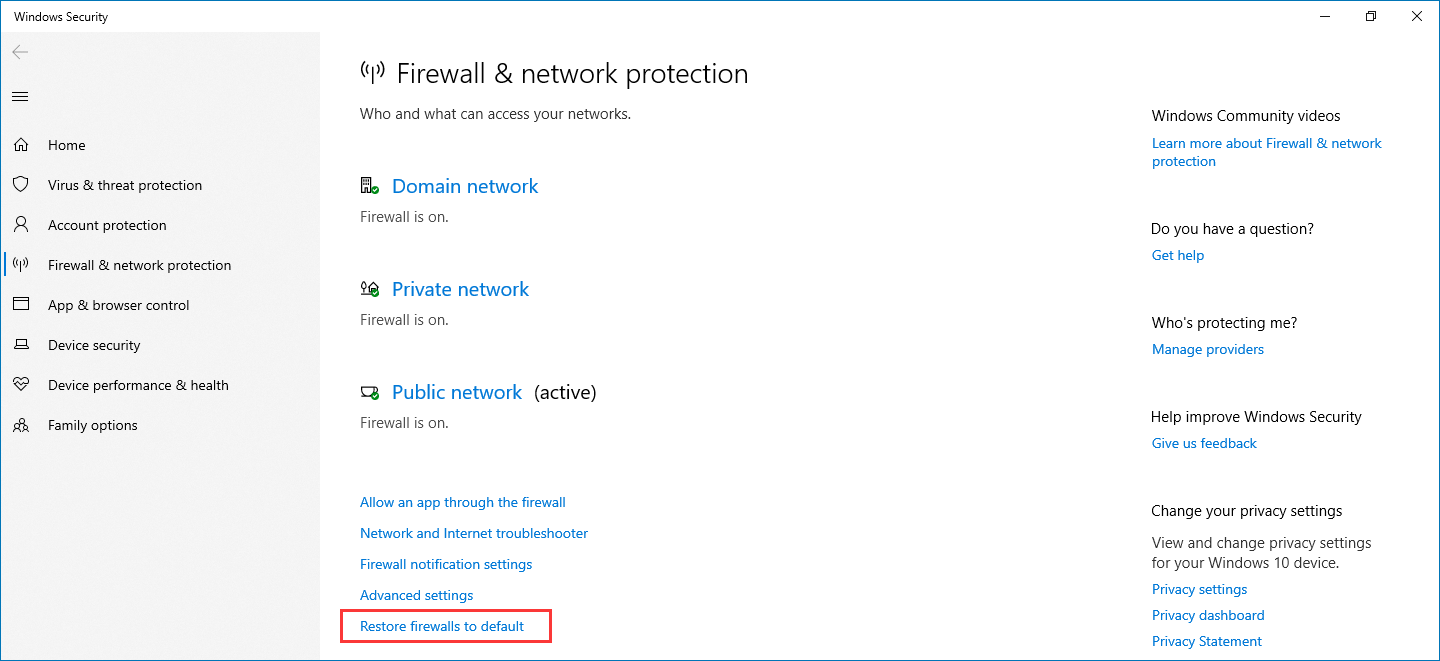
4. Click Yes on the pop window to confirm the operation.
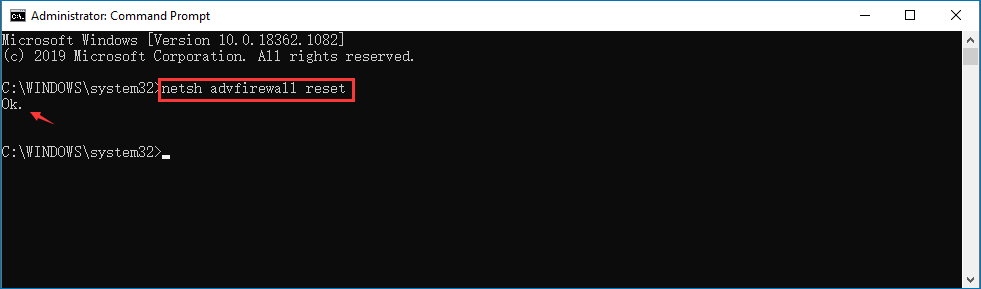
Method 3: Use Command Prompt to Reset Windows Firewall
Another method to reset Windows Firewall is to use Command Prompt. Here are the things you should do:
- Open Command Prompt as administrator.
- Type this command netsh advfirewall reset and press Enter to execute it.
- When the process ends, you will receive OK feedback in Command Prompt.
Method 4: Use Windows PowerShell to Reset Windows Firewall
If you want to reset Windows Firewall settings using Windows PowerShell, you can follow these steps:
- Right-click on Start.
- Select Windows PowerShell (Admin).
- If you receive the User Account Control warning, you need to click Yes to continue.
- Copy and paste this command to PowerShell: (New-Object -ComObject HNetCfg.FwPolicy2).RestoreLocalFirewallDefaults() and press Enter.
- Windows Firewall will be reset to default without any confirmation.

Method 5: Use Run to Reset Windows Firewall
The last method to reset Window Defender Firewall is to use run. This guide tells you how to reset Windows Firewall settings to default:
1. Press Win+R to open Run.
2. Type msc in the Run dialogue and press Enter.
3. You will see the Windows Defender Firewall with Advanced Security Then, right-click Windows Defender Firewall with Advanced Security on Local Computer and then select Restore Default Policy.
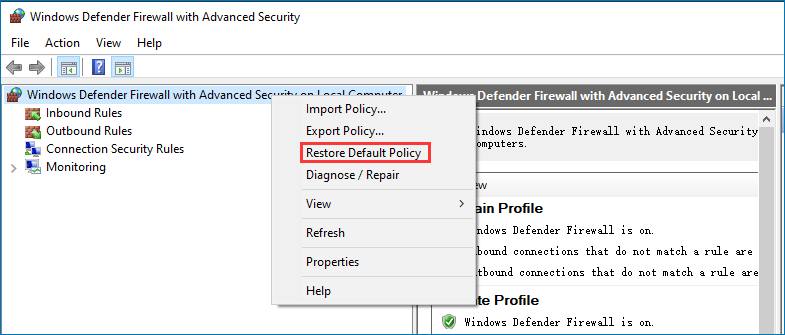
4. Click Yes on the pop-up window to confirm the operation.
Those are the 5 methods to reset Windows Firewall settings to default on your Windows computer. We hope they can help you solve your issue.
Recover Data with MiniTool Data Recovery Software
If you encounter a data loss issue when using your computer, you can try MiniTool Power Data Recovery, professional data recovery software to rescue your lost data. You can first use the trial edition to see whether it can find your needed files.
MiniTool Power Data Recovery TrialClick to Download100%Clean & Safe
If you want to use this software to recover all your needed files from the scanning results, you can use a full edition. You can select a suitable edition from the MiniTool official site.
Should you have any related issues, you can let us know in the comment.
About The Author

Position: Columnist
Stella has been working in MiniTool Software as an English Editor for more than 8 years. Her articles mainly cover the fields of data recovery including storage media data recovery, phone data recovery, and photo recovery, videos download, partition management, and video & audio format conversions.
User Comments :