Wish to uninstall NVIDIA App from your computer to use the old GeForce Experience? Do you know how to uninstall NVIDIA App in Windows 11/10? MiniTool offers three simple methods to perform the uninstallation. Apply them one by one.
Why Remove NVIDIA App
NVIDIA App, a successor to NVIDIA GeForce Experience, is the essential companion for PC creators and gamers. This utility is designed to keep the PC up-to-date with the latest NVIDIA drivers. Moreover, it offers several tools to optimize games for optimal performance, such as the in-game overlay feature and a new unified GPU control center.
However, you may need to uninstall NVIDIA App. Here are some common reasons:
1. The new NVIDIA App causes low FPS in games, and uninstalling it can get a noticeable improvement in performance.
2. When meeting some issues like NVIDIA App not working, uninstalling and reinstalling it helps a lot.
3. NVIDIA Overlay functions correctly, leading to various issues in games. Aside from disabling it, some of you choose to uninstall the app.
4. You may prefer GeForce Experience and decide to remove NVIDIA App.
Then, we will walk you through how to uninstall NVIDIA App in Windows 11/10.
Option 1: Use Windows Settings
Windows 11 and 10 allow you to uninstall many apps via the Settings page. This way is quite simple if you take these steps.
Step 1: Open Settings by pressing Win + I.
Step 2: In Windows 10, go to Apps > Apps & features. In Windows 11, head to Apps > Installed apps.
Step 3: Type NVIDIA in the Search box, and all the apps related to NVIDIA are displayed. Locate the NVIDIA App, hit three dots, and choose Uninstall. Or directly choose that app and then click Uninstall.
Step 4: Confirm the uninstallation to proceed.
Option 2: Run Control Panel
Windows Control Panel enables you to manage system settings and features, including uninstalling applications. How to uninstall the NVIDIA App via Control Panel? Piece of cake! Here are the steps:
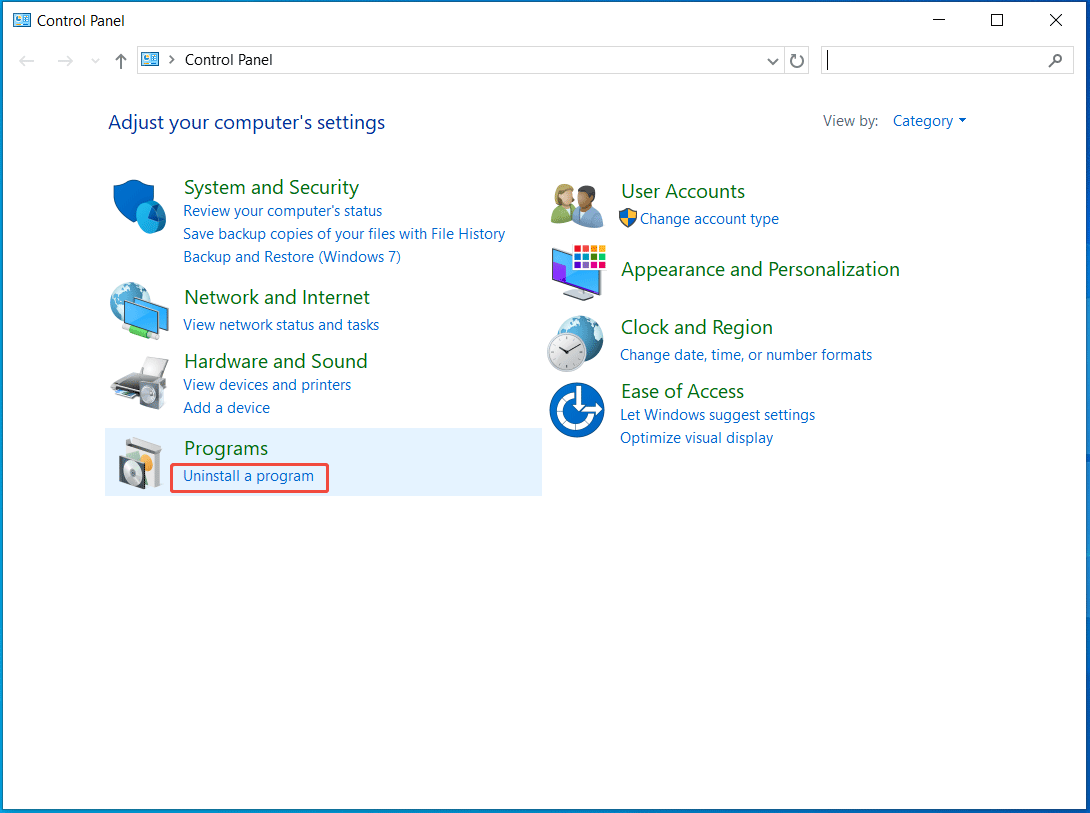
Step 1: Access Control Panel via the Windows Search.
Step 2: Select Category from the View by menu. Then, click Uninstall a program from the Programs section.
Step 3: In the Programs and Features window, select NVIDIA App and choose Uninstall.
Step 4: Follow the on-screen prompts to finish the uninstallation process.
Option 3: Use a Third-Party Software
In addition to the built-in tools to uninstall unwanted apps, some of you turn to a third-party uninstaller. When it comes to “how to uninstall NVIDIA App”, we recommend MiniTool System Booster.
It specializes in optimizing the computer for peak performance on multiple fronts, including cleaning up the PC, disabling background processes, uninstalling programs, configuring a proper power plan, automatically maintaining your computer, defragmenting your hard drive, freeing up RAM, and more.
To remove NVIDIA App, download and install this PC tune-up software now.
MiniTool System Booster TrialClick to Download100%Clean & Safe
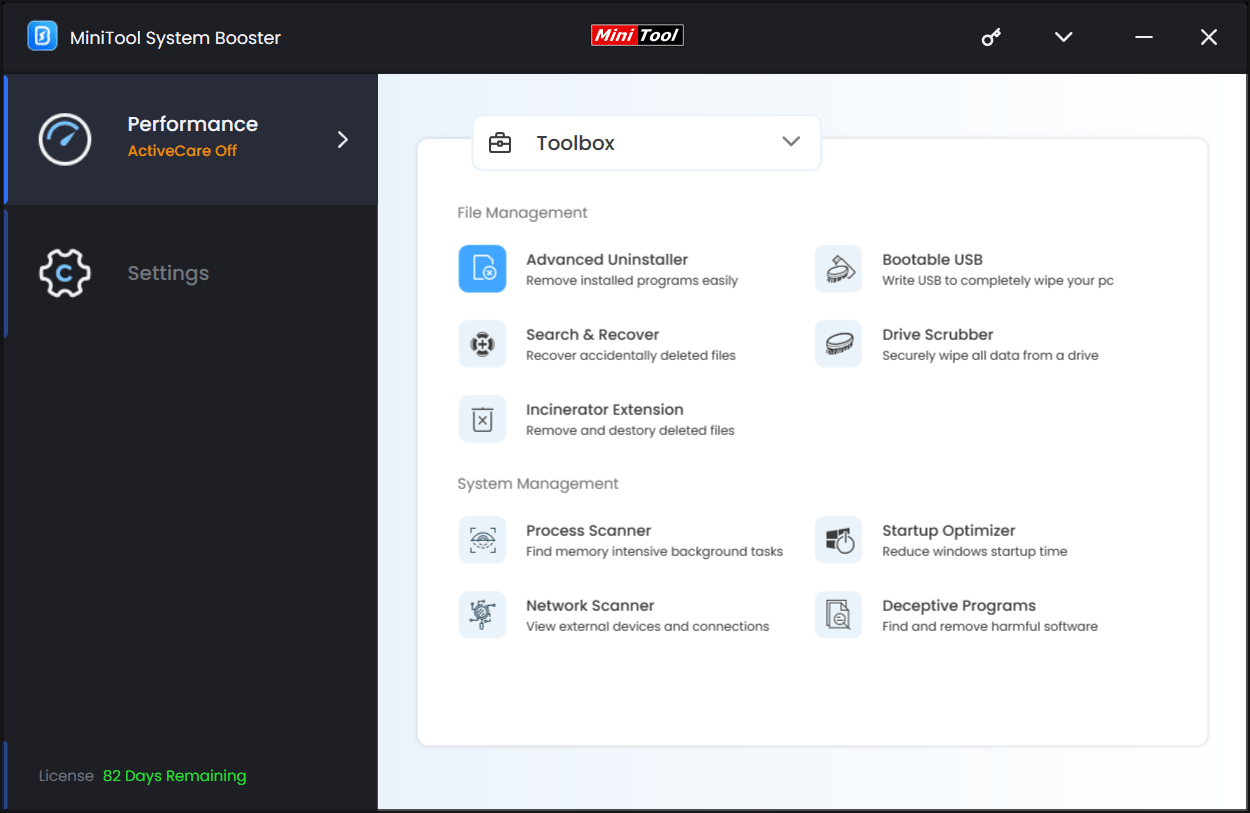
Step 1: Launch MiniTool System Booster to its Performance page.
Step 2: Choose Toolbox from the drop-down menu.
Step 3: Hit Advanced Uninstaller that easily removes installed programs, including NVIDIA App.
Step 4: After loading apps, locate NVIDIA App and click the UNINSTALL button to proceed.
The End
How to uninstall NVIDIA App on Windows 11/10? You can do this with ease via Windows Settings, Control Panel, or an app uninstaller like MiniTool System Booster. Select the one you prefer and uninstall the unwanted program.
About The Author

Position: Columnist
Vera has been working at the MiniTool Team for over 10 years as a technical editor and content writer. She mainly focuses on disk and partition management, data recovery, Windows backup and restore, and PC troubleshooting. Through in-depth software testing and hands-on experience, she has helped users solve a wide range of computer problems and better protect their data on Windows devices.
User Comments :