Windows Night Light feature can spread warm yellow light to reduce the amount of blue light emitted by the screen. If you need to work for a long time with your computer, the Night Light feature can reduce the fatigue of your eyes. But most of you experience the Night Light option greyed out problem. The following content introduces you to some working fixes.
What to Do When Night Light Option Greyed Out
Method 1: Delete Unnecessary Microsoft Account
If your computer has logged onto more than one account, the unused Microsoft account might have interfered with the settings of the current account. It is said that the Night Light option is unavailable problem can be fixed by deleting unnecessary or unused Microsoft accounts.
Step 1: Press Win + I to open Windows Settings.
Step 2: Choose Accounts > Email & accounts.
Step 3: Scroll down to find and click on the unused Microsoft account.
Step 4: Choose Remove and click Yes to confirm.
Method 2: Tweak Windows Registry
The Night Light settings are greyed out problem can be fixed by changing the corresponding registry key in Registry Editor. Here are the steps.
Step 1: Press Win + R to open the Run window.
Step 2: Type regedit into the box and hit Enter to open the Registry Editor window.
Step 3: Navigate to the aimed folder with the following path: HKEY_CURRENT_USER > SOFTWARE > Microsoft > Windows > CurrentVersion > CloudStore > Store > DefaultAccount > Cloud.
Step 4: Expand the Cloud folder to find the following folders: default$windows.data.bluelightreduction.bluelightreductionstate
default$windows.data.bluelightreduction.settings

Step 5: Right-click on the folder and choose Delete respectively.
If the two folders do not exist under the Cloud folder, you can go to the Cache > DefaultAccout to check whether the two folders are here.
Afterward, restart your computer to fully apply these changes. You can check if the Night Light feature can work normally.
Method 3: Update the Display Driver
If your graphics driver is incompatible with your computer, the Night Light option might become unavailable. You can update the display driver to the latest version to fix bugs.
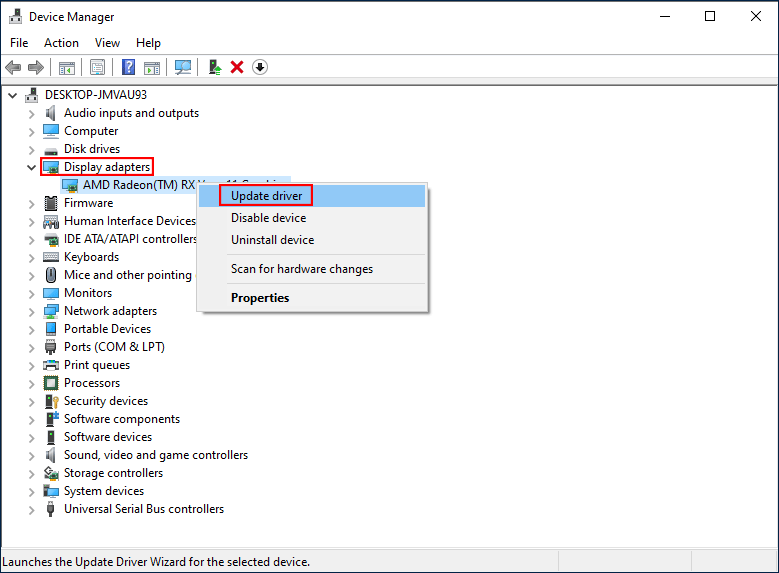
Step 1: Press Win + X and choose Device Manager from the WinX menu.
Step 2: Expand the Display adapters choice.
Step 3: Right-click on the graphics driver and choose Update driver from the context menu.
Step 4: Choose Search automatically for drivers in the popup window.
Method 4: Perform System Restore
If the above methods don’t work well on your computer, you can choose to perform a system restore. System restore can bring your computer back to the previous status when this problem hasn’t happened. But the premium to use this method is you have created system restore points before. If yes, follow the next steps to fix the Night Light option greyed out problem.
Step 1: Press Win + S and type Control Panel into the search box.
Step 2: Hit Enter to open the window.
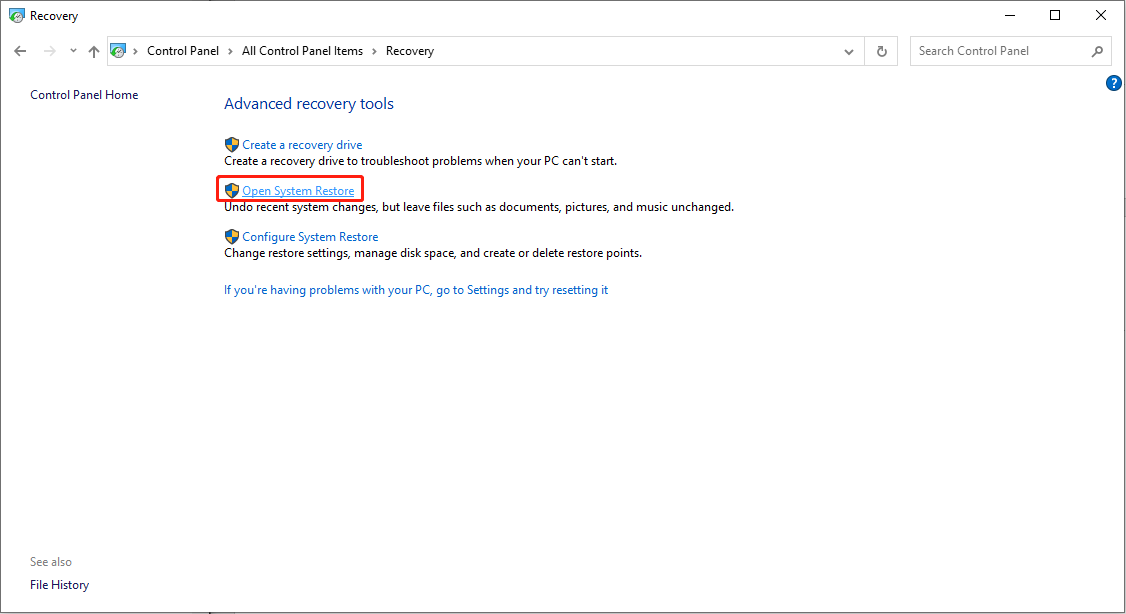
Step 3: Select Recovery from the panel or choose System and Security > Security and Maintenance > Recovery.
Step 4: Click Open System Restore.
Step 5: Click on Next to choose an appropriate system restore point, then choose Next.
Step 6: Confirm the information and click Finish to start the system restore process.
When the process is finished, your computer will reverse to the previous status. You can check whether the problem is solved.
Bottom Line
All these methods tell how to fix the Night Light option greyed out problem. Hope one of them can help you rectify it.
Furthermore, I’d like to introduce the best free data recovery software, MiniTool Power Data Recovery, to you to rescue your files. This software provides a secure data recovery service to you, which will cause no damage to the original data. You can try the free edition first to make a deep scan and recover files.
MiniTool Power Data Recovery FreeClick to Download100%Clean & Safe
If you have any problem with MiniTool Power Data Recovery, please let us know via [email protected].
User Comments :