OS Not Supported
When you are trying to run or install an application that does not support your current operating system, you will receive such an error message: The operating system is not supported. This issue might occur in the following situations:
- Run some old applications in the relatively new operating system.
- Run a new application in compatibility mode with an old system.
Before making any changes to your system, you are supposed to back up all your important files as prevention. When your data is lost by chance, you can restore your files easily with the backup. Here, most people tend to choose a Windows backup software – MiniTool ShadowMaker. This free tool is reliable and easy to use. It supports backing up multiple items like files, folders, systems, disks, and partitions. It is really worth a shot!
MiniTool ShadowMaker TrialClick to Download100%Clean & Safe
How to Fix OS Not Supported on Windows 10/11?
Fix 1: Run the Executable File in Compatibility Mode
The first easy fix to OS not supported is to change the compatibility settings to the appropriate configurations. Here’s how to do it:
Step 1. Find the executable file of this app in File Explorer and right-click on it to choose Properties.
Step 2. Under the Compatibility tab, tick Run this program in compatibility mode for and select the last operating system from the drop-down menu.
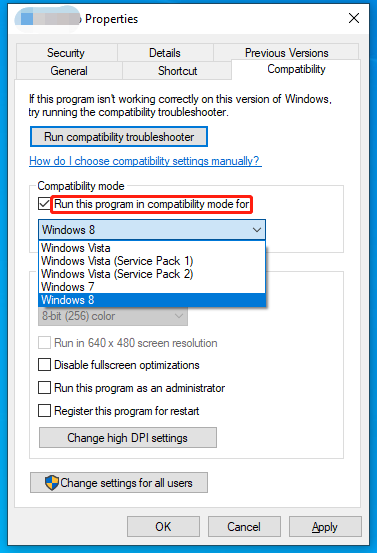
Step 3. Click on Apply & OK to save the changes.
Fix 2: Run the Compatibility Troubleshooter
Also, you can run Windows compatibility troubleshooter to automatically detect and set the proper compatibility settings.
Step 1. Right-click on the problematic app and choose Properties.
Step 2. Under the Compatibility tab, press Run compatibility troubleshooter and Try the recommended settings.
Step 3. After making the changes, hit Test the program. If the app runs normally, go back to the troubleshooter > hit Next > Yes, save these settings for this program.
Fix 3: Check for Windows Update
The latest Windows update might fix some bugs and contain some new features that improve your computer performance. If your Windows updates are pending, you can update it manually. Here’s how to do it:
Step 1. Press Win + I to open Windows Settings.
Step 2. Go to Update & Security > Windows Update > Check for updates.
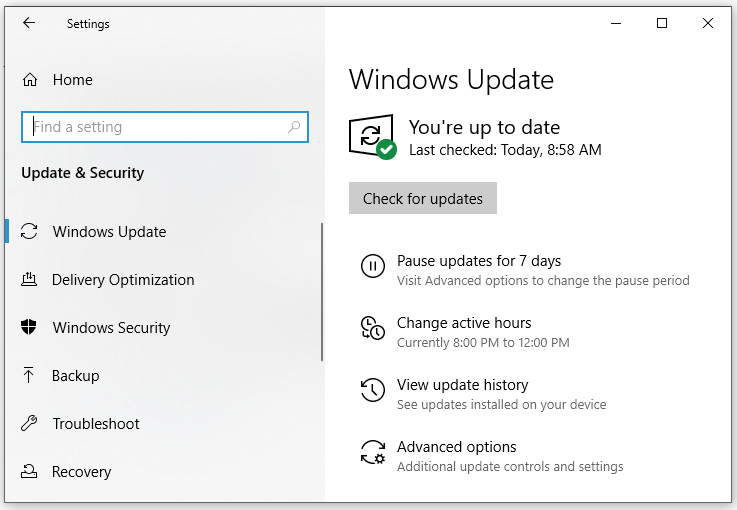
Step 3. After updating your Windows, you need to restart your computer.
Fix 4: Update Processor Driver
If your system meets the application’s specifications, you need to update your drivers to prevent any compatibility issues.
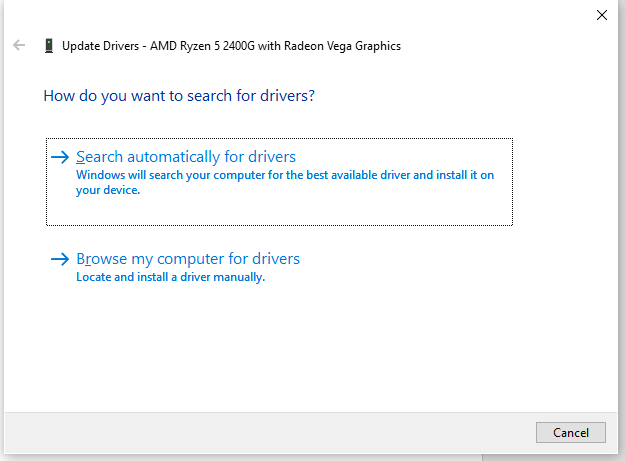
Step 1. Right-click on the Start icon and select Device Manager from the quick menu.
Step 2. Expand the Processors category, right-click on a CPU and choose Update driver > Search automatically for drivers.
Fix 5: Upgrade Your System
If your operating system is much older, you had better upgrade to the latest or the minimum supported system. Follow these steps:
Step 1. Go to the Windows 10 download page and hit Download Now to download Windows 10 installation media.
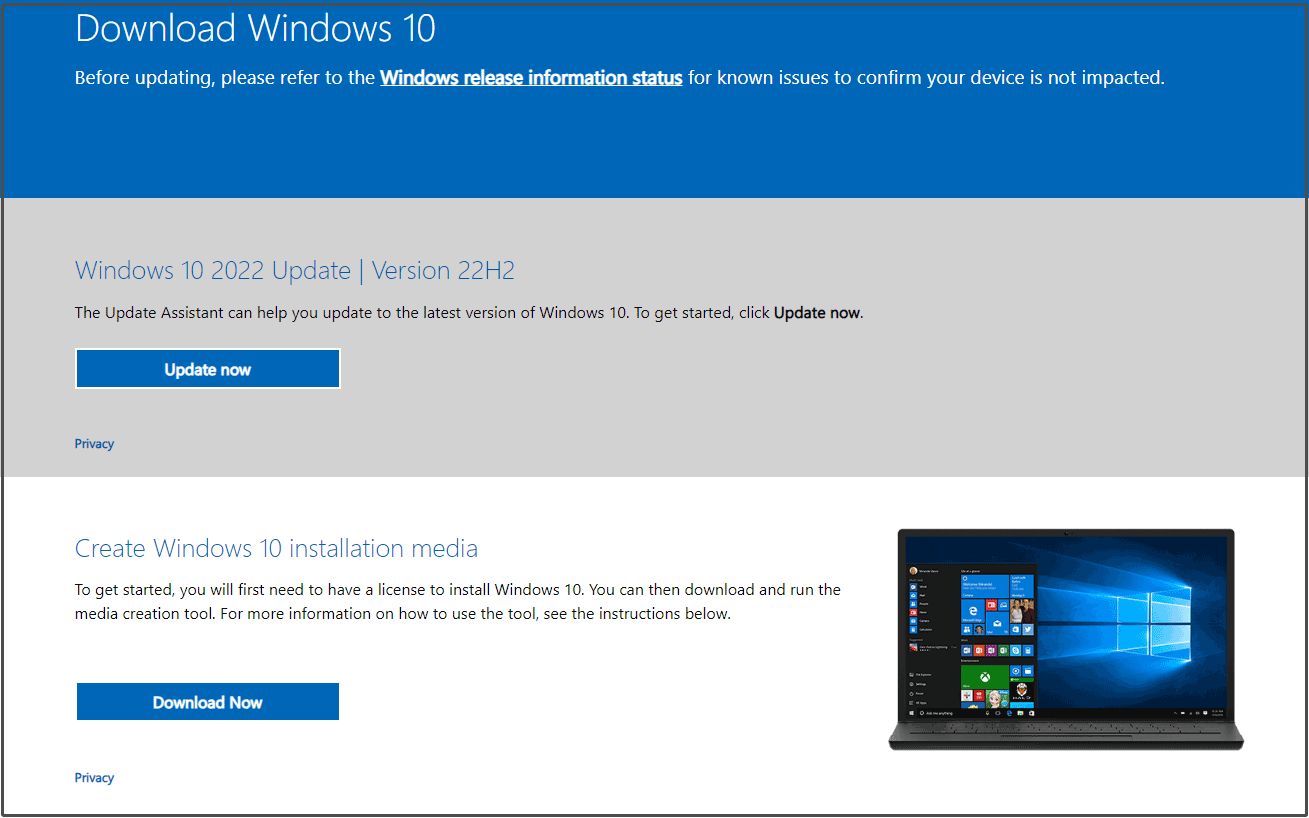
Step 2. After the process is downloaded, run the executable file.
Step 3. Accept the terms > tick Upgrade this PC Now > hit Next to download the needed files.
Step 4. After downloading, you need to choose to keep your personal files or start fresh. For Windows 10 in-place upgrade, you should keep your files on the computer.
Step 5. Then, your computer will restart several times and you need to log into Windows to make some needed settings such as privacy settings, language settings and more.
User Comments :