Projecting to this PC greyed out is a common issue that often happens on Windows 10. What should you do if you cannot use this feature? Take it easy and you can go to find some methods to easily help you out. Let’s go to look through them on this post from MiniTool.
Projecting to This PC Greyed out
In Windows 10, there is a feature called projecting to this PC that enables you to project the display from a PC or a phone to another PC using a Wi-Fi connection and use it as the second monitor. This feature only works on a wireless internet connection.
To use this feature, you need to enable it on your computer. To know more, refer to this post – Projecting To This PC And Screen Mirroring On Windows 10. However, sometimes you meet the situation – projecting to this PC option greyed out.

Why is projecting to this PC greyed out? Under the Projecting to this PC page, you can see a message saying “this PC doesn’t support receiving Miracast, so you can’t project to it wirelessly”. That is, this is because the Wireless Display feature isn’t installed or you have installed it but there is corruption.
Besides, another possible cause is that the wireless adapter driver is outdated. But don’t panic and you can try to fix it by following the methods below.
How to Fix Projecting to This PC Greyed out
Install Wireless Display
This is the first thing you should do. Wireless Display is an optional feature and you need to manually install it. During the installation, a reliable network connection is required. See what you should do:
Step 1: Press Win + I to open the Settings app.
Step 2: Go to click Apps > Apps & features.
Step 3: Tap on Optional features and click Add a feature.
Step 4: Type wireless display to the search box and select this feature, then click Install.
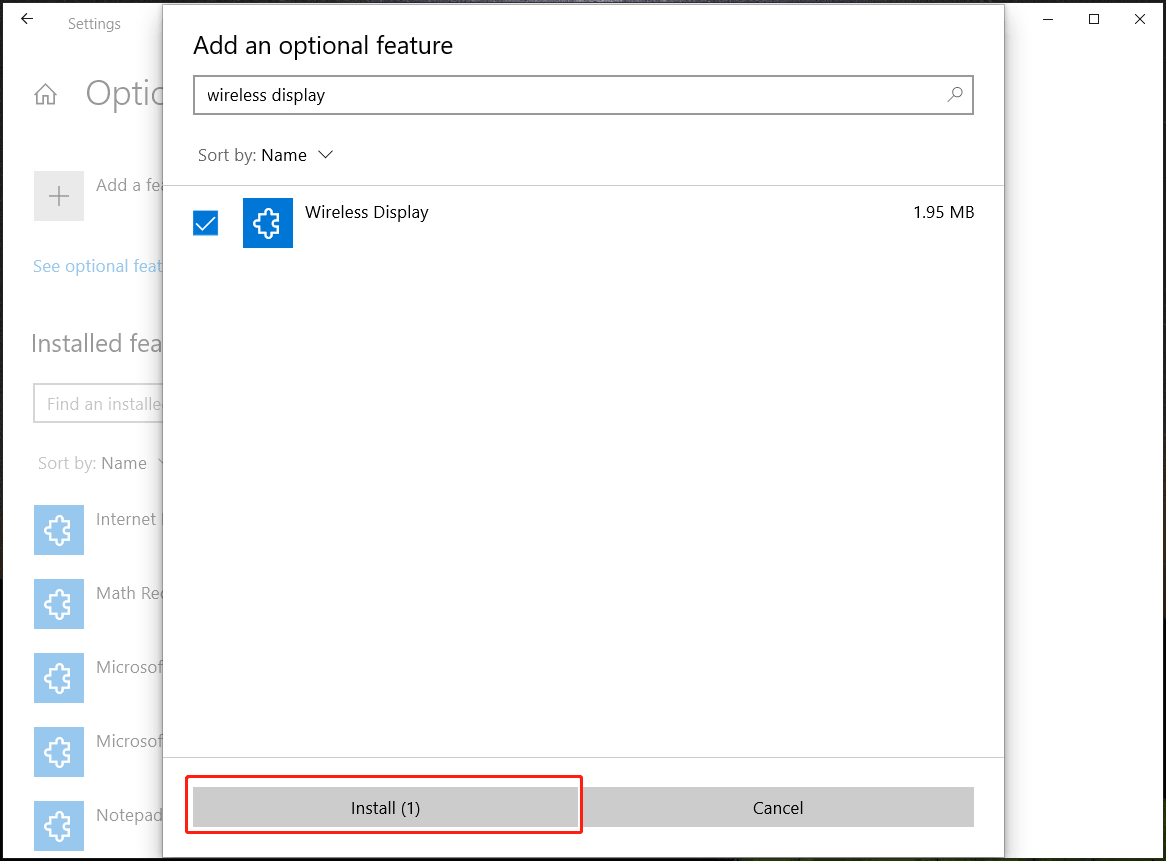
Next, Windows is installing this feature. After that, you can go to settings and see projecting to this PC greyed out is fixed.
Update Wireless Network Adapter Driver
If your network adapter has a very old driver, you need to update it. Follow the steps:
Step 1: Go to Device Manager by pressing Win + X in Windows 10.
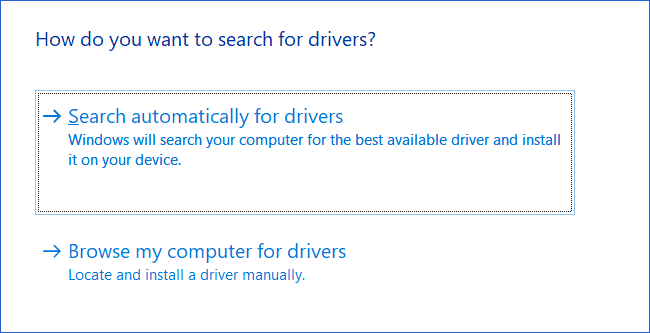
Step 2: Expand Network adapters, right-click on your wireless connection, and choose Update driver.
Step 3: Click the Search automatically for drivers options and Windows will automatically check for an available update and install it on your PC.
Reinstall Wireless Network Adapter Driver
Sometimes you need to reinstall that driver to fix Windows 10 projecting to this PC greyed out.
Step 1: In Device Manager, expand Network adapters, right-click on the driver, and choose Uninstall device.
Step 2: Tick the box of Delete the driver software for this device and click Uninstall.
After trying these ways, you can easily fix the issue of projecting to this PC option greyed out.
How to Check If Wi-Fi Supports Miracast
One simple way is to run a command by following the instructions below:
Step 1: Launch Command Prompt in Windows 10.
Step 2: Type the command – netsh wlan show drivers and press Enter.
If there is Wi-Fi, you get the message “There is no wireless interface on the system”. If the PC supports Miracast, you can see much information about Wi-Fi, including interface name, driver, vendor, provider, version, type, and more.
About The Author

Position: Columnist
Vera has been working at the MiniTool Team for over 10 years as a technical editor and content writer. She mainly focuses on disk and partition management, data recovery, Windows backup and restore, and PC troubleshooting. Through in-depth software testing and hands-on experience, she has helped users solve a wide range of computer problems and better protect their data on Windows devices.
User Comments :