As a well-known platform that allowed users to upload their photos for organization or sharing with others, Picasa is still very popular even after it was acquired by Google. Although new users can no longer register for the service, Google permitted individuals who had previously downloaded the desktop application to keep using it. However, the application is no longer maintained or updated.
Picasa doesn’t store a copy of your images or transfer them to the app. It merely recognizes the photos that are located in folders on your computer. It displays both edited versions and original copies of photos stored on your hard drive within its library. Consequently, when you delete a photo in Picasa, it is simultaneously removed from your computer, and the same principle applies to your other folders as well.
As you can see, the photos in Picasa are vulnerable to loss, and you may inadvertently delete the photos from Picasa. In this situation, you may have no idea about how to recover deleted Picasa photos. Keep reading to get more detailed information about Picasa photo recovery.
Before diving into the steps to recover deleted Picasa photos, you may wonder: What causes the photo loss from Picasa?

Common Reasons for Picasa Photo Loss
There are some possible triggers for Picasa photo loss:
- When you remove a photo from Picasa, it will also be removed from your computer. You might unintentionally delete resized duplicate photos from Picasa without verifying the folder path.
- Alternatively, choosing the Delete from Disk option in the application will remove the photos from your computer.
- If you have formatted the drive that contains your image files or folders, those photos will no longer be visible in Picasa.
- Beyond these issues, loss of photos from Picasa can also result from virus infections, malware attacks, or corruption of the HDD or SSD.
How to Recover Photos From Picasa
Way 1. From Picasa Backup
Picasa provides users with a backup feature that allows them to store photos on a USB flash drive or an external storage device. If you have created a backup, you can recover the deleted Picasa photos from this Picasa backup storage medium.
Way 2. Unhide Your Photos in Picasa
Sometimes, you may incorrectly change the application settings, leading to the photos in Picasa being hidden. You can unhide them to see if your photos are still here.
Here’s the detailed breakdown to use the unhide option:
- Launch the Picasa application on your computer.
- Click the View button in the top menu bar.
- Choose Hidden Pictures. The concealed images will be displayed.
- Highlight the pictures you wish to restore and select View from the menu.
- Click on Unhide. The photos will now show up in the regular Library view in Picasa.

Way 3. Check the Recycle Bin
As thoughtful as Google, it included several helpful features to allow users to swiftly recover files they might have deleted by mistake. One of the useful functions is allowing users to recover deleted files from the Windows Recycle Bin.
- Access the Recycle Bin from the desktop by selecting the icon.
- Search for the deleted Picasa photos by checking through the thumbnail previews.
- Once you locate the photo you wish to restore, right-click on it and select Restore. The deleted Picasa images should be returned to their original location in the Picasa album.
Way 4. Use a Third-party Data Recovery Tool
MiniTool Power Data Recovery is a professional file recovery application created by MiniTool, aimed at retrieving files on Windows 11, 10, 8.1, and 8. It is fully compatible with all types of internal and external hard drives, USB flash drives, SD cards, as well as CDs and DVDs. Whether you’re attempting to recover deleted Picasa photos, this software proves to be quite effective.
Download the data recovery software for free now to check if your photos are recognized. If it is, you can then follow the steps below to recover up to 1 GB of files at no cost.
MiniTool Power Data Recovery FreeClick to Download100%Clean & Safe
Follow these steps to recover deleted Picasa photos using MiniTool Power Data Recovery:
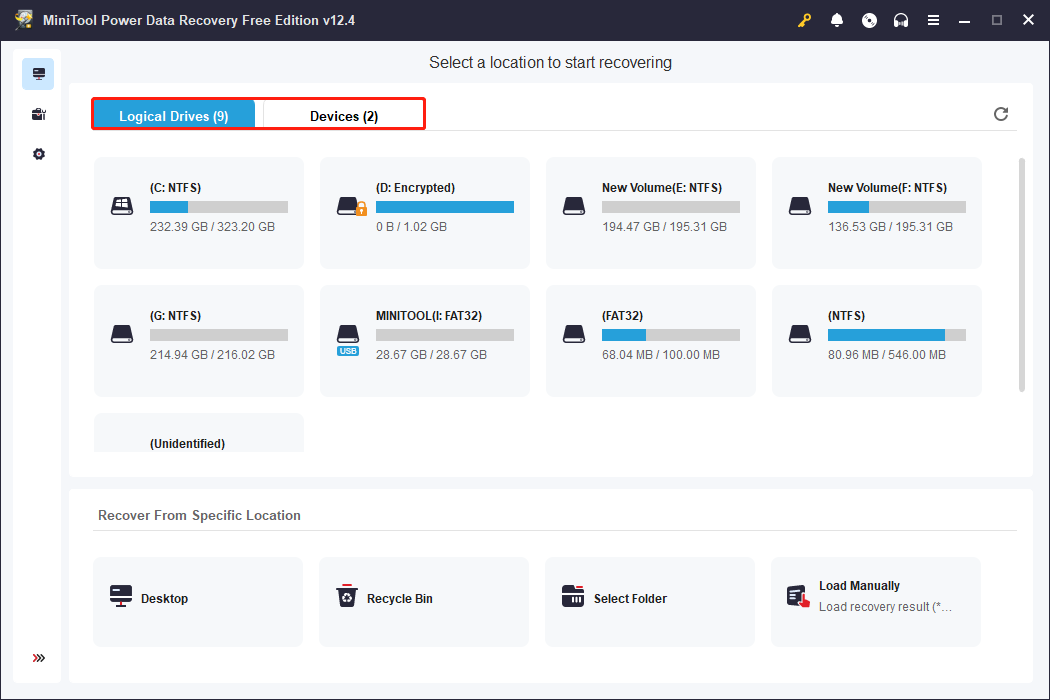
Step 1. Access the recovery tool and locate the partition or disk you want to scan for your deleted Picasa photos under the Logical Drives tab (for partitions) or Devices (for disks). Hover over the target and click Scan.
Step 2. After scanning, find the files you wish to recover by expanding folders under Path. Alternatively, use the Type tab to browse by file type. To filter results, click the Filter button to sort by size, modification date, and category. You can also search for specific files using the search box.
Step 3. Preview files by double-clicking them before recovery. Ensure the files you want are checked, then click Save. Choose a different disk to store recovered files, keeping in mind that files exceeding the 1 GB free limit require an upgrade to recover.

Final Blurb
Reading here, you must know the four feasible and effective methods to recover deleted Picasa photos. You can try them one by one until the issue is gone.
About The Author

Position: Columnist
Sandy became an English editor after graduation. She is devoted to finding effective solutions for diverse IT problems and provides articles on data recovery, data backup, and computer partitions and drives. In her spare time, she likes listening to music and playing games.
User Comments :