When a file sync occurs, you will find that the modified file is unable to sync to the server correctly, Meanwhile, there will be a yellow triangle with an exclamation beside the Sync Center icon. In this post on MiniTool Website, we will show you how to delete conflict files from the sync folder step by step.
What Are Sync Conflicts?
If you enable Sync Center, you can see its icon in the system tray. When there are some sync conflicts, you can see a yellow triangle with an exclamation in front of the Sync Center icon. A sync conflict refers to a modified Team Share file not syncing as expected to the server. Usually, when an end user changes a Team Share file on the local, the newer version will sync to the server and propagate across every subscribed device.
There are 2 types of file sync conflicts when working in Team Share:
- Collision – When one file is modified in two different locations at the same time, collision will occur. Only one of the versions can sync to the server, and the other will be marked as collision.
- Locked file revision – This type of sync conflict crops up due to different users. In other words, a user might attempt to modify a file that has been previously locked by another user.
How to Resolve Sync Conflicts in Sync Center?
Way 1: Via Control Panel
Step 1. Type control panel in the search bar and hit Enter.
Step 2. Click on the reverted-triangle beside View by and choose Large icons from the drop-down menu.
Step 3. Scroll down to find Sync Center and hit it.
Step 4. In the left-side menu, hit View sync conflicts.
Step 5. Choose a conflict from the list and hit Resolve.
Step 6. Select which version of the file you want to sync and the other version(s) will be deleted.
Way 2: via File Explorer
Step 1. Open the Sync folder in File Explorer.
Step 2. In the top right, type -conflict and hit Enter to open the conflicted files.
Step 3. Go to the Home section and click on Select all.
Step 4. Right-click on the conflicted files and choose Delete.
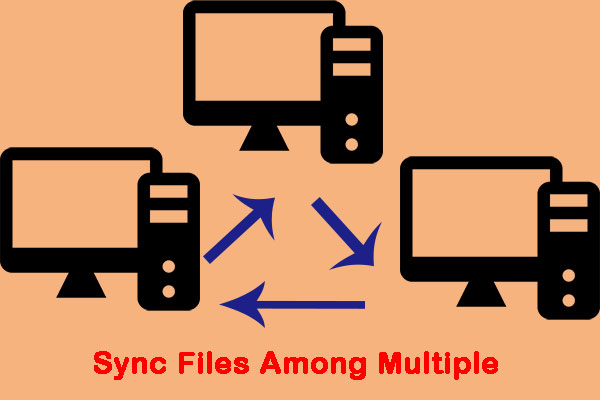
Another Handy Way to Sync Files
Apart from Sync Center, there is an easier way to sync your files – sync files with MiniTool ShadowMaker. It is a piece of free sync software that is dedicated to helping Windows users to sync files to an external hard drive, internal hard drive, USB flash disk, a network drive and more. Let’ s see a detailed instruction on how to sync files on a network drive:
Step 1. Run this program and go to the Sync section.
MiniTool ShadowMaker TrialClick to Download100%Clean & Safe
Step 2. In SOURCE, you can choose the files and folders you want to sync. Go to DESTINATION > Share > Add > type the IP, username and password.
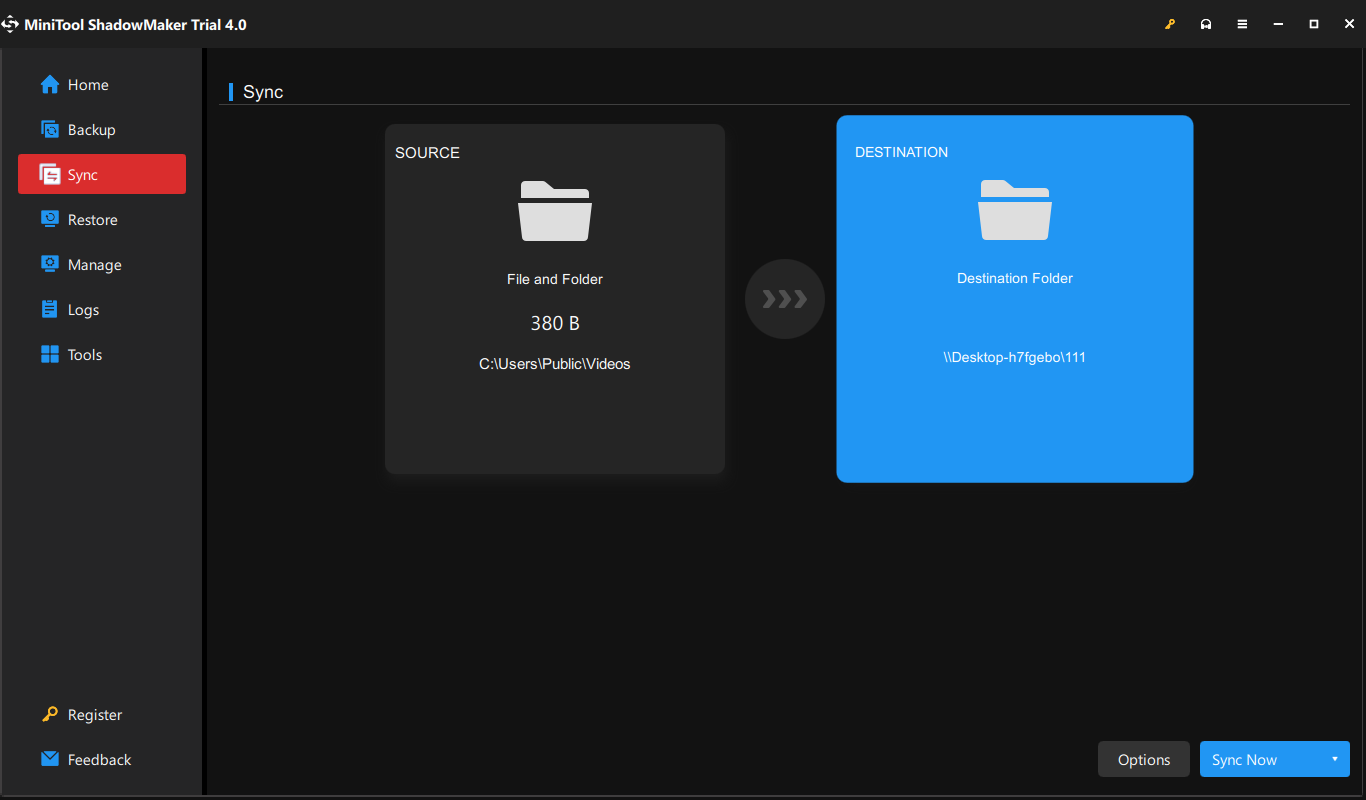
Step 3. Click on Sync Now to start the sync task immediately.
Final Words
In short, this post shows you what to do when files are in conflict in network drive Windows 10 in two ways. What’s more, it is strongly recommended to sync your files with MiniTool ShadowMaker because it is easy to follow and the steps are friendly to users.
User Comments :