We believe that many of you have update Windows version to the latest one. Then, do you know how to tale screenshot on Windows 10 October 2018 Update? Please find the answer in this post.
Snip & Sketch on Windows 10 October 2018 Update
Now, Windows 10 has included the Snip & Sketch app which can be used to take screenshots. And actually, this app combines the legacy Snipping Tool with the Screen sketch.
As a result, you can use this Snip & Sketch app to take and annotate the screenshots of the desktop, apps, and games without using a third-party tool. Meanwhile, this app can be updated frequently through the Microsoft Store.
This is a new app. So, it is necessary to introduce it to you about how to use it.
Now, in this guide, we will show you the detailed steps to use Snip & Sketch app to take screenshots with the October 2018 update.
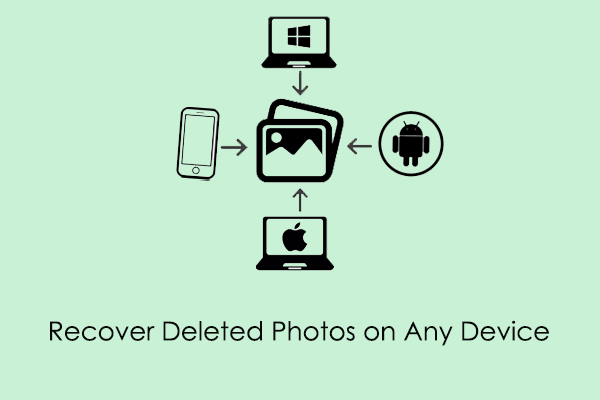
Sometimes, the screenshots which are taken by using this new app are difficult to reproduce, and you want to keep them safe. But, they may get lost or deleted by mistake. In this situation, you can use a piece of free photo recovery software to get them back.
MiniTool Photo Recovery is a good choice for you. As long as these deleted screenshots are not overwritten by new data, you can use this program to get them back.
How to Take Screenshots with Snip & Sketch
Generally speaking, there are at least three ways to take screenshot on Windows 10. Please see the following three ways:
Way 1: Using Snip & Sketch App
There is an easy way to access this Snip & Sketch app:
Step 1: Press Start button.
Step 2: You need to type Snip & Sketch into the search bar. Then, please click on the top result to open it.
Step 3: Click on the New button in the top-left corner.
Step 4: Then, you will see three types of snip on the computer screen: Rectangular Clip, Freeform Clip, and Fullscreen Clip. Now, just choose the one you want to use.
Step 5: After that, you can use it to take the screenshot.
Way 2: Using Action Center Quick Button
Sometimes, you need to take a screenshot and then paste it on a document. In this situation, you can use the new Screen snip button.
Please follow these steps:
Step 1: Please open Action Center by pressing the Windows key + A keyboard shortcut. You can also enter it by clicking the Action Center button in the notification area
Step 2: Click the Expand button, and then click the Screen snip button.
Step 3: You can also see three types of snip as mentioned in way 1. Just choose the one you want to use to take screenshots.
Way 3: Using the Print Screen Button
If the Print Screen option has already enabled, you can use it to take screenshots on Windows 10.
Step 1: Press the Print Screen button. Here, you can also use the Windows key + Shift + S shortcut to enter the snipping toolbar.
Step 2: Still, you will see three types of snips, and please choose your needed one. After that, please tale screenshot.
In this post, we show you three available ways to take screenshots by using Snip & Sketch app, the Screen snip button and the Print Screen key. You can choose the way you would like to use.
About The Author

Position: Columnist
Stella has been working in MiniTool Software as an English Editor for more than 8 years. Her articles mainly cover the fields of data recovery including storage media data recovery, phone data recovery, and photo recovery, videos download, partition management, and video & audio format conversions.
User Comments :