When you work on the Windows PC, you may notice a task called Wmpnscfg.exe running in the background. This startup element is related to Windows Media Player and UpdateLibrary. This post from MiniTool introduces what UpdateLibrary is and how to fix startup UpdateLibrary.
Many people report that they notice the Wmpnscfg.exe running in the Task Manager. It’s the abbreviation of Windows Media Player Network Sharing Service Configuration Application. It is closely related to Windows Media Player and called UpdateLibrary.
What Is UpdateLibrary
First, let’s see, what is UpdateLibrary? UpdateLibrary is a scheduled task in the Windows operating system, which can prevent Media Player from starting and shutting down. You can use UpdateLibrary to stream and share media with other computers over the network via Windows Media Player.
However, in some cases, wmpnscfg.exe starts to use many resources, which lags the system and prevents you from using your computer normally. Thus, you need to fix the startup UpdateLibrary Windows 10.
How to Fix Startup UpdateLibrary
The following are the methods to fi the UpdateLibrary startup.
Fix 1: Disable UpdateLibrary in Task Manager
There is a Startup tab in Task Manager that lists all the applications for the startup of your computer. So, try disabling UpdateLibrary in Task Manager to prevent it from popping up at startup.
Step 1: Right-click the taskbar and then choose Task Manager.
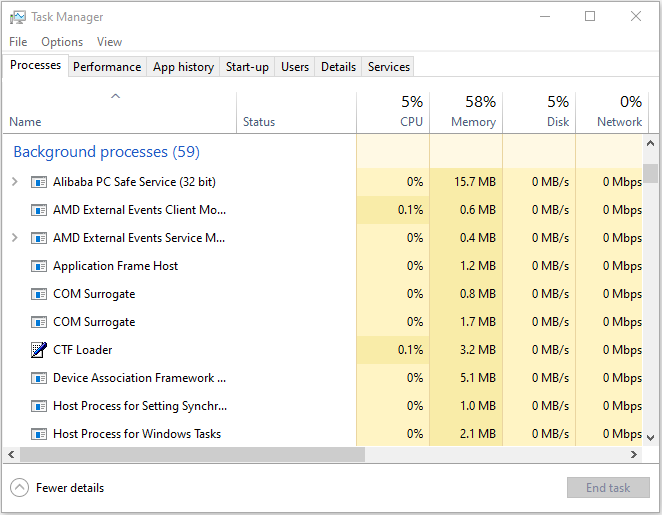
Step 2: Switch to the Start-up tab.
Step 3: Find UpdateLibrary from the list. Right-click it once you find it and select the Disable option.
Step 4: Reboot your computer and then check if the software pops up at startup.
Fix 2: Modify UpdateLibrary in Registry Editor
You can also use Registry Editor to modify UpdateLibrary. Here is how to do that:
Step 1: Press the Windows + R key at the same time to open the Run dialogue box. Then, type regedit and press Enter to open Registry Editor.
Step 2: Go to the following path:
HKEY_CURRENT_USER\Software\Microsoft\MediaPlayer\Preferences\HME
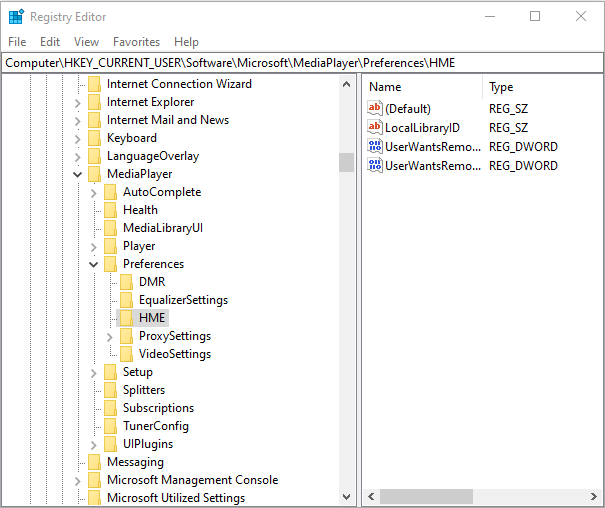
Step 3: Right-click the DisableDiscovery value and select Modify.
Step 4: In the Value Data field, change the 0 value to 1. Click OK.
Fix 3: Rename Wmpnscfg.exe
Another option to fix the UpdateLibrary is to rename wmpnscfg.exe to wmpnscfg.exe.old. Follow the steps below:
Step 1: Press the Ctrl + Shift + Esc key to open Task Manager.
Step 2: Find Windows Media Player Network Sharing Service and right-click it to choose Open file location.
Step 3: Find wmpnscfg.exe, right-click it to select Rename. Change wmpnscfg.exe to wmpnscfg.exe.old and click Yes.
Step 4: Type Notepad in the Search box and press Enter. Go to File > Save As.
Step 5: Then, select All Files under Save as type and choose C:\\Program Files\\Windows Media Player for location.
Step 6: Type wmpnscfg.exe.old as name and press Save.
Fix 4: Use Anti-malware Software to Scan Your PC
The malware infection could lead to the UpdateLibrary high CPU. If you have the encounter this issue, you can run anti-malware software such as Malwarebytes and Avast to perform a full scan.
Both of them can be downloaded from their official website.

After the scanning process is finished, you can check if the UpdateLibrary high CPU usage issue gets fixed.
Final Words
This post introduces “what is UpdateLibrary” and four methods to fix the UpdateLibrary startup issue. I hope that this post is helpful to you.
User Comments :