The Start menu in Windows 10 is very essential; it helps you do a lot of things, for example, find apps, files, and settings. It is a common feature on a computer no matter what operating system is running. Many people want to customize Windows 10 Start menu to suit their habits so as to improve work efficiency. MiniTool summarized the commonly used ways for you.
Start menu is a useful feature in all Windows operating systems except Windows 8; Microsoft had removed it and used the Start screen (a large, full-screen menu) to replace it. Though Microsoft brought back this feature to Windows 10 and made some changes to it, the Windows 10 Start menu may still not be your ideal menu. That’s why Windows 10 customize Start menu becomes a hot topic among users. A detailed user guide will be given below to help people with Windows 10 Start menu customize.
MiniTool Power Data Recovery TrialClick to Download100%Clean & Safe
How to Customize Windows 10 Start Menu in 5 Ways
In general, the Windows 10 Start menu consists of three sections: left sidebar, apps display section in the middle, and Start layout on the right side.
- The left sidebar contains some common icons: User tile, Documents icon, Pictures icon, Settings icon, Power icon, etc.
- In the middle display section, you can find Recently added apps, Most used apps, Suggested apps, and All
- What you can find in the Start layout section on the right side are: Pinned folder, Dynamically inserted app tile, etc.
It’s good news for people that Microsoft gives them more power on Windows 10 customize Start menu.
Tip 1: Change Size and Color
How to change menu size:
- Click on the Start button or press the Start key on keyboard.
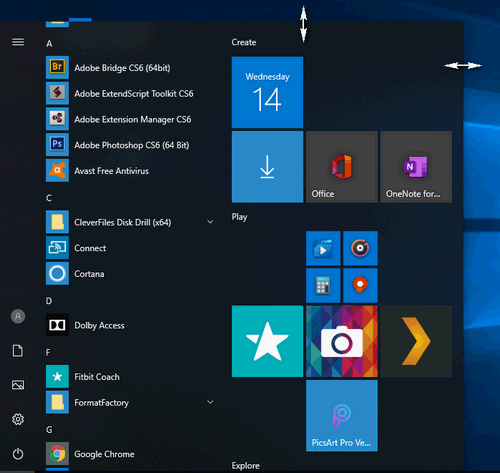
- Move the cursor to the top edge and you’ll find the mouse pointer becomes a two-way arrow. Now, drag the edge up or down.
- Move the cursor to the right edge and then drag left or right to change the Start menu size.
How to change the menu color:
- Click on the Start button or press the Start key to bring up the menu.
- Select Settings from the left sidebar.
- Choose Personalization from the menu.
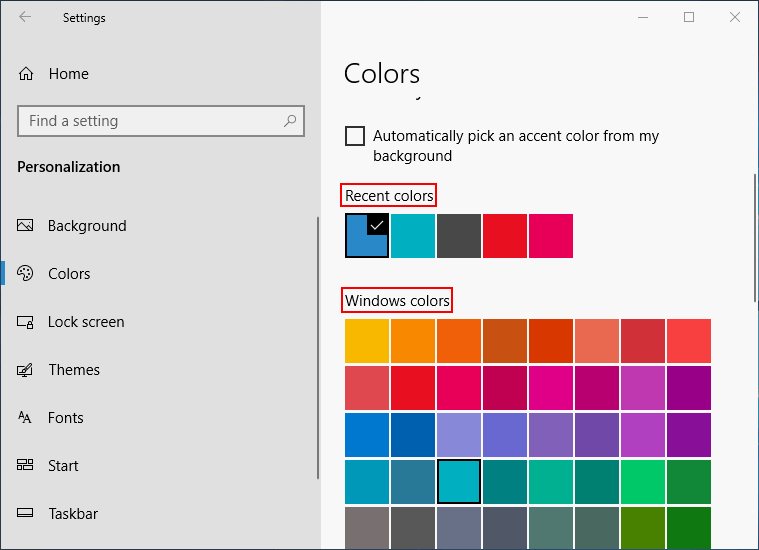
- Shift to Colors in the left pane.
- By default, the Automatically pick an accent color from my background is checked, but you can scroll down in the right pane to select a color under Recent colors or Windows colors.
- Choose a custom accent color by clicking Custom color. (This step is optional.)
- Go to the More options area to adjust the Transparency effects, decide where to show accent color, and define the default app mode.
How To Change Windows 10 Desktop Background In Simple Steps?
Tip 2: Custom Tiles
*1. Rearrange tiles.
- Open Start menu.
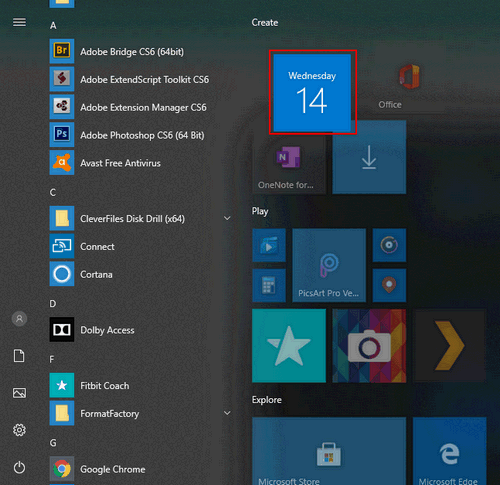
- Look for the tile you want to rearrange.
- Drag, move, and drop the tile to the location you want.
You can also group a few tiles into one folder by dragging & dropping a tile onto another one.
*2. Pin and unpin tiles.
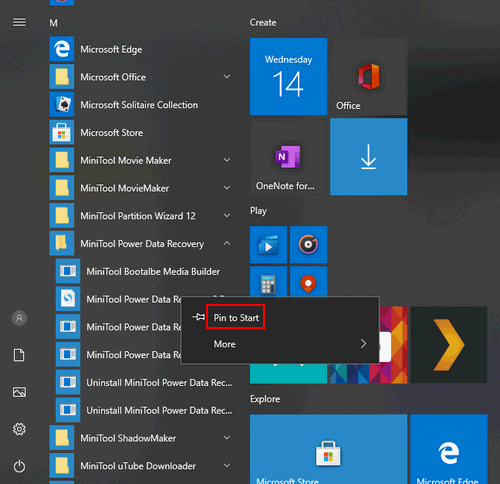
How to pin a tile?
- Open Start menu.
- Browse the apps list to look for the one you want a tile.
- Right click on the app and select Pin to Start.
How to unpin a tile? Please Open Start menu -> right click on certain app or tile -> select Unpin from Start.
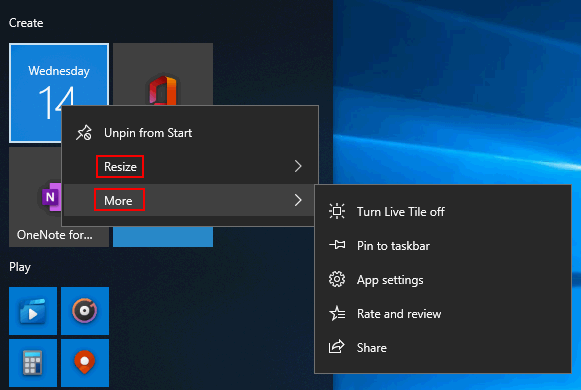
*3. Resize tile.
- Open Start menu.
- Right click on a tile.
- Select Resize.
- Define a size for it: Small, Medium, Wide, Large.
You can also turn off a Live Tile by opening Start menu, right clicking on the tile -> selecting More -> choosing Turn Live Tile off.
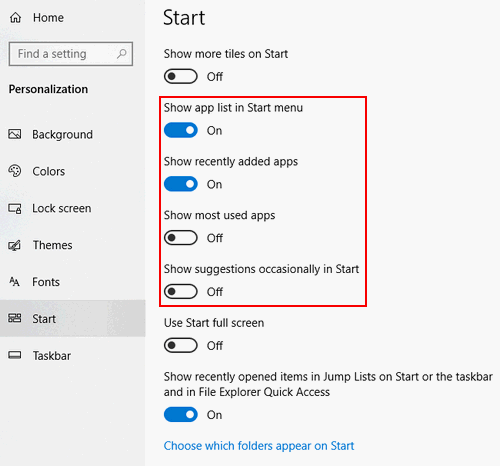
Tip 3: Modify Apps List
- Open Settings.
- Select Personalization.
- Shift to Start in the left pane.
- Choose to turn on or off these options: Show app list in Start menu, Show recently added apps, Show most used apps, and Show suggestions occasionally in Start.
Tip 4: Choose Which Folders Appear on Start
- Repeat step 1 ~ 3 mentioned in tip 3.
- Click on the Choose which folders appear on Start link.
- Decide which folders you want to appear on the Start menu.
Tip 5: Change Windows 10 Start Menu to Classic
What if you like the Windows 10 classic Start menu? There are 3 ways available for you to get Windows 10 classic view.
- Open Start menu -> right click on a tile -> select Unpin from Start -> repeat this process to unpin all tiles.
- Open Settings -> choose Personalization -> select Start -> turn on Use Start full screen.
- Download and install Classic Shell -> use the shell to choose from Classic style, Classic with two columns, and Windows 7 style.
User Comments :