The WdiWiFi.sys is an important system file that is responsible for managing wireless network connections. Like other system files, any corruption or error in this file might trigger system issues, BSOD errors and more. In this post on MiniTool Website, we will show you how to fix Wdiwifi.sys BSOD in detail.
Wdiwifi.sys BSOD Windows 10
Wdiwifi.sys BSOD is one of the common errors that you might encounter. Since it is a critical Windows error, you should fix this problem immediately. You may receive one of the following error messages:
- sys could not be found.
- sys failed to load.
- The file WdiWiFi.sys is missing or corrupted.
- Windows failed to start WdiWiFi.sys.
- SYSTEM_THREAD_EXCEPTION_NOT_HANDLED.
How to Fix Wdiwifi.sys BSOD Windows 10?
Fix 1: Update Wi-Fi Driver
First, make sure your Wi-Fi drive is up to date. If it is not, follow these steps to update it in time:
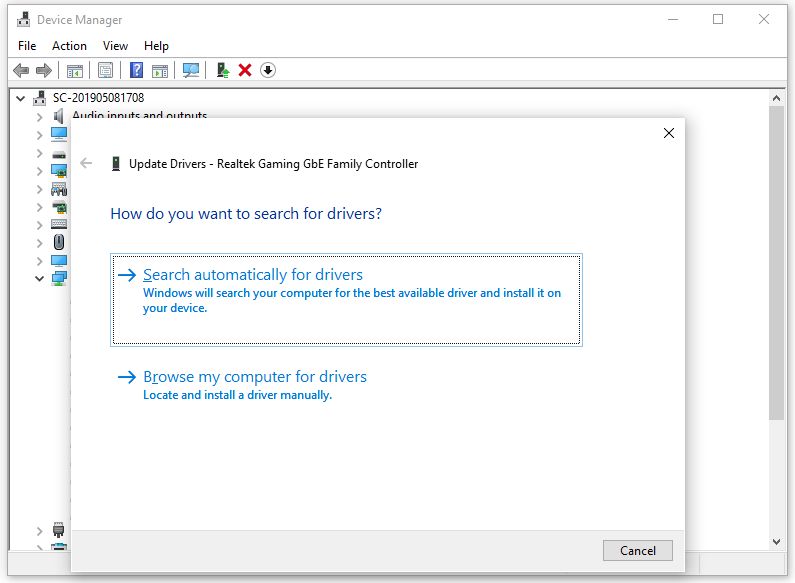
Step 1. Press Win + X to open the quick menu and select Device Manager from the list.
Step 2. Expand Network adapters category and right-click on your Wi-Fi adapter and select Update driver.
Step 3. Choose the Search automatically for drivers option and wait for the process to complete.
If WdWiFi.sys appears after updating your Wi-Fi driver, you can try rolling back the driver: right-click on your Wi-Fi adapter > go to the Driver tab > hit Roll Back Driver.
Fix 2: Run Windows Memory Diagnostic Tool
Faulty RAM can also lead to problems like application crashes, system freezes, blue screen of death, data corruption and other problems. In this case, you can run the Windows Memory Diagnostic tool to perform a test.
Step 1. Type run in the search bar and hit Enter to open the Run dialog box.
Step 2. Type mdsched.exe and hit OK to launch Windows Memory Diagnostic.

Step 3. Select Restart now and check for problems and wait for the tool to check your memory.
Fix 3: Restore Your Computer to the Latest Restore Point
To fix WdWiFi.sys, you can undo system changes by reverting your computer to a previous restore point. Here’s how to do it:
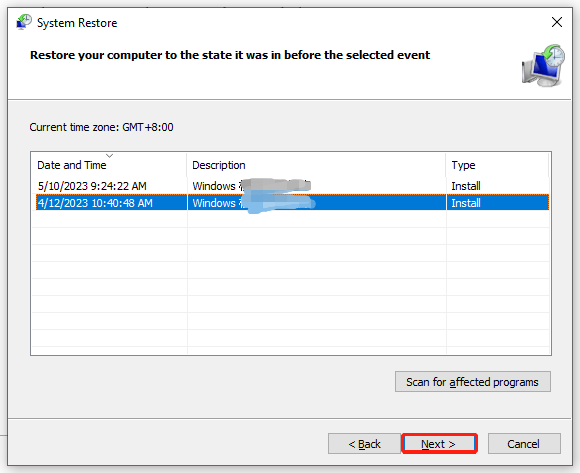
Step 1. Type create a system point in the search bar and hit Enter.
Step 2. Under the System Protection tab, hit System Restore.
Step 3. Hit Next > select a system restore point > hit Next to start the restoring process.
Fix 4: Check for Windows Update
The last resort to address Wdiwifi.sys error is to check your Windows update. To do so:
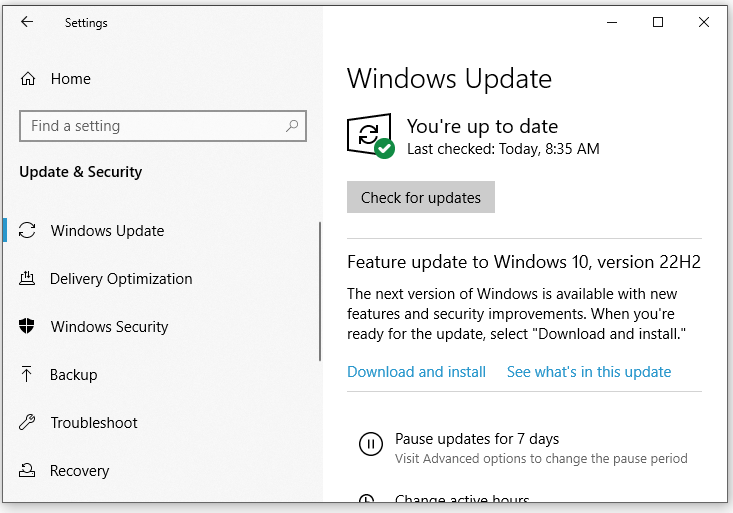
Step 1. Press Win + I to open Windows Settings.
Step 2. Go to Update & Security > Windows Update > Check for updates.
![[SOLVED] Windows Update Cannot Currently Check for Updates](https://images.minitool.com/minitool.com/images/uploads/2018/11/windows-update-cannot-currently-check-for-updates-thumbnail.jpg)
Suggestion: Back Up Your System with MiniTool ShadowMaker
Now, you must solve Wdiwifi.sys BSOD error. In case to encounter similar system issues, you can back up your system with the free backup software – MiniTool ShadowMaker. By doing so, you can restore your system with the system image you backed up when your system crashes.
Step 1. Launch this tool and go to the Backup page.
MiniTool ShadowMaker TrialClick to Download100%Clean & Safe
Step 2. Since the system is selected in SOURCE by default, you only need to choose a storage path for the system image in DESTINATION.
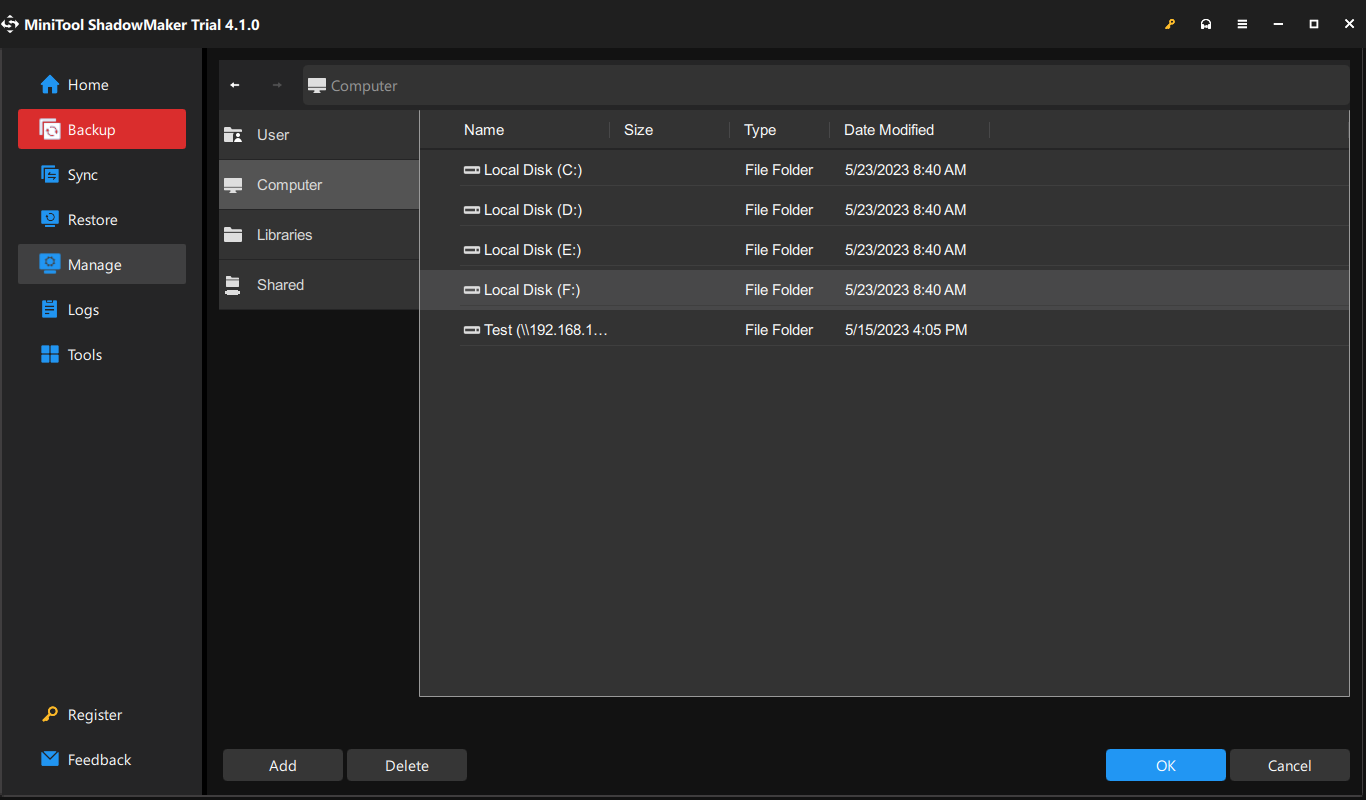
Step 3. Click on Back Up Now to start the process.
After backing up your system, you had better create a bootable USB disk with MiniTool ShadowMaker. When your computer has some boot issues, you can boot it from this drive and perform a system recovery. See this guide: Create Bootable CD/DVD/USB Drive with Bootable Media Builder.
User Comments :