In fact, Windows Could Not Start the Windows Firewall on Local Computer is not a rare problem, many Windows users have encountered it. Here let’s see a real case:
When I try to start the service "Windows Defender Firewall" it says "Windows could not start the Windows Defender Firewall on Local Computer, for more information on this, review the System Event Log. if this is a non-Microsoft service, contact the service vendor, and refer to service-specific error code 87". – kylecatacutan answers.microsoft
MiniTool Power Data Recovery FreeClick to Download100%Clean & Safe
How to Fix Windows Could Not Start the Windows Firewall
Fix 1: Run the Windows Firewall Troubleshooter
You can run the Windows Firewall Troubleshooter to detect and repair problems automatically at first. Follow the next steps to do it. But Windows doesn’t have this troubleshooter by default. You should download it from Microsoft first.
Step 1: After downloading, double-click on the file to open the Windows Firewall Troubleshooter.
Step 2: Click on the Next button to run it.
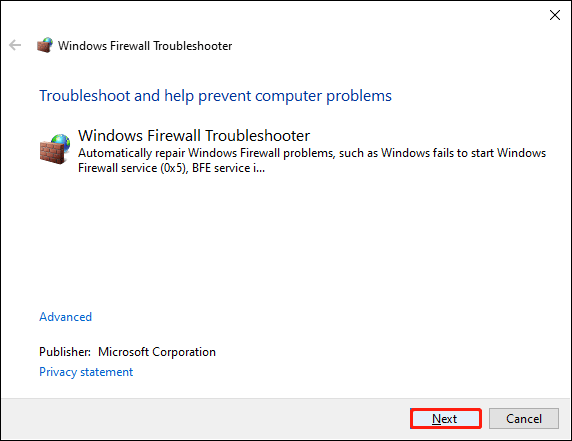
It will detect problems automatically and you should follow the on-screen instructions to solve them. After it, you can go to check whether the problem is solved or not. If not, move on to the next method.
Fix 2: Check Permissions in Windows Defender Firewall Services
If the current account doesn’t have permission to run the Windows Defender Firewall, this error will occur. Go to check whether your account owns sufficient permissions.
Step 1: Press Win + R to open the Run window.
Step 2: Type services.msc into the text box and hit Enter to open the Services window.
Step 3: Scroll down to find and right-click on the Windows Defender Firewall service.
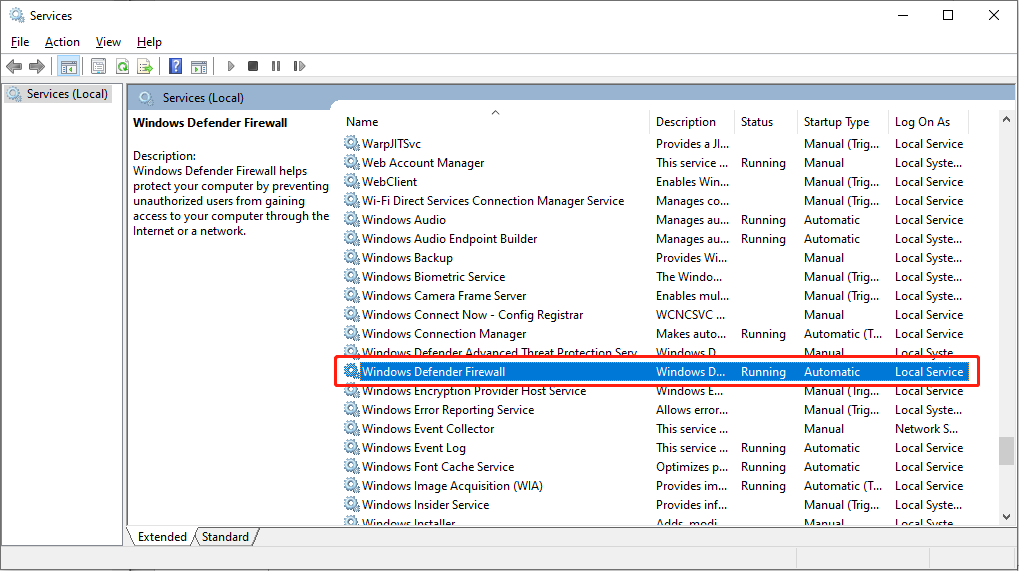
Step 4: Choose Properties from the context menu.
Step 5: Turn to the Log On tab, then click on Browse behind This account to select the user.
Step 6: Click Advanced > Find Now and select LOCAL SERVICE from the Search result list.
Step 7: Click OK to confirm.
Step 8: Now you can set the password of this account on the Log On window, then click Apply to save changes.
Step 9: Shift to the General tab to start the service by clicking Start under the Service status section.
You can now try to use the Windows Firewall services and check whether the Windows Firewall not working on Local Computer problem still exists.

Fix 3: Tweak Registry Editor
Windows Registry might contain wrong information that can interfere with the normal performance of the computer software and hardware. You can change or delete the corresponding registry keys to fix the problem.
Step 1: Press Win + R to open the Run window.
Step 2: Type regedit into the box and hit Enter to open the Registry Editor.
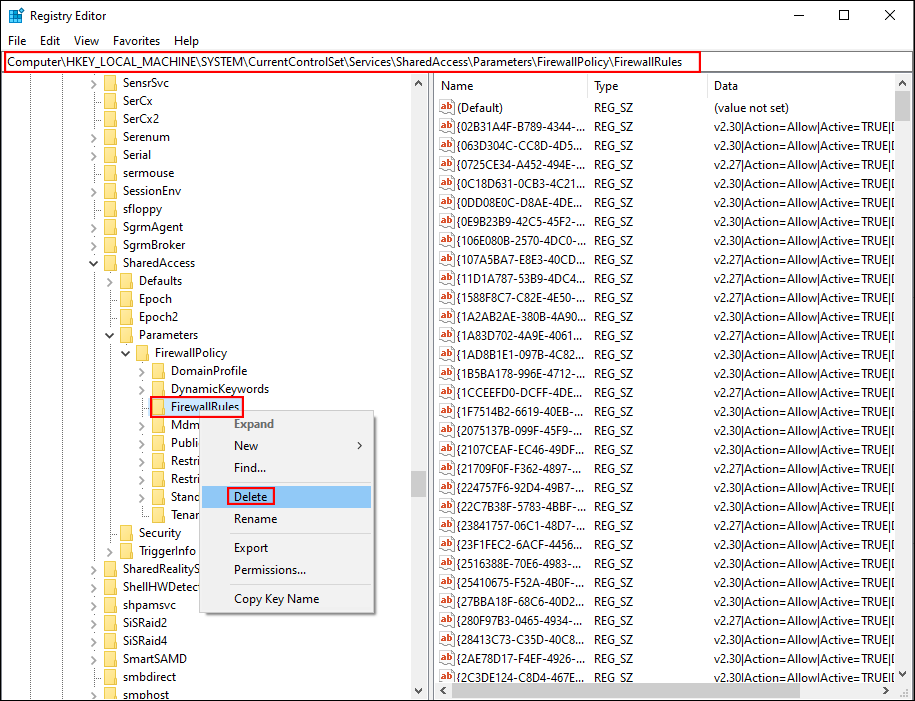
Step 3: Copy and paste the following path to the address bar to quickly access the aimed subkey.
Computer\HKEY_LOCAL_MACHINE\SYSTEM\CurrentControlSet\Services\SharedAccess\Parameters\FirewallPolicy\FirewallRules
Step 4: Right-click on the FirewallRules key and choose Delete from the context menu.
Step 5: Select RestrictedServices under the FirewallPolicy key as well, right-click on it, and choose Delete.
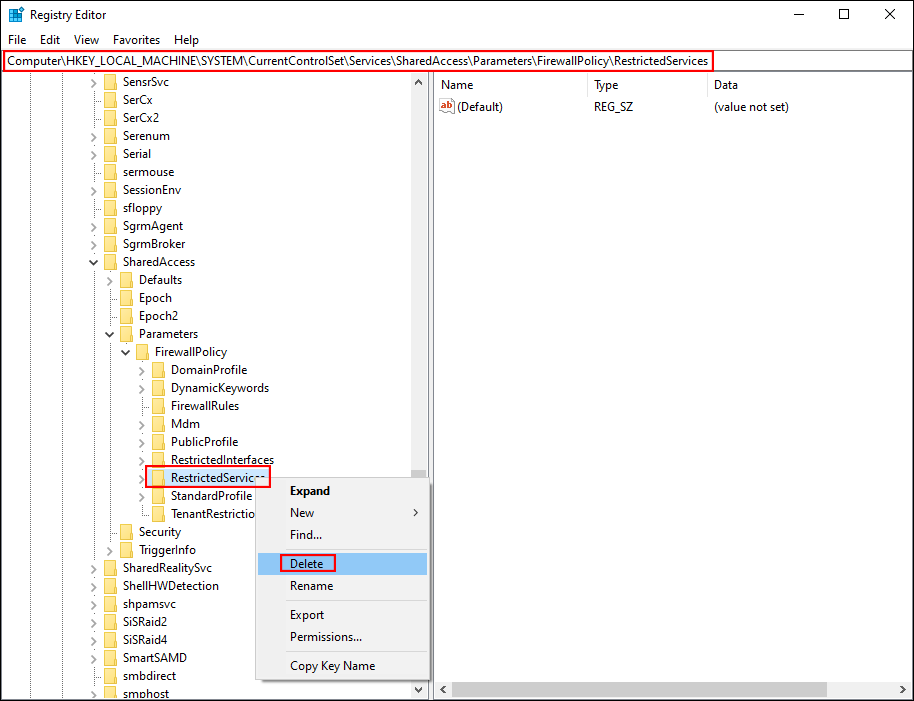
Afterward, you need to restart your computer to fully apply these changes. Go to run the Windows Defender Firewall again.
Fix 4: Reset Windows Firewall
The Windows Defender Firewall not starting might be caused by its incorrect settings. You can reset the Windows Firewall settings to default to resolve this issue.
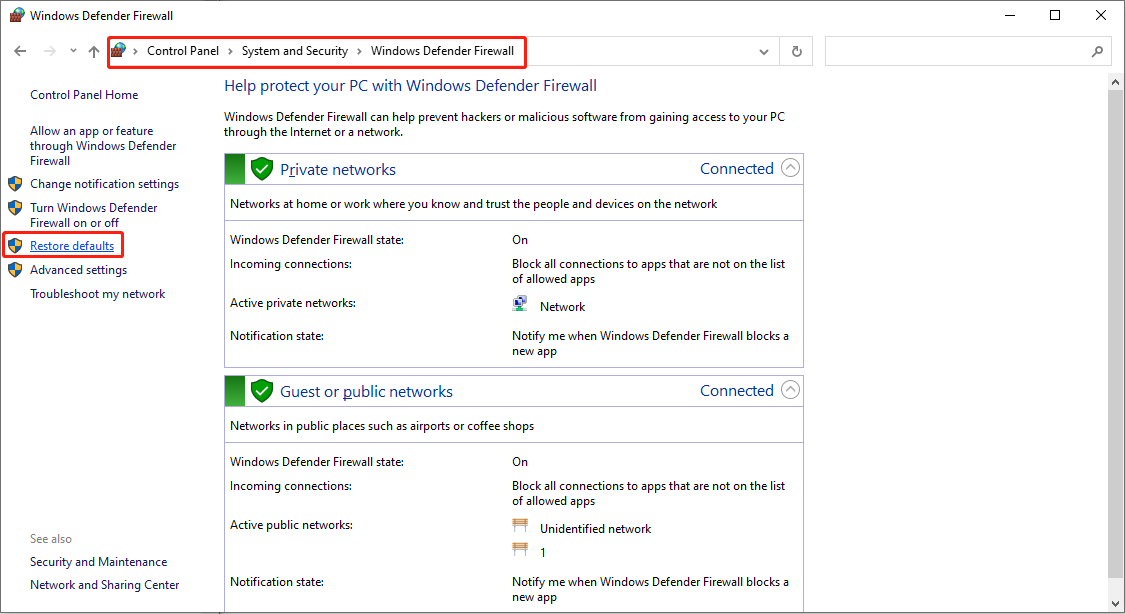
Step 1: Press Win + S and type Control Panel into the search box.
Step 2: Press Enter to open the window.
Step 3: Select System and Security > Windows Defender Firewall, then click on the Restore defaults option on the left sidebar.
Step 4: On the following window, click Restore defaults again and then choose Yes to confirm the action.
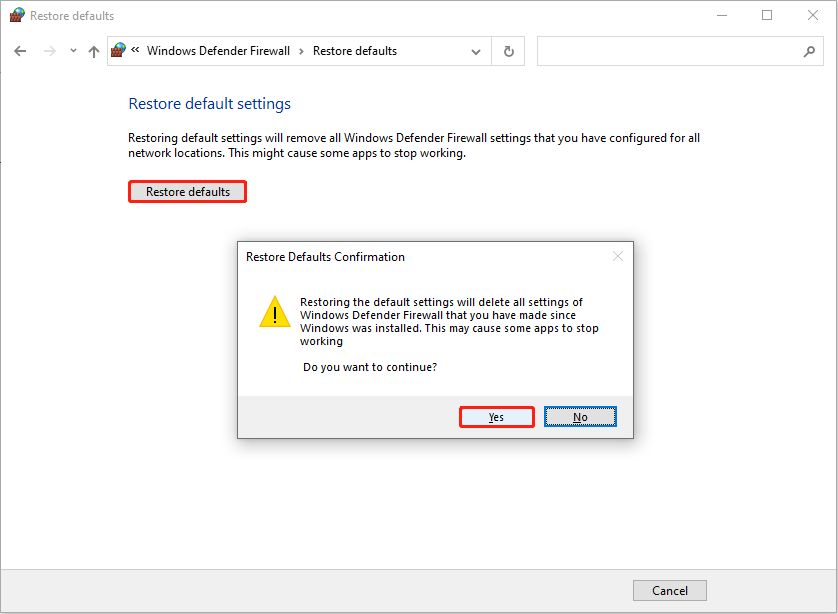
If the Windows could not start Windows Firewall error happens owe to misconfiguration, this method can help you fix it and make it work for every account.
Bottom Line
This is all about how to resolve the Windows could not start Windows Firewall on Local Computer error. Hope one of these methods can help you in time.
User Comments :