When you try to run WSA (Windows Subsystem for Android) on Windows 11, you may encounter the “WSA not working in Windows 11” issue. This post from MiniTool tells you the reasons and fixes for the issue.
Windows 11 allows users to run Android apps in it. This means that you can now download and use apps not only on your smartphones but also on Windows 11. This is called WSA, which is the abbreviation of Windows Subsystem for Android.
Sometimes, you may encounter the “Windows 11 WSA not working” issue. Then, there are some reasons for the issue.
- VPN software interference
- Corrupted WSA temporary files
- Corrupted WSA installation
- Outdated Microsoft Store framework
- Antivirus software
Then, let’s see how to get rid of the “WSA not working on Windows 11” issue.

Fix 1: Uninstall Your VPN Application
You can try to uninstall your VPN application to get rid of the “Windows 11 WSA not working” issue. Here are the steps:
Step 1: Press the Windows + I keys together to open Settings. Then, go to Apps > Apps & features.
Step 2: Then, scroll down the menu in the right panel to find your VPN application. Click it and choose Uninstall. Then, follow the on-screen instructions to uninstall it.
Fix 2: Repair/Reset Windows Subsystem Android
If the previous method is not working, you can try to repair or reset Windows Subsystem Android to get rid of the “WSA not working in Windows 11” issue. Here is how to do that:
Step 1: Press the Windows + I keys together to open the Settings application.
Step 2: Find the Apps part and click it to open it. After that, click the Apps & features tab on the right sidebar.
Step 3: Next, scroll down the page, find the Windows Subsystem Android app, and click the three-dot menu beside it.
Step 4: Then, click Advanced options. Finally, click the Repair or Reset button to repair or reset the app on Windows 11.
Fix 3: Update the Microsoft Store Framework
The next method for you to fix the issue is updating the Microsoft Store Framework. Follow the steps below:
Step 1: Press the Windows key + R to open the Run box, then type msi-windows-store: and press Enter.
Step 2: Then, click Library in the left-bottom corner. Now click Get updates to update the Microsoft Store Framework.
Fix 4: Update Windows 11 to the Latest Version
Windows updates can help you fix a lot of system issues and bugs. When you encounter the DirectX 12 not working error, you can try installing the latest Windows updates.
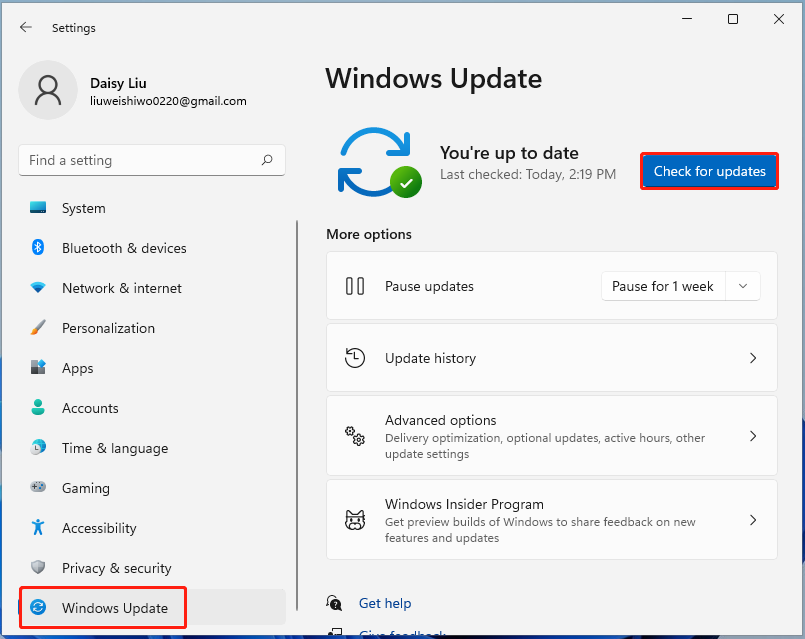
Step 1: Press the Windows + I keys together to Open Settings.
Step 2: Click the Windows Update section, click the Check for updates button to check if there are any new updates. Then Windows will search for available updates. Just follow the on-screen instructions to finish the process.
Fix 5: Turn off Third-party Antivirus Temporarily
Incompatible third-party antivirus software may prevent WSA from working in Windows 11, thus you had better turn off your third-party antivirus temporarily. Follow this post – Best Ways to Disable Avast for PC and Mac Temporarily/Completely to turn off it.
After fixing the issue, it’s recommended to turn on your antivirus again to protect your computers.
Final Words
To sum up, this post has shown 5 ways to fix the “WSA not working in Windows 11” issue. If you come across the same error, try these solutions. If you have any different ideas to fix it, you can share them in the comment zone.
User Comments :