Your Security Settings Could Not Be Detected in Dell
Although BIOS updates seem unable to boost system performance, they can fix bugs related to specific hardware or add compatibility for new devices. Therefore, if there’s an update available for your BIOS, you need to install it in time.
However, you might get such an error message when updating or installing the BIOS on your Dell computer:
Your security settings could not be detected. Try restarting your system and running the update again.
This error will prevent you from updating or installing BIOS, so you had better fix it in time. This guide provides you with a detailed tutorial on how to get around this issue step by step.
MiniTool ShadowMaker TrialClick to Download100%Clean & Safe
How to Fix Dell Security Settings Not Detected?
Move 1: Check Your BIOS Version
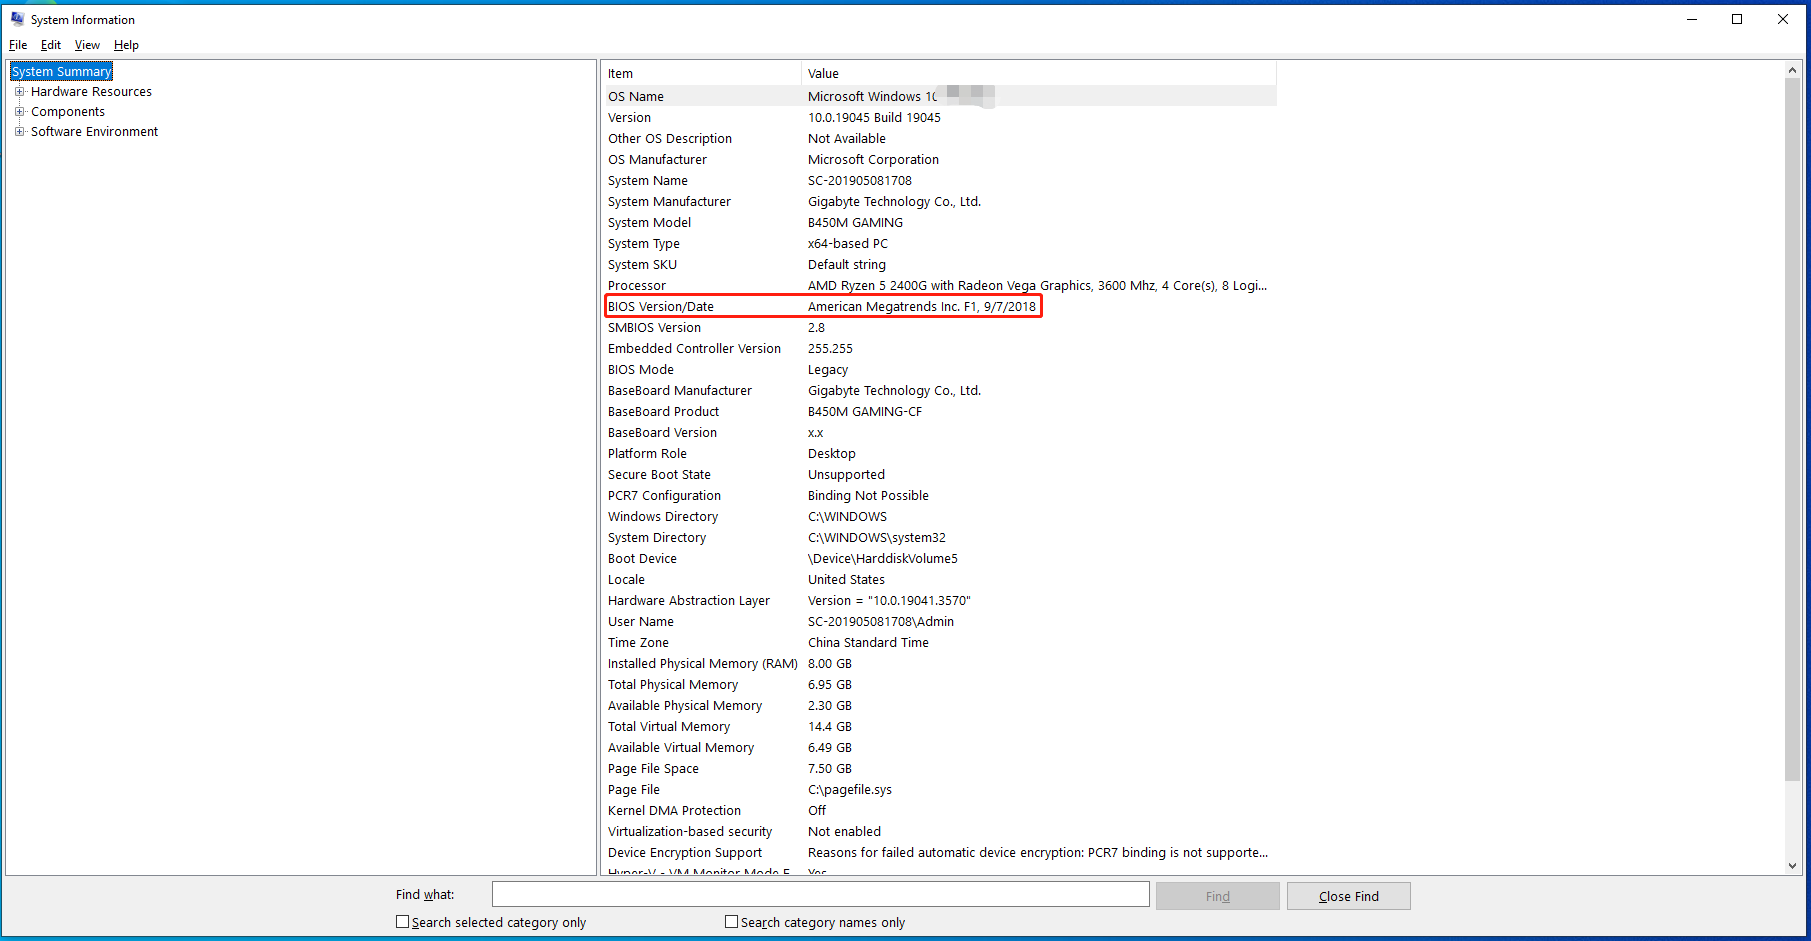
First of all, you need to check your current BIOS version so that you can download the corresponding update from the manufacturer website. To do so:
Step 1. Press Win + R to open the Run box.
Step 2. Type msinfo32 and hit Enter to launch System Information.
Step 3. Scroll down to find your BIOS version in BIOS Version/Date.
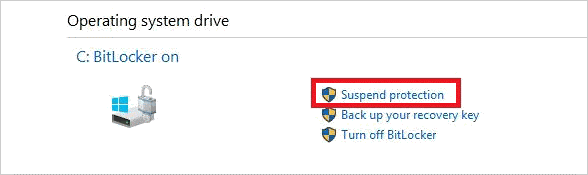
Move 2: Suspend BitLocker
Before performing the BIOS update, you need to suspend BitLocker. If the BitLocker protection is not suspended during the process, the system won’t recognize the BitLocker key and you will be prompted to enter the recovery key to proceed on each reboot. What’s worse, not having a recovery key will cause data loss or unnecessary OS reinstallation. Therefore, it is necessary to suspend BitLocker.
Step 1. Type control panel in the search bar and hit Enter.
Step 2. Go to System and Security > BitLocker Drive Encryption > Suspend protection.
Move 3: Update BIOS
Now, it’s time to install the BIOS update.
Step 1. Insert a USB flash drive to your computer.
Step 2. Download the appropriate BIOS version from the motherboard manufacturer’s website to your USB drive.
Step Restart your computer and enter the BOIS menu.
Step 4. Under the Bios update tab, select your USB flash drive as the source and follow the instructions on the screen.
Step 5. After that, restart your computer and enable BitLocker again.
Final Words
By following these steps above, you can update your BIOS on a Dell PC without more BIOS update or install issues. Last but not least, remember to create a daily file backup with MiniTool ShadowMaker to keep your data safe.
User Comments :