Do you know how to capture and annotate screenshots on your Windows 10 computer? You can do this job using the Windows built-in tools: Windows Snipping Tool and Windows Snip & Sketch. In this post, MiniTool Software will show you how to use these two apps to annotate screenshots in Windows 10.
Do You Want to Annotate Screenshots in Windows 10?
The easy and quick method to copy the content on your Windows screen is to take a screenshot. Your Windows has built-in tools and shortcuts for you to capture a screenshot. You can find them in this post: How to Screenshot on Computer? Try These Top 8 Methods.
Besides, some of these tools are not limited to capturing the screen. You can also use them to annotate screenshots in Windows 10 when necessary.
If you want to add text to a screenshot or do other things to make up a screenshot on your Windows 10 computer, you’d better use a screenshot tool that supports screenshot annotation. Both Windows Snipping Tool and Windows Snip & Sketch support annotating screenshots in Windows 10.
How to Annotate Screenshots in Windows 10?
- Step 1: Take a screenshot on your Windows 10 computer
- Step 2: Annotate the screenshot
How to Use the Windows Snipping Tool to Take and Annotate a Screen in Windows 10?
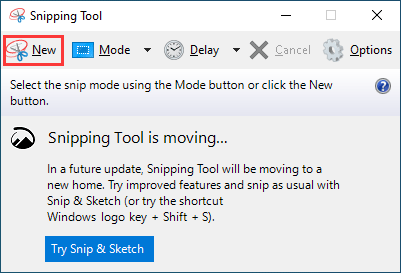
1. Click Windows search and type snipping tool.
2. Select the first search result to open it.
3. Click the New button and then select the screen area you want to capture.

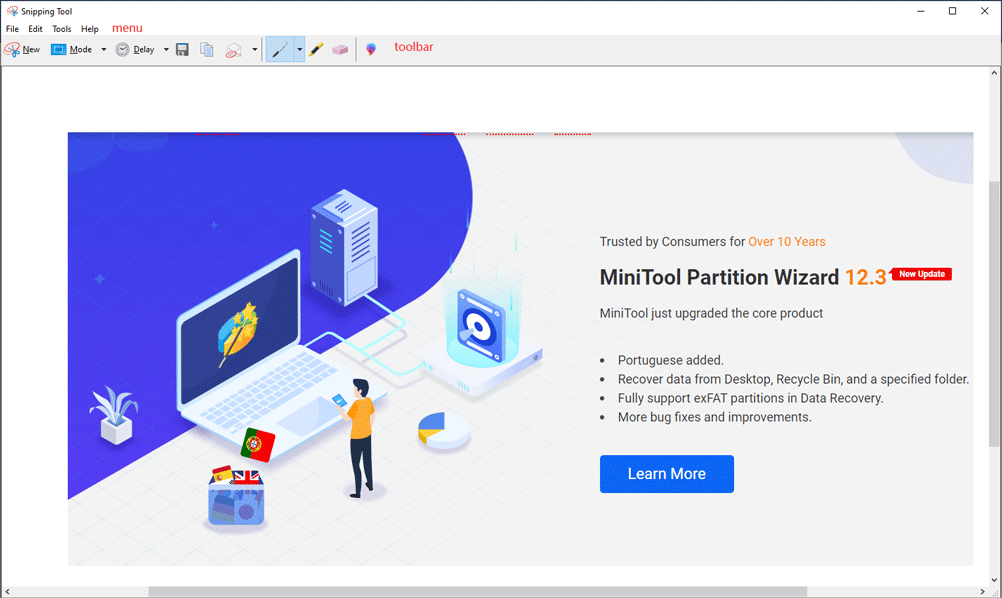
4. After selection, the screenshot will automatically appear in the Snipping Tool. To annotate the screenshot, you can use tools like a pen, highlighter, or rubber to do the things you want to do. You can also click Edit with Paint 3D (the last icon in the toolbar) to make up the screenshot using more features. For example, you can type text to the screenshot rather than drawing it by yourself.

5. After annotating the screenshot of making up it, you can go to File > Save As to select a proper folder to scan the edited screenshot.
How to Use Windows Snip & Sketch to Take and Annotate a Screen in Windows 10?
- Use Windows search to search for Snip & Sketch and select the first result to open it.
- Click New to start a new screenshot. You need to drag your mouse to select the screen area you want to capture.
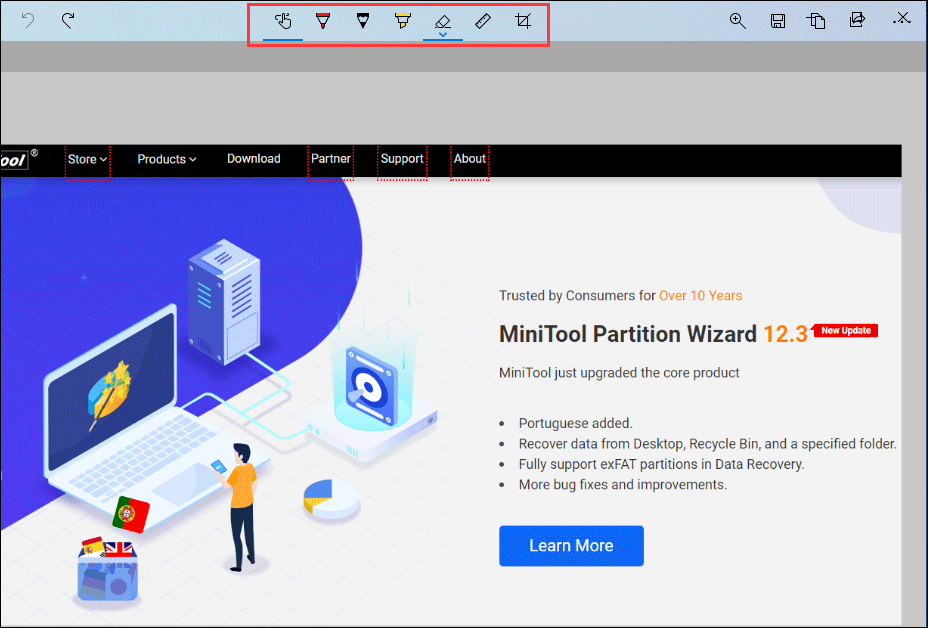
- The captured screenshot will appear in the tool. You can use the features in the toolbar to annotate the screenshot. For example, you can use a pen to annotate the screenshot.
- When everything is OK, you can click the Save As icon (next to the magnifying glass icon) to choose a location to save the screenshot.

Use Windows Snip & Sketch to Edit an Image
You can also use Windows Snip & Sketch to annotate any screenshots that are saved on your Windows 10.
You just need to right-click the image you want to edit and then go to Open with > Snip & Sketch. Then, the image will appear in the tool. You can use a pen or other features to annotate the picture.
Bottom Line
After reading this post, you should know how to annotate screenshots in Windows 10 using Windows Snipping Tool and Windows Snip & Sketch. Of course, there are also other available apps like Windows Paint, Photoshop, etc. You can just select one according to your requirement.
Additionally, if you lost some important screenshots by mistake, you can use the free data recovery software, MiniTool Power Data Recovery, to get them back.
MiniTool Power Data Recovery FreeClick to Download100%Clean & Safe

User Comments :