How to clone a Steam Deck with Clonezilla? The operation is complicated and follow the comprehensive guide on Clonezilla Steam Deck SSD upgrade. Besides, MiniTool introduces a simple way for you to accomplish this task.
As a handheld gaming computer, Steam Deck allows running many games available on the Steam storefront client. Maybe you also have a Steam Deck. But usually, the default SSD storage size cannot satisfy the needs, especially when you run large games. This is why you consider upgrading the SSD. Today, we focus on Clonezilla Steam Deck SSD upgrade.
Without further ado, let’s get started.
What You’ll Need
To back up Steam Deck SSD with Clonezilla and restore the image, there are some things you need to prepare:
- An NVMe 2230 SSD that is compatible with Steam Deck.
- A USB flash drive
- An external hard drive that is equal to or larger than the internal SSD size of your Steam Deck.
- An external keyboard
- A USB-C dock with at least three USB ports
- A screwdriver and a spudger
Step 1: Create a Clonezilla USB Drive
For the Clonezilla Steam Deck upgrade, the first thing should be creating a bootable USB drive.
- Download Clonezilla ISO from its official website.
- Connect a USB drive to your PC and launch Rufus.
- Select Clonezilla ISO and burn it to the USB drive.
Step 2: Boot into Clonezilla Live Environment
To clone Steam Deck SSD with Clonezilla, enter the Clonezilla environment:
1. Turn off Steam Deck by hitting the Power button and choosing Shutdown.
2. Connect your USB stick, external hard drive, & keyboard to the USB dock, and connect the dock to Steam Deck.
3. Hold the Volume Down button and click Power until Steam Deck enters the BIOS menu. Make sure you open Boot Manager.
4. Press the A button to select your USB drive (listed as Linpus Lite). Now, you are in the Clonezilla environment.
Step 3: Perform the Setup Procedure
Before the backup process for Steam Deck Clonezilla, take these steps:
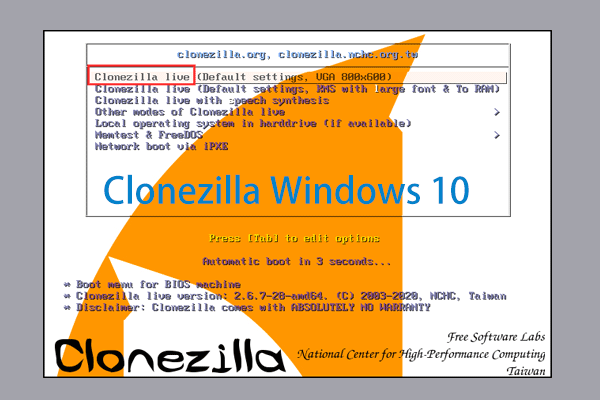
1. Choose the first Clonezilla option on the boot screen using the A button.
2. Pick a language.
3. Select Start_Clonezilla to continue.
Step 4: Clonezilla Steam Deck Backup Process
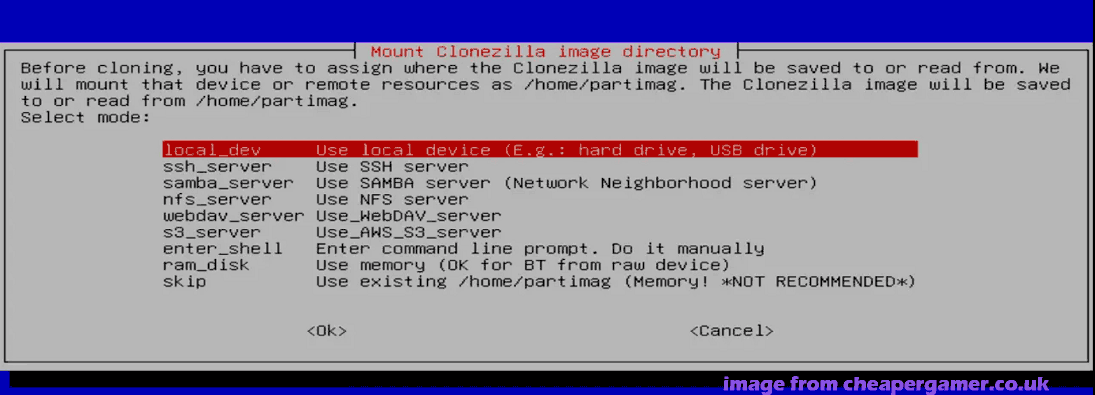
1. To run Clonezilla Steam Deck SSD image backup, choose device_image to go on.
2. Choose local_dev and press Enter if you have connected the external hard drive.
3. Press Ctrl + C to skip a prompt and choose your target disk.
4. Skip checking the file system and click Done.
5. Pick Beginner mode and then savedisk.
6. Decide the local disk source for the backup, such as the internal SSD in your Steam Deck (listed as nvme0n1)
7. Choose the compression option.
8. Skip checking the file system for the source drive.
9. Check the saved image.
10. Decide whether to encrypt the image.
11. Press Y to begin backing up Steam Deck. This process will take some time.
Step 5: Install New SSD to Steam Deck
1. Shut down Steam Deck.
2. Use a screwdriver and a spudger to open the back of your Steam Deck.
3. Remove the original SSD.
4. Insert the new 2230 NVME SSD and hold it in place.
Step 6: Restore Clone Image to New SSD
For Clonezilla Steam Deck, the last step is restoring the backed-up image to your new SSD.
1. Boot Steam Deck from the USB drive to the Boot Manager menu.
2. Finish the setup procedure and enter the mode selection window (mentioned in Step 3).
3. Choose restoredisk to continue instead of savedisk.
4. Select the image you have created.
5. Pick the internal SSD to restore the image to.
6. Check the image and decide whether to use the partition table from the cloned image or to create a new partition table.
7. Begin the restoration procedure.
That’s all the information about how to back up Steam Deck and restore it to a large SSD for disk upgrade. From the guide on Steam Deck Clonezilla, you notice the task is a bit complicated and requires many steps. To easily perform the Steam Deck SSD upgrade, we recommend using the cloning software, MiniTool ShadowMaker.
Steam Deck SSD Upgrade via MiniTool ShadowMaker
This software stands out with its rich features and friendly user interface, simplifying the cloning process. Its Clone Disk feature supports sector by sector cloning, allowing cloning all the sectors of the source disk to the target disk. Get this tool to begin.
MiniTool ShadowMaker TrialClick to Download100%Clean & Safe
Step 1: Remove the original SSD from your Steam Deck.
Step 2: Connect two SSDs to your PC via an adapter and launch MiniTool ShadowMaker Trial Edition.
Step 3: Navigate to Tools and click Clone Disk.
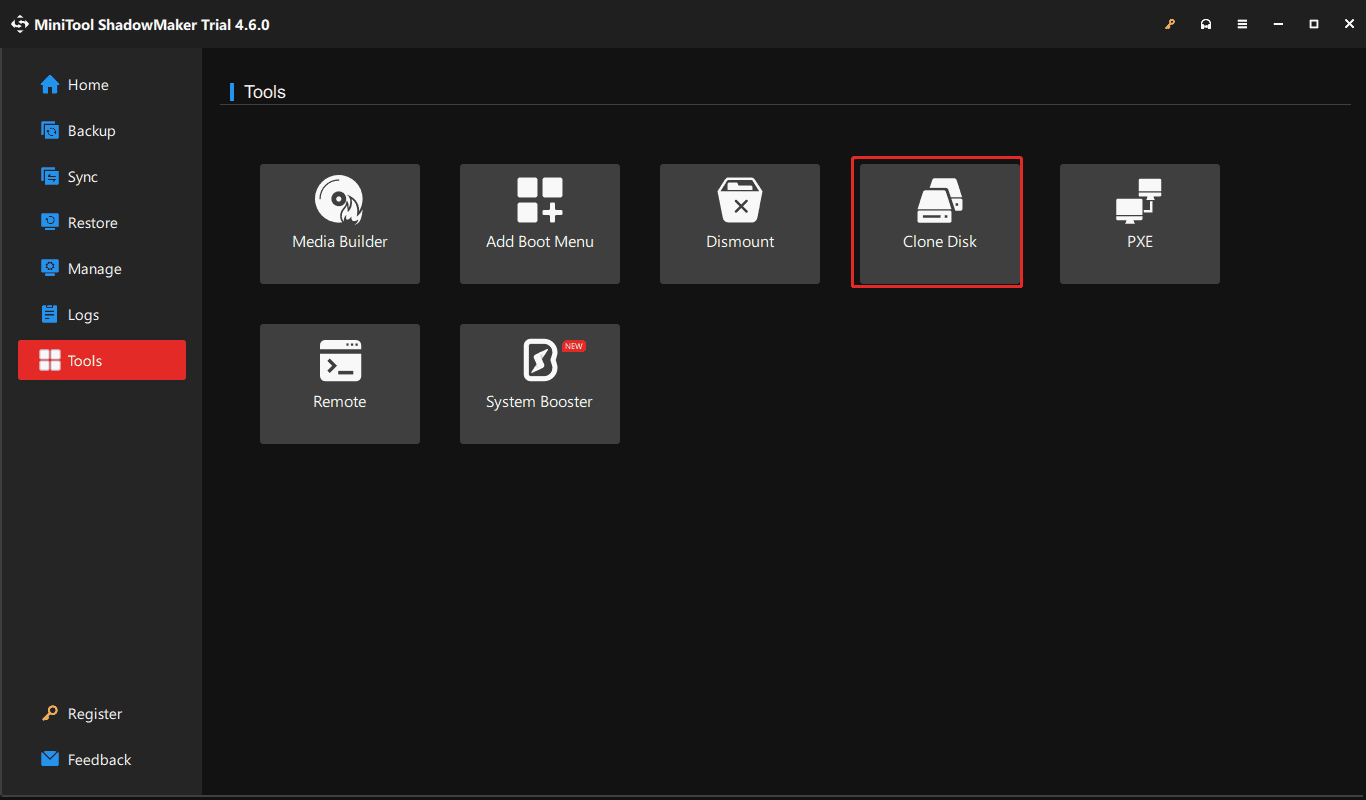
Step 4: Select the source drive and target drive, then begin cloning.
Everything is cloned to the large SSD. Put that SSD to your Steam Deck and you can enjoy large storage for games.
The End
For the Steam Deck Clonezilla SSD upgrade, you need to back up Steam Deck and restore the image to an SSD, requiring many steps. Fortunately, MiniTool ShadowMaker makes the SSD upgrade in Steam Deck easy via direct disk cloning.
About The Author

Position: Columnist
Vera has been working at the MiniTool Team for over 10 years as a technical editor and content writer. She mainly focuses on disk and partition management, data recovery, Windows backup and restore, and PC troubleshooting. Through in-depth software testing and hands-on experience, she has helped users solve a wide range of computer problems and better protect their data on Windows devices.
User Comments :