Epson Scan not working or Epson Scan window not showing is very common in life but do you have any ideas about how to handle this issue? If not, please look through this article on MiniTool Website as carefully as possible for effective solutions.
Epson Scan Not Working Windows 11/10
Epson Printer has brought much convenience to our life but quite a few people like you face Epson Scan not working Windows 10 after upgrading to Windows 10/11. The reasons are various, for example, outdared device driver, Compatibility mode and so on. In terms of different conditions, we come up with corresponding workarounds for you.
How to Fix Epson Scan Not Working Windows 10/11?
Fix 1: Run Epson Scan in Compatibility Mode
Epson Scan must operate under Compatibility Mode if you update your system. Therefore, the first culprit of Epson Scan not working Windows 10 might be that.
Step 1. Do a right-click on Epson Scan and choose Properties in the drop-down menu.
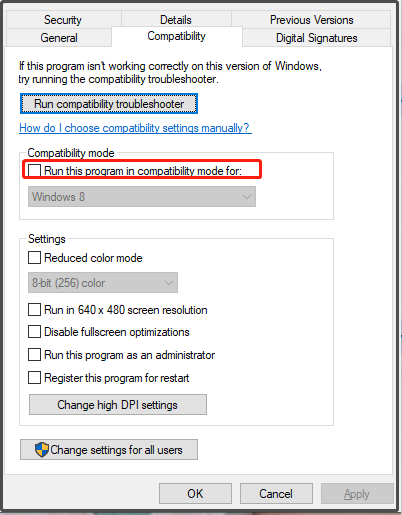
Step 2. Go to the Compatibility tab and then check Run this program in compatibility mode for.
Step 3. Click on OK to make this action effective.
Fix 2: Check Windows Services
The second solution to Epson Scan not working Windows 10 is to check the status of certain Windows Services To do so, you should:
Step 1. Right-click on the shortcut of Epson Scan and choose Properties.
Step 2. In the Compatibility tab, uncheck Run this program in compatibility mode for and hit OK.
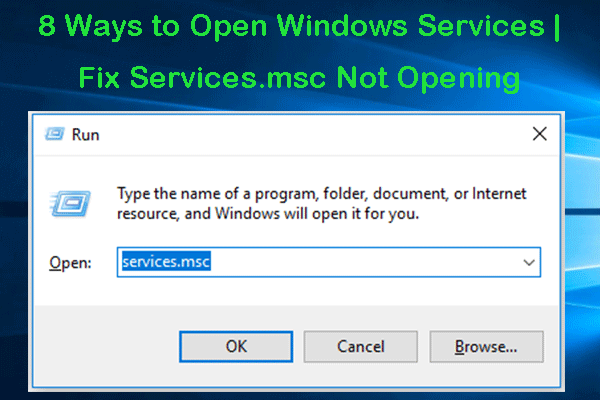
Step 3. Press Win + R simultaneously to invoke the Run dialog.
Step 4. Type services.msc and hit Enter to launch Services.
Step 5. Do a right-click on Windows Image Acquisition (WIA) and hit Properties.
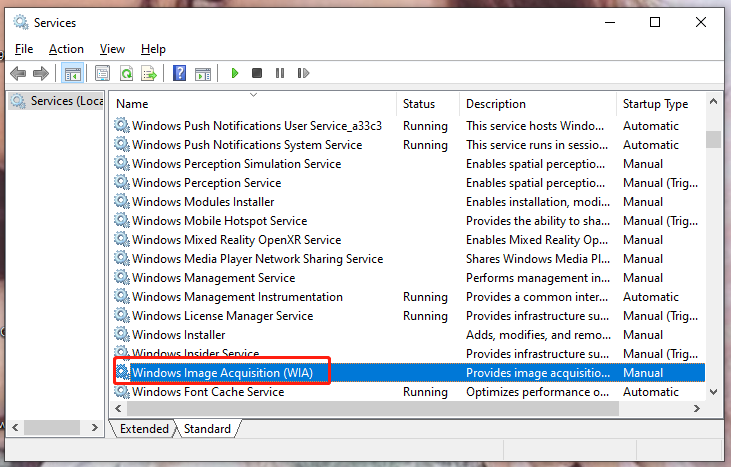
Step 6. In General, set Startup type to Automatic and set Service status to Running.
Step 7. Click Apply & OK to see if your Epson Scan runs properly.
Fix 3: Update Epson Scan Driver
Your Epson Scan driver is likely outdated hence causing the Epson Scan not working Windows 10/11 error. In this condition, you need to update it to fix some bugs and glitches.
Step 1. Go to Epson Website.
Step 2. Type your model number in the search bar and tap on Enter.
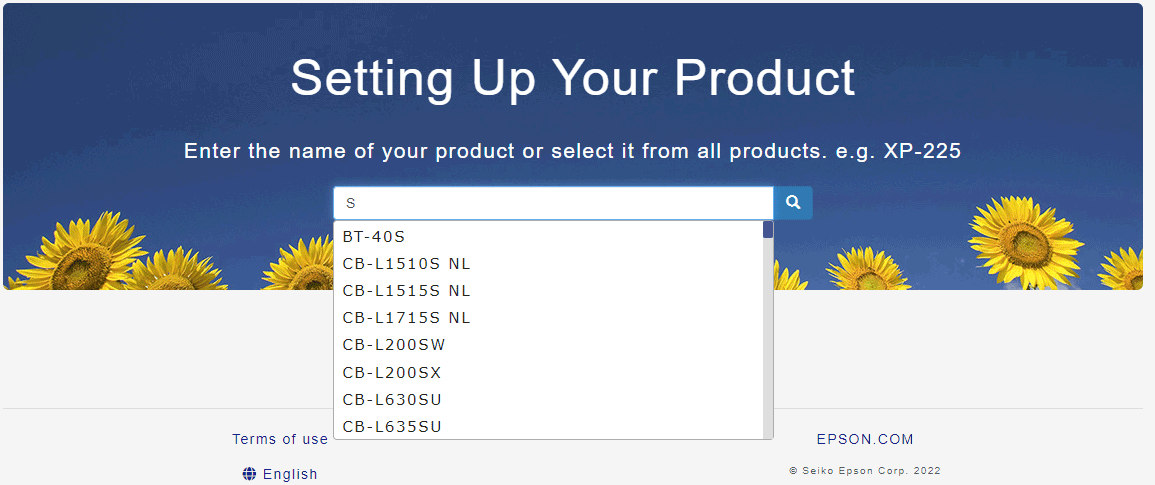
Step 3. In the popping-up window, choose Setup and then follow the instructions on the screen to download & install the latest version of Epson Scan driver.
Fix 4: Change Epson Scan Settings
Changing Epson Scan Settings has helped many users who run into Epson Scan not opening Windows 10/11. Follow the next guidelines:
Step 1. Press Win + S and type Epson folder to locate it.
Step 2. Open the folder and choose Epson Scan Settings.
Step 3. Click on Network > Add.
Step 4. Double-click on the IP address, choose Edit and rename it.
Step 5. Click OK to save the changes.
User Comments :