When you want to update your Windows system via Settings, you may receive a Windows update error 0x8024000B. Why does this issue happen? How to fix this issue? In this post, MiniTool Software shows you some effective solutions.
The Reason for Windows Update Error 0x8024000B
Windows update error 0x8024000B always happens when the Windows operating system can’t access the manifest update files. Like other Windows update errors, this error can prevent you from updating your Windows operating system.
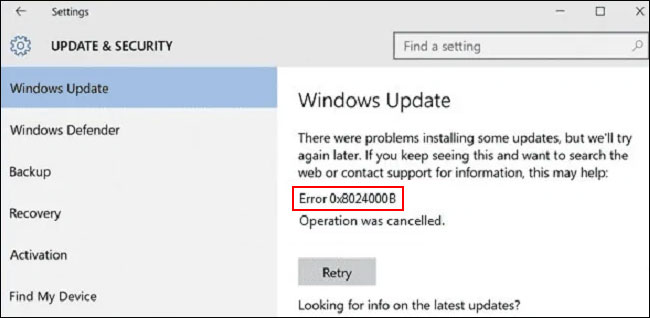
Where can you find the Windows update error 8024000B? If it happens, you can find it by going to Start > Settings > Update & security > Windows Update. It always comes with an error message saying:
There were problems installing some updates, but we’ll try again later. If you keep seeing this and want to search the web or contact support for information, this may help:
Error 0x8024000B
Operation was cancelled.
How to get rid of this Windows update error code 0x8024000B? Here are the things you can do.
How to Fix Windows Update Error 0x8024000B?
- Run the Windows Update Troubleshooter
- Clear the Superseded Updates
- Rename the Spupdsvc.exe File
- Reset the Windows Update Components
- Perform a System Restore
Method 1: Run the Windows Update Troubleshooter
The Windows update troubleshooter is specially used to find and fix Windows update errors like Windows update error 0xc1900107, Windows Update Fails with Error Code 0x80244007, Windows Update Cannot Currently Check for Updates, etc.
You can also use this tool to fix Windows update error code 0x8024000B.
1. Click Start.
2. Go to Settings > Update & Security > Troubleshot.
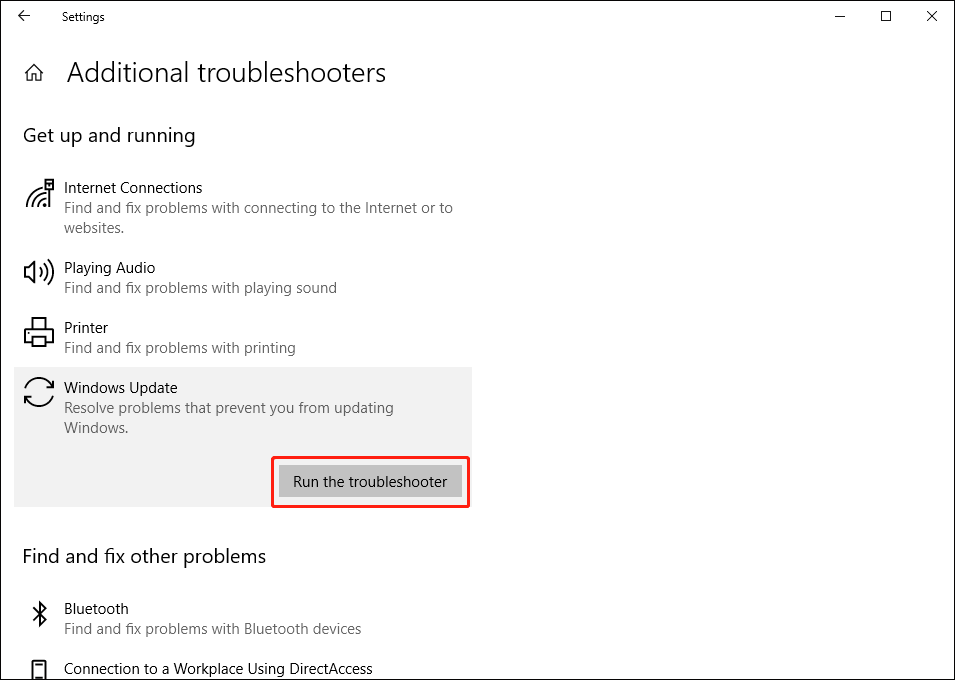
3. Click the Additional troubleshooters link.

4. On the next page, click Windows Update and then click the Run the troubleshooter button.
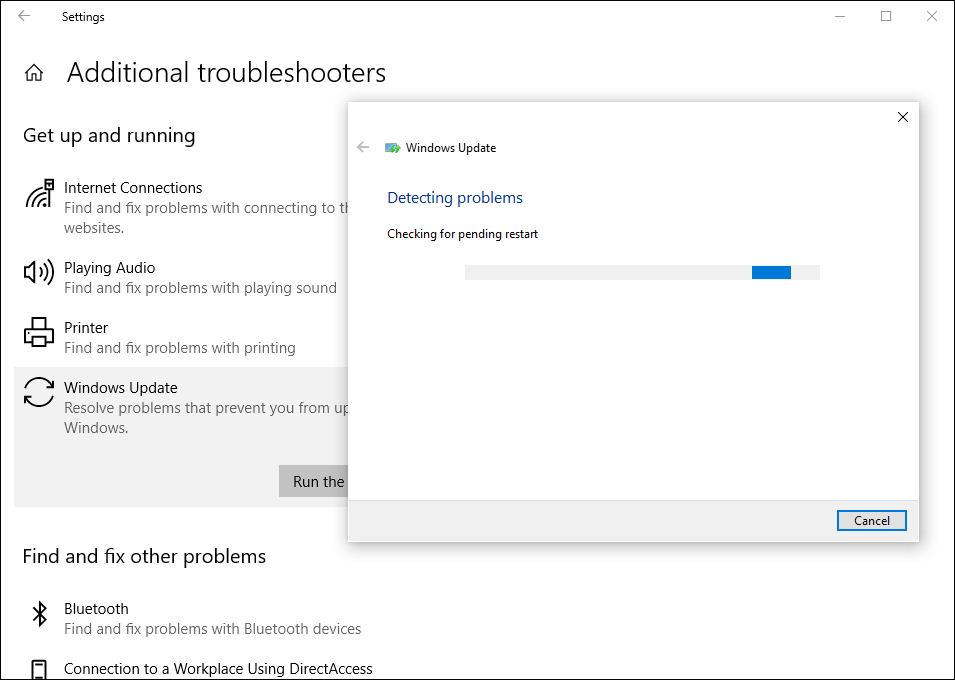
5. The troubleshooter will start to run. You need to wait until the whole process ends. If this tool finds some issues, you can follow the on-screen guide to fix them.
Method 2: Clear the Superseded Updates
The superseded updates can also give rise to Windows update error 0x8024000B. To get rid of this error, you need to clear the superseded updates. This article is helpful: The complete guide to WSUS and Configuration Manager SUP maintenance.

Method 3: Rename the Spupdsvc.exe File
You can use Command Prompt to rename the Spupdsvc.exe file.
Here are the steps:
- Press Win+R to open Run.
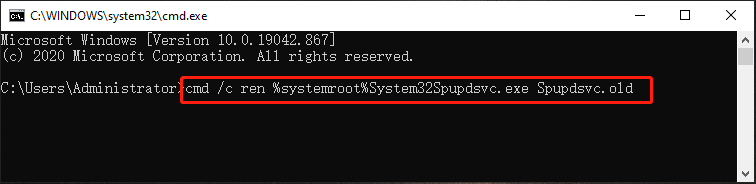
- Type cmd into the Run box and press Enter to open Command Prompt.
- Input this command and press Enter: cmd /c ren %systemroot%System32Spupdsvc.exe Spupdsvc.old.
- When the command is executed successfully, you need to reboot your computer.
Method 4: Reset the Windows Update Components
1. Run Command Prompt as administrator.
2. Input the following commands and press Enter after each:
net stop wuauserv
net stop cryptSvc
net stop bits
net stop msiserver
3. Input Ren C:WindowsSoftwareDistribution SoftwareDistribution.old and press Enter.
4. Input Ren C:WindowsSystem32catroot2 Catroot2.old and press Enter to edit the title of the catroot2 folder.
5. Input the following commands and press Enter after each:
net start wuauserv
net start cryptSvc
net start bits
net start msiserver
Method 5: Perform a System Restore
If you have created system restore points, you can also perform a system restore to make your computer go back to a state when Windows update is normal.
1. Press Win+R to open Run.
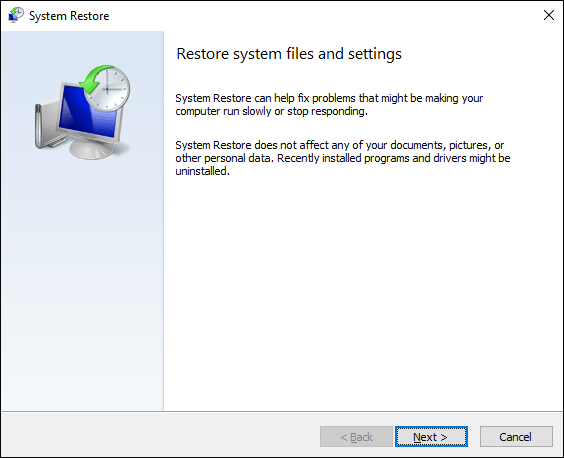
2. Type rstrui in Run and press Enter.
3. Click Next on the System Restore interface.
4. Select a suitable restore point when there are no Windows update issues and press Next.
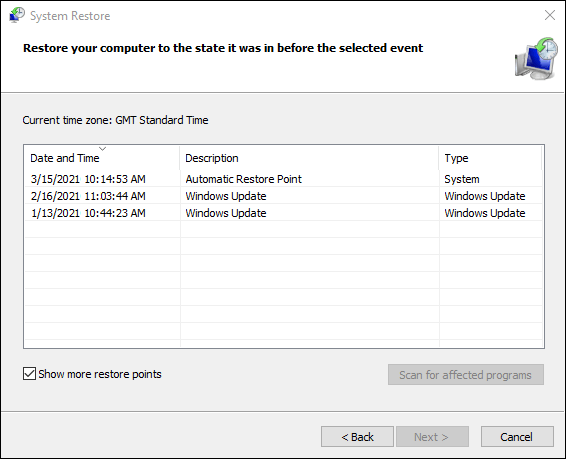
5. Click Finish on the next page.
Wait until the process ends. Don’t interrupt it in the process.
These are the solutions to Windows update error 0x8024000B. We hope they are useful to you.
About The Author

Position: Columnist
Stella has been working in MiniTool Software as an English Editor for more than 8 years. Her articles mainly cover the fields of data recovery including storage media data recovery, phone data recovery, and photo recovery, videos download, partition management, and video & audio format conversions.
User Comments :