Gigabyte Control Center not launching or working? This error happens from time to time, even after upgrading Windows. If you are confronted with this error as well, MiniTool provides you with some useful tips in this post.
Gigabyte Control Center is a unified software platform to control a variety of Gigabyte products. However, most Gigabyte Control Center users are troubled by the not launching issue. Recently, several people reported the Control Center not opening after Windows update on Gigabyte. Please go on to get effective solutions.
Way 1. Upgrade Gigabyte Control Center
If you are troubled by the Gigabyte Control Center not launching or not working issue after the Windows update, you can first go to the official website of Gigabyte to search for the latest update of the software. Running with an outdated version of this software could be the cause of the application not opening.
You should go to the Gigabyte official website to select and download the recent update. After that, install the update with the on-screen instructions. When the process is complete, you can launch the Gigabyte Control Center to see if it can be opened properly.
Way 2. Install Microsoft Visual C++ Redistributable
The Gigabyte Control Center not launching might happen because the Microsoft Visual C++ Redistributable isn’t properly installed or outdated. Those computer system components are related to the normal performance of the Gigabyte Control Center. Thus, you can try to install Microsoft Visual C++ Redistributable to resolve the problem.
Step 1. Go to the official download website of Microsoft Visual C++ Redistributable.
Step 2. Looking through the page, you need to select and download the ARM64, X86, or X64 version according to your computer architecture.
Step 3. Afterward, double-click on the downloaded package to run it. You can restart your computer to fully apply the change.
Apart from downloading Microsoft Visual C++ Redistributable, you can also download the latest version of Microsoft NET Framework from the official download page to resolve the Gigabyte Control Center not working or launching issue.
Way 3. Disable Core Isolation Memory Integrity
Core Isolation is a security utility on Windows to prevent the computer from being attacked by malware or viruses. However, this utility sometimes interferes with the performance of the Gigabyte Control Center. If you have enabled this function, disable it to see if this operation works.
Step 1. Press Win + I to open Windows Settings.
Step 2. Head to Update & Security > Windows Security > Device Security.
Step 3. Click Core isolation detailed under the Core isolation section, and then toggle the switch of Memory integrity to Off.

Way 4. Update BIOS
In some cases, the Gigabyte Control Center not launching issue occurs due to an outdated BIOS on your computer. Updating BIOS might make sense but this operation should be done carefully as it can cause severe computer issues, even boot failure.
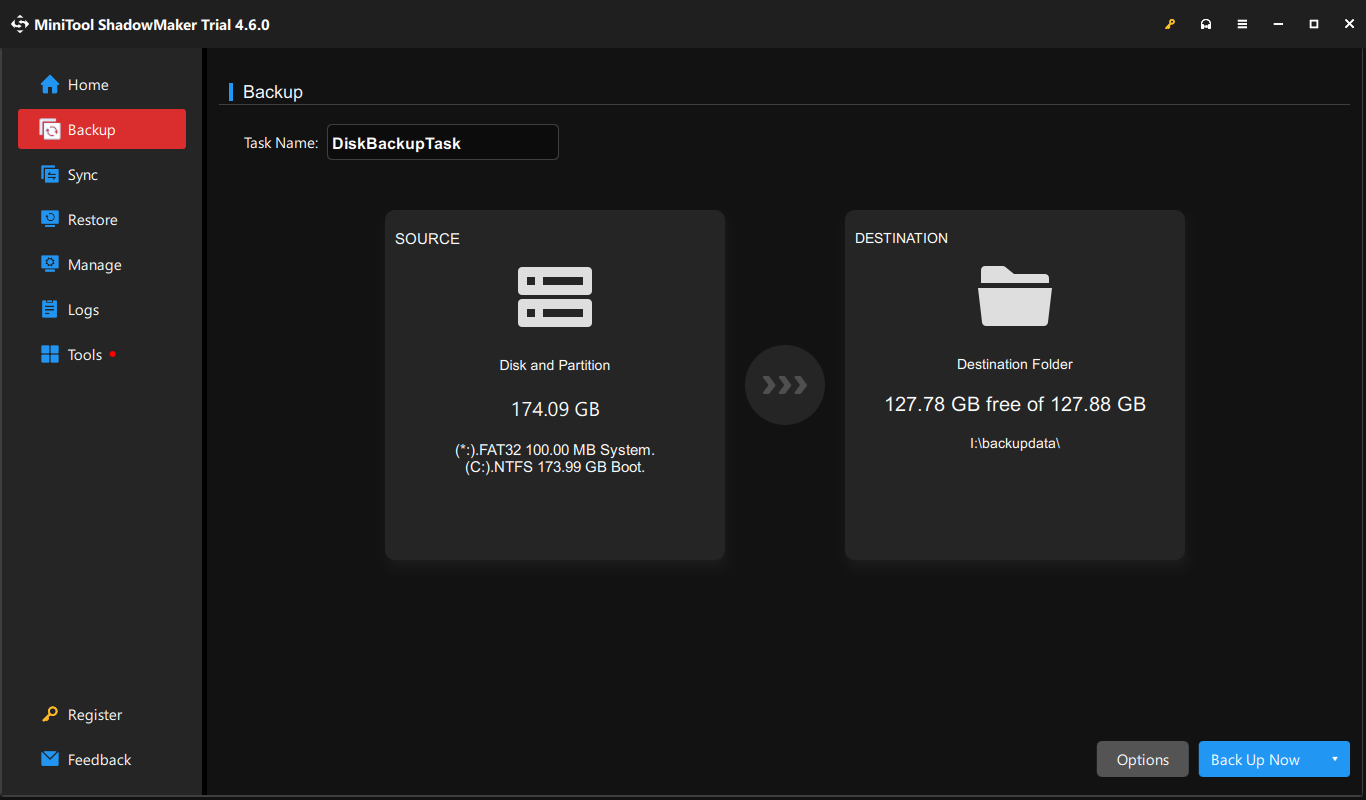
Therefore, you are highly suggested backing up crucial files on your computer before updating BIOS. MiniTool ShadowMaker does well in this case because it is able to back up files, folders, partitions, and disks within a few clicks. You can get this software and complete the computer backup tasks easily.
MiniTool ShadowMaker TrialClick to Download100%Clean & Safe
Afterward, it’s time to update the BIOS on your computer.
Step 1. Press Win + R to launch the Run window.
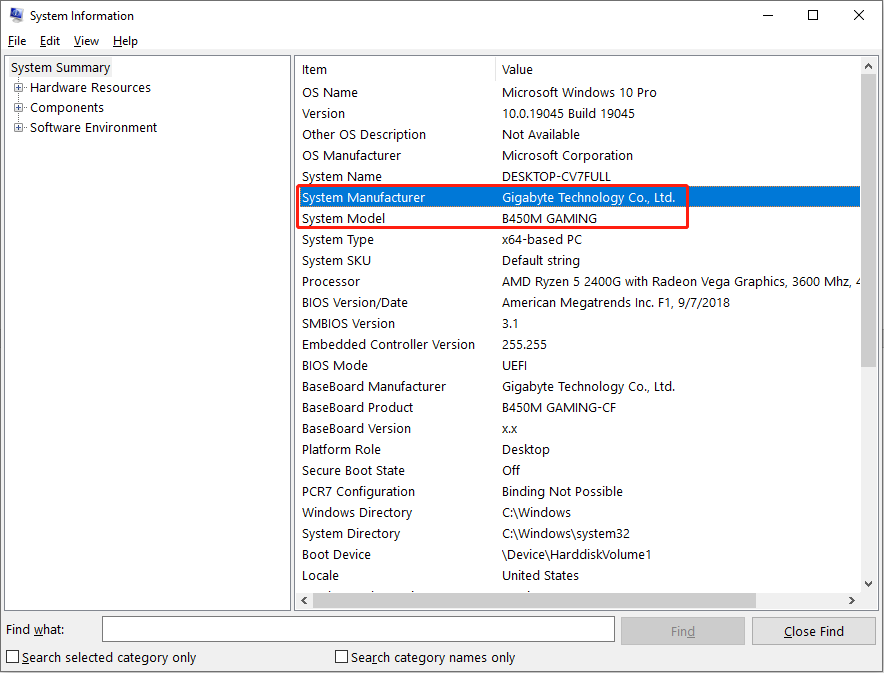
Step 2. Type msinfo32 into the dialog and press Enter to launch the System Information.
Step 3. You can check the System Manufacturer and System Model information on the right pane.
Step 4. Go to the official website to download the latest BIOS version. After that, extract files from the compressed folder to a USB drive.
Step 5. Restart your computer and boot it into BIOS. Find the Update BIOS From Drive option on the BIOS menu using the arrow keys.
Step 6. Follow the on-screen instructions to update the BIOS from the USB drive.
You can learn more detailed information about how to update GIGABYTE BIOS from this post.
Final Words
For those who use Gigabyte Control Center to manage computers, Gigabyte Control Center not launching or working is a bothersome issue. This post shares you with 4 ways. Hope one of them helps you resolve the problem in time.
User Comments :