Taking a screenshot of your Windows screen is a common operation when using your computer. For example, you may want to take a full or partial screenshot in Windows 10 and then share it with your friend you are chatting with. Of course, there are some other situations in which you want to capture screenshots in Windows 10.
Some of you may don’t know how to do this work. Don’t worry, we will tell you how to do it using different methods.
How to Take a Partial Screenshot in Windows?
In this part, we will show you how to perform a Windows 10 partial screenshot using four methods. You can just select your preferred one to do this job.
How to Screenshot a Specific Area in Windows 10?
- Use the Print Screen Key
- Press Win+Shift+S
- Use Windows Snipping Tool
- Use Windows Snip & Sketch
Here is a short video guide:
Method 1: Use the Print Screen Key
There is a Print Screen key on your keyboard. Just like the name of the key, it is used to print the current screen of your computer. If you are using a wired keyboard, it is usually on the top-right side of the keyboard. If you are using a laptop, you can find it on the top line or the bottom line of the keyboard. The Print Screen can be shown as Print Screen or PrtSc.
How to screenshot a specific area in Windows 10? It is very easy:
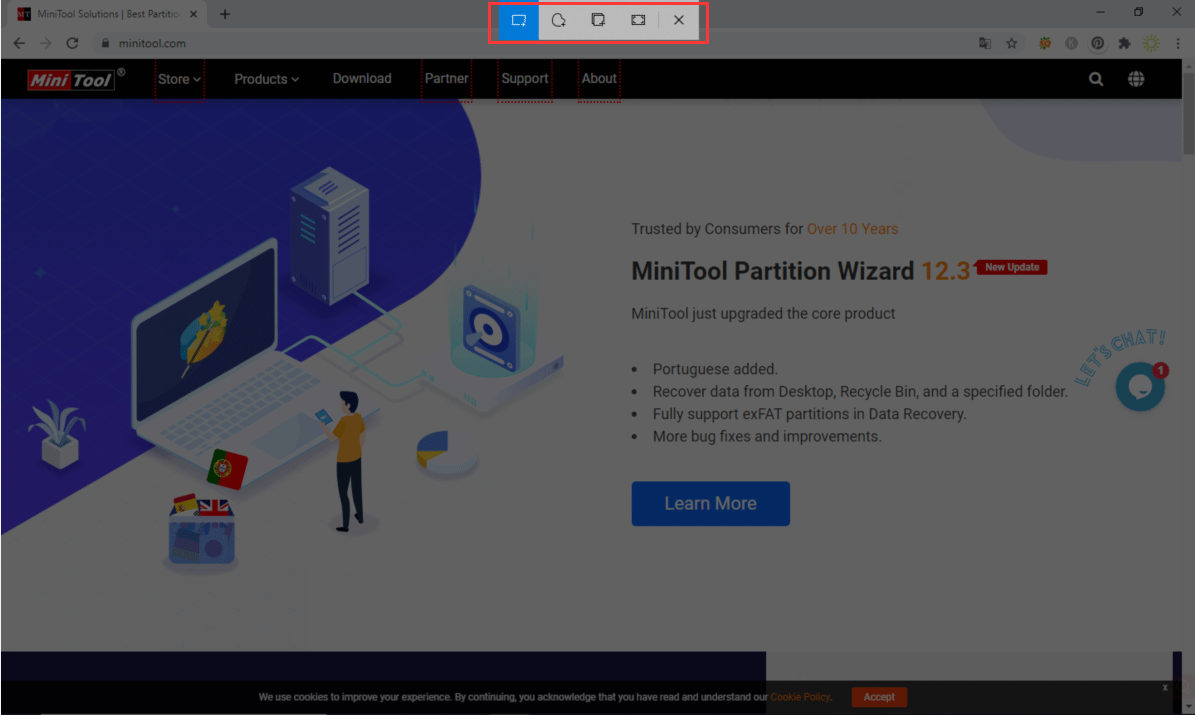
- Press the Print Screen Key and you will see a small menu on the top middle side of your computer screen.
- Select the area you want to capture. The screenshot will be saved to the clipboard. Of course, you can click one of the icons in the menu according to your need to take a screenshot.
- Open an application like Paint or Word and paste the screenshot to it.
- Edit the screenshot or save it to a suitable location.
Method 2: Press Win+Shift+S
Pressing Win+Shift+S is equal to pressing the Print Screen key. It also calls out the small menu and you can then select the section you want to take on your computer screen. We will not repeat the steps here.

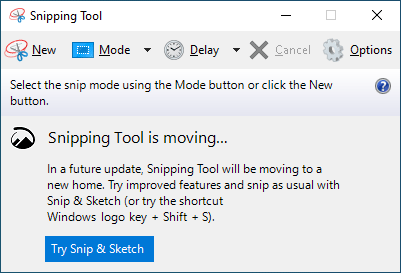
Method 3: Use Windows Snipping Tool
Windows Snipping Tool is a Windows snap-in tool. It has more features than the Print Screen key.
- Use Windows search to search for snipping tool and select the first result to open it.
- Click New.
- Choose the area you want to screenshot.
- The screenshot will show in the tool. You can use this tool to annotate the screenshot. You can also use the features in this tool to make up the screenshot.
- Go to File > Save As to choose a suitable location to save it.
Method 4: Use Windows Snip & Sketch
Windows Snip & Sketch is another choice for you to take a partial screenshot in Windows 10. It is also a Windows snap-in tool.
- Use Windows Search to search for snip & sketch and select the first result to open it.
- Click New and then select the area you want to capture.
- The screenshot will be opened in the Snipping Tool.
- Click the Save As button to save the screenshot on your computer.

How to Take a Full Screenshot in Windows 10?
Take a full screen in Windows 10 is also very simple. We will show you four methods in this part.
How to Screenshot a Full Screen in Windows 10?
- Press Win+Print Screen
- Press Win+Shift+Print Screen
- Use Windows Snipping Tool
- Use Windows Snip & Sketch
Method 1: Press Win+Print Screen
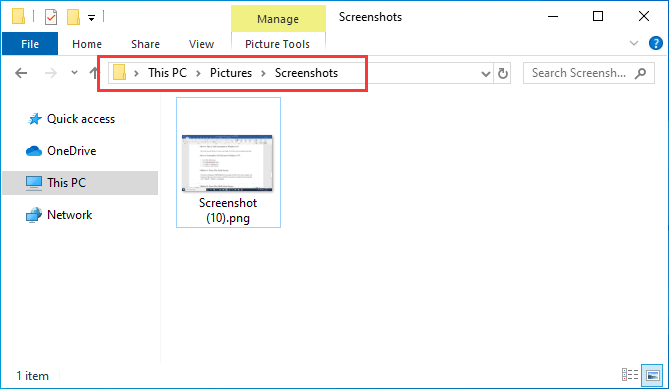
The shortcut combination of Win+Print Screen can capture the full screen of your computer. your computer will flash once after your press Alt+Print Screen and the screenshot will be automatically saved to This PC > Pictures > Screenshots.
Method 2: Press Win+Shift+Print Screen
You can also press Win+Shift+Print to take a full screen. But this time, you need to paste the screenshot to Paint or Word and then save it.
Method 3: Use Windows Snipping Tool
Windows Snipping Tool can also be used to take full screenshots in Windows 10. You can call it out and then select the whole screen to capture. After that, you can also use this tool to edit the image according to your requirements.
Method 4: Use Windows Snip & Sketch
Likewise, you can use Windows Snip & Sketch to capture the full screen in Windows 10. You need to use your mouse to select the full screen to capture after you open the tool. If needed, you can use this tool to edit the image.
Bottom Line
Now, you should know how to take a full or partial screenshot in Windows 10. If you delete your important screenshots by mistake, you can use a free file recovery tool, MiniTool Power Data Recovery, to restore them.
MiniTool Power Data Recovery FreeClick to Download100%Clean & Safe
If you encounter issues when capturing your computer screen, you can let us know in the comments. We will reply to you as soon as possible.
About The Author

Position: Columnist
Stella has been working in MiniTool Software as an English Editor for more than 8 years. Her articles mainly cover the fields of data recovery including storage media data recovery, phone data recovery, and photo recovery, videos download, partition management, and video & audio format conversions.
User Comments :