What if NVIDIA driver keeps uninstalling itself in Windows 10/11? This is a common issue on your PC. If you are plagued by this vexed issue, don’t panic. You can find multiple methods in this post. Without further ado, let’s go to see the guide from MiniTool.
NVIDIA Drivers Disappear after Reboot Windows 10/11
If you are an NVIDIA user, you may choose to install the latest drivers for your graphics card to keep the GPU running perfectly. However, according to reports, drivers uninstalled themselves. The following is one example of NVIDIA GeForce GPU uninstalls itself every day:
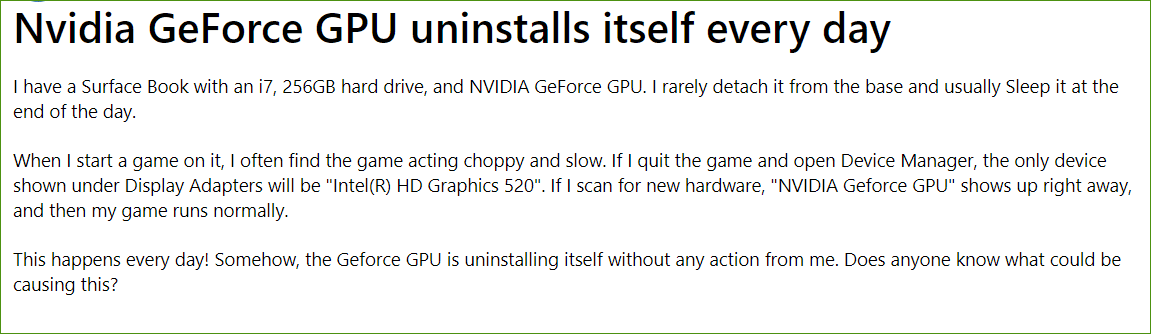
Perhaps you may also find NVIDIA driver keeps uninstalling itself. After installing the driver again, it works properly but it is also gone after a few days. Even sometimes you have a more severe problem – the graphics driver uninstalled itself after every reboot.
Fortunately, you can try to troubleshoot this issue by trying the solutions below.
Fixes – NVIDIA Driver Keeps Uninstalling Itself
Stop Windows from Automatically Downloading New Drivers
Windows can automatically download and install drivers for your PC, which can trigger the situation – NVIDIA drivers disappear after reboot or AMD drivers uninstalled themselves. You can take action to stop Windows from that thing although it is not recommended see the steps below:
Step 1: Type control panel in the search box and click the result to open this app.
Step 2: Click System and Security > System.
Step 3: Click Advanced system settings.
Step 4: Under the Hardware tab, click the Device Installation Settings button.
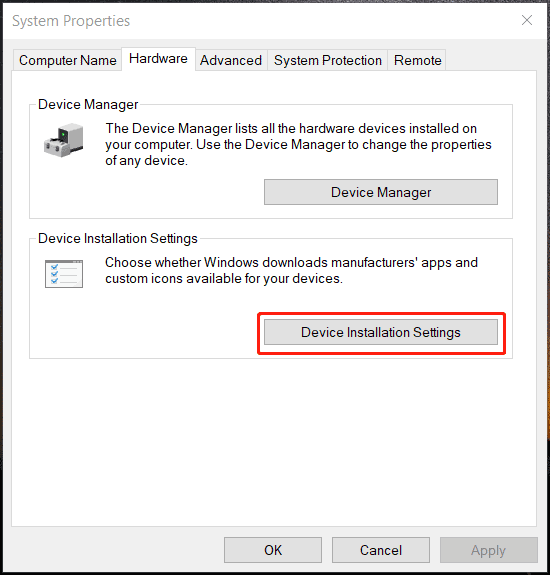
Step 5: Check the option of No (your device might not work as expected) and click Save Changes.
Step 6: Click OK and exit the System Properties window.
After that, reinstall the NVIDIA driver for your graphics card.
Step 1: Visit the NVIDIA official website and click DRIVERS from the navigation bar.
Step 2: Choose the proper driver based on your NVIDIA product, Windows version, etc., and then click SEARCH.
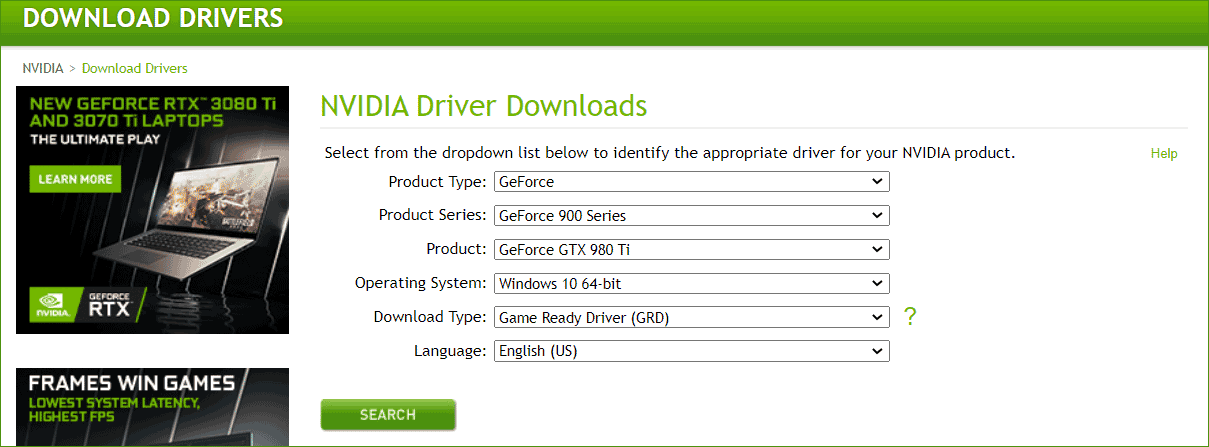
Step 3: Click DOWNLOAD to get the installation file.
Step 4: Double-click on it and start installing the NVIDIA driver on your Windows 10/11 PC.
Restart your PC and see if the situation “NVIDIA drivers disappear after reboot” still persists.
Uninstall All NVIDIA Items and Delete the Logging File
If the NVIDIA driver keeps uninstalling itself, you can try to uninstall & delete all the NVIDIA items & processes and then delete the logging file. See what you should do:
Step 1: Go to Control Panel > Uninstall a program.
Step 2: Delete all NVIDIA programs in the Programs and Features interface.
Step 3: Press Win + R, type services.msc and click OK. Choose and stop all the NVIDIA services by right-clicking each item and selecting Stop.
Step 4: Also, you should end all NVIDIA processes in Task Manager.
Step 5: Type regedit to the Run window and press Enter.
Step 5: Navigate to these locations:
HKEY_LOCAL_MACHINE\SOFTWARE\NVIDIA Corporation\Logging
HKEY_LOCAL_MACHINE\SOFTWARE\WOW6432Node\NVIDIA Corporation\Logging
Step 6: Right-click the logging file and choose Delete.
After these operations, go to download the needed NVIDIA driver from the official website and install it on your Windows 10/11 PC.
Make Sure Your NVIDIA Driver Is Updated
If your NVIDIA driver isn’t updated or it is missing, corrupt, or installed improperly, the issue of NVIDIA drivers disappear after reboot may be triggered. Thus, you should choose to update the driver.
As mentioned in method 1, we show you how to install the latest driver from the NVIDIA website. Besides, you can go to Device Manager for this task. Or, use a driver update tool to perform the driver update. Or, you can download GeForce Experience and install it on your computer for automatic driver updates.
Final Words
NVIDIA driver keeps uninstalling itself on Windows 10/11? If NVIDIA drivers disappear after reboot, try these methods above and you can get rid of trouble. Have a shot now.
About The Author

Position: Columnist
Vera has been working at the MiniTool Team for over 10 years as a technical editor and content writer. She mainly focuses on disk and partition management, data recovery, Windows backup and restore, and PC troubleshooting. Through in-depth software testing and hands-on experience, she has helped users solve a wide range of computer problems and better protect their data on Windows devices.
User Comments :