On some forums, you find the hot topic “stuck on Windows 11 21H2 can't update to 22H2 or 23H2”. If you are also struggling with the same issue, you come to the right place. Here MiniTool introduces some possible solutions to you.
Windows 11 21H2 Can’t Update to 22H2 or 23H2
Windows 11 21H2 has ended its support for some time. Thereby, you plan to update to 22H2 or 23H2. However, a common issue could occur – stuck on Windows 11 21H2 can’t update. When searching for this topic in Google Chrome, you may notice there are many discussions.
Although your system works fine now, applications will stop working at some point if you don’t update to a new version. Even many serious issues will happen on the old Windows version sooner or later, showing poor performance.
So, are there some useful ways to solve the issue? First of all, make sure your computer meets the system requirements. Below we introduce 2 proven methods and let’s explore them.
Further Tip: Back up Files
Upgrading 21H2 to 22H2, 23H2, or 24H2 will make major changes to the system, thus, you had better make a full backup for your important files to avoid data loss.
For data backup, use the PC backup software, MiniTool ShadowMaker which facilitates file backup, folder backup, system backup, disk backup, and partition backup. Get it and follow the guide on how to back up a computer to an external hard drive.
MiniTool ShadowMaker TrialClick to Download100%Clean & Safe
Fix 1: Download ISO and Run Setup.exe
Have you tried to use Windows 11 ISO to upgrade to 23H2? If not, take these steps.
Step 1: Visit the Windows 11 download page, scroll down to the Download Windows 11 Disk Image (ISO) for x64 devices part, and download the latest version of Windows 11 ISO. Currently, it is 24H2. If you want 22H2 or 23H2 ISO, get it from a third-party website.
Step 2: Upon completing the ISO download, disconnect the connection to your Internet and remove all external devices with the exception of a keyboard or mouse.
Step 3: Temporarily disable any third-party antivirus software you have installed.
Step 4: Find the ISO file you have downloaded and right-click on it to choose Mount. You will get a virtual drive in File Explorer.
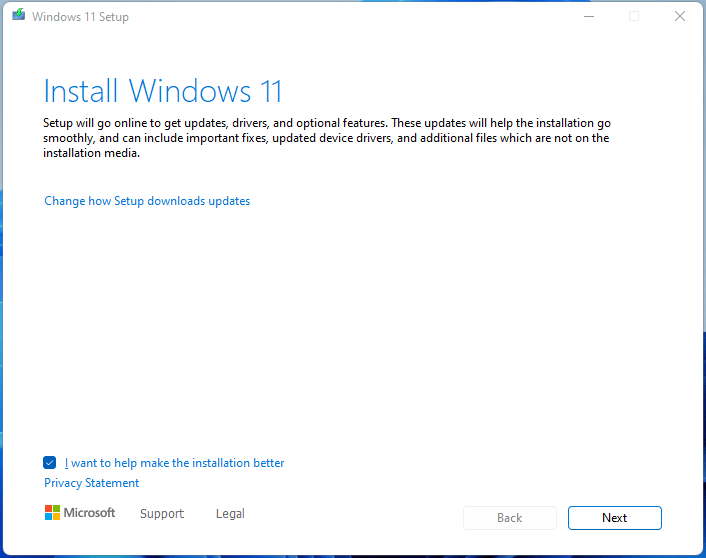
Step 5: Open that drive and then double-click on the Setup.exe file to begin an update.
Step 6: Finish all the operations according to the on-screen instructions. Now, you shouldn’t suffer this case – stuck on Windows 11 21H2 can’t update.
Fix 2: Clean Install Windows 11 22H2, 23H2 or 24H2
Speaking of the topic “Windows 11 can’t update stuck on 21H2”, if the first way fails, perhaps your system is very corrupt. According to users in the Microsoft forum, you should take these steps:
Step 1: Go to Settings > Recovery > Recovery options.
Step 2: Click Reset PC and tap Keep my files to proceed.
Step 3: Choose Cloud download or Local reinstall, then finish the PC resetting.
Step 4: Later, run the Setup.exe file to perform the in-place upgrade again.
Or, you can perform a clean installation.
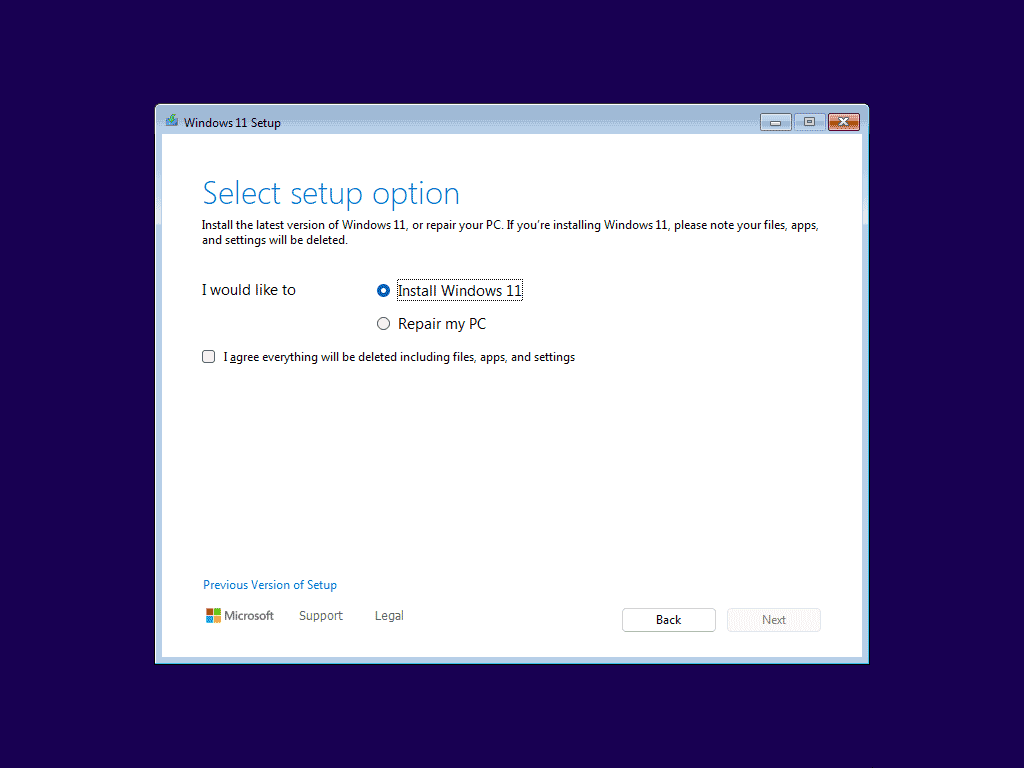
To do so, run Rufus to create a bootable USB drive, connect it to your PC, boot the system from that drive, and enter the setup interface. After selecting a language and keyboard, click Install now or tick Install Windows 11 & agree to the terms, and proceed with the installation according to the prompts.
Bottom Line
What if Windows 11 21H2 can’t update to 22H2 or 23H2? You should solve this issue after trying these troubleshooting tips. If the problem persists, please contact the Microsoft team for help.
About The Author

Position: Columnist
Vera has been working at the MiniTool Team for over 10 years as a technical editor and content writer. She mainly focuses on disk and partition management, data recovery, Windows backup and restore, and PC troubleshooting. Through in-depth software testing and hands-on experience, she has helped users solve a wide range of computer problems and better protect their data on Windows devices.
User Comments :