When starting the system, it will perform the checksum test of the BIOS. If the test is not success, you might get stuck on the CMOS checksum is invalid screen. Luckily, you can get some useful fixes in this post from MiniTool Website.
The CMOS Checksum Is Invalid. CMOS Reset (502)
If there is a conflict between a CMOS and BIOS, you might receive the CMOS checksum is invalid error message. Many causes can lead to this issue, like a corrupted BIOS, corrupted CMOS data, a weak CMOS battery and more.
The complete error message is listed as follows:
The CMOS checksum is invalid. The CMOS will be reset to the default configuration, and the computer will restart. Afterwards, please check the BIOS Setup options to see if they can change.
CMOS Reset (502)
In this post, we demonstrate how to fix stuck in the CMOS checksum is invalid screen in 4 ways step by step. If you are experiencing the same issue, scroll down to find more details.
How to Fix CMOS Reset 502 Error on HP Computer?
Fix 1: Check the Battery
If you receive the CMOS checksum is invalid after replacing battery, you can check if the CMOS orientation is right.
Step 1. Power off your computer and remove the side panel to access the motherboard.
Step 2. Press the lock located on the side of the CMOS battery socket to remove the battery.
Step 3. Check if the positive side of the battery faces up and then reseat the CMOS battery. If it doesn’t do a trick, you can replace another battery.
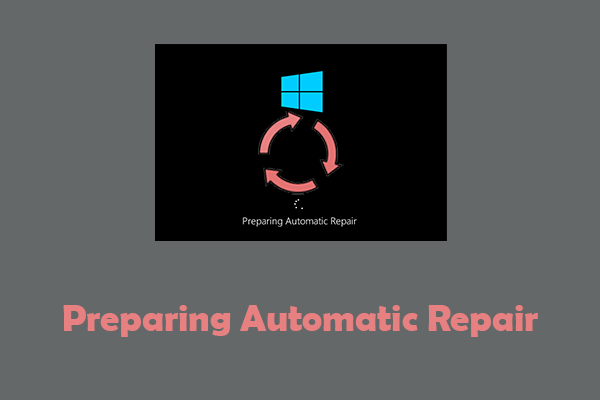
Fix 2: Perform an Automatic Repair
Windows Automatic/Startup Repair can diagnose your computer and fix all the system on it. Here’s how to perform an automatic repair to fix the CMOS checksum is invalid:
Step 1. Enter WinRE.
- If you are able to boot into Windows, you can enter WinRE by: going to Windows Settings > Update & Security > Recovery > Restart now under Advanced startup.
- If you fail to boot into Windows, you should enter WinRE by: pressing and holding the power button until the computer powers off > pressing the power button to turn it on again > when you see the Windows icon, press and hold the power button to turn off your computer > repeat this process until Windows enter WinRE.
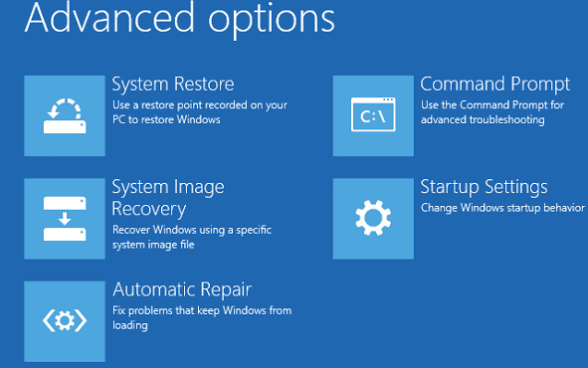
Step 2. When your computer restarts, hit Troubleshoot > Advanced options > Startup/Automatic Repair, and then follow the guidelines on the screen to finish the rest process.
Fix 3: Restore the BIOS via a USB Drive
There is a chance that the BIOS is corrupted. In this case, you can recover the BIOS using a USB drive.
Step 1. When you see the CMOS checksum is invalid screen on your HP computer, press Enter to restart your system.
Step 2. If the error is still there after restarting, you can recover the BIOS using a USB recovery drive. Here’s a video guide on that:
For this, you will need a working computer.
Step 3. If you fail to restore the BIOS, contact the HP support team.
Fix 4: Recover BIOS via HP Emergency BIOS Recovery
Another way to restore the BIOS is using the emergency BIOS recovery feature on your HP computer.
Step 1. Power off your computer. If yours is a laptop, connect it to the charger after turning it off.
Step 2. After that, press & hold Win + B and the power button for up to 3 seconds.
Step 3. Release the power button and keep holding the Win + B. When you hear a beeping sound, release the Win + B. After a while, you should see the BIOS update screen. If not, repeat the steps above again.
Step 4. Then the BIOS will update automatically. If you cannot see the BIOS update screen after repeating these steps, your computer may not support this function or there are some hardware issues with it.
In case you encounter similar boot issues or system issues again, it is strongly suggested to create a backup of your system with the free backup software – MiniTool ShadowMaker. This one-in-all tool provides you with a one-click system backup service, that is, backing up your system just in a few steps. It is really worth a shot!
User Comments :