For Windows 10, you may find there are some apps & features that you don’t need and it is troublesome to delete & disable them. Besides, if your PC is very low-end and you want to install Windows 10, the hardware cannot meet the requirements.
To have a user experience similar to the standard Windows 10, you can resort to a tweaked edition of Windows 10 – Xtreme LiteOS 10. Go on reading to know some details about this lite edition.
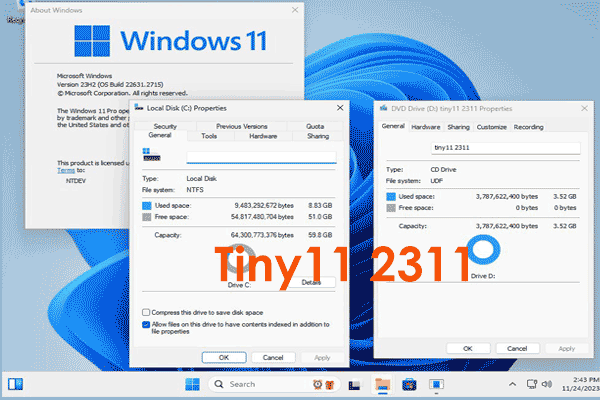
If you are looking for a Windows 11 tweaked edition, refer to this post - Windows 11 Xtreme LiteOS ISO Download & Install for Low-End PCs.
Overview of Windows 10 Xtreme LiteOS
Windows 10 Xtreme LiteOS is a modified edition that is designed to significantly improve the gaming performance in low-end PCs. With the pre-installed performance boosters, Xtreme LiteOS 10 can gain good performance.
In general, this lite OS doesn’t offer bloatware, and brings improved privacy & performance and lower latency. When running it, low resource consumption is offered. Besides, some features are disabled including Printer Spooler, Windows Search Index, Action Centre, Hibernation, etc. All these disabled features can be enabled using the ToolKit tool in Xtreme LiteOS.
If you are interested in this operating system, you can go to download Windows 10 Xtreme LiteOS and install it on the PC to have a try.
Back up PC Data Before Xtreme LiteOS 10 Download & Installation
Before the Windows 10 Xtreme LiteOS download and installation, we strongly advise that you should create a backup for your computer since the installation is 100% clean. That is, the process can erase all the files and folders on the original hard drive and then install a brand-new OS. If you save many important documents, photos, videos, etc. on the disk, go to back up the data.
To back up your important files, you can run a piece of professional PC backup software – MiniTool ShadowMaker. It helps you to create backups for your data and Windows operating system. Scheduled backups, incremental backups, and differential backups are supported. To back up your crucial data, get MiniTool ShadowMaker Trial Edition using the following button.
MiniTool ShadowMaker TrialClick to Download100%Clean & Safe
Step 1: Run this installed backup software in Windows 10/8/7.
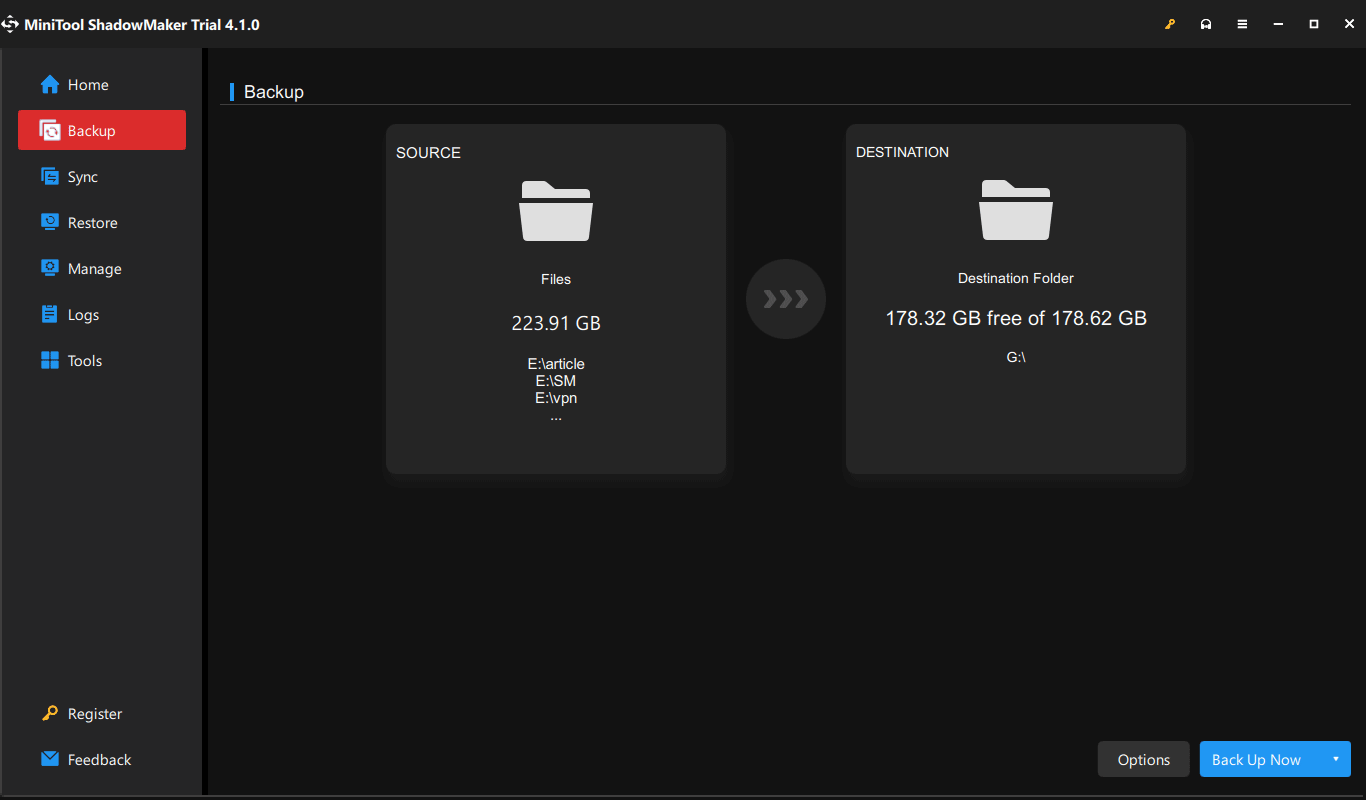
Step 2: Go to Backup, click SOURCE > Folders and Files, check the items you want to back up, and click OK.
Step 3: Go to DESTINATION and choose a path like an external drive.
Step 4: Click Back Up Now to start the data backup.

After the backup, follow the guide below to download Windows 10 Xtreme LiteOS ISO and install it on your PC.
Windows 10 Xtreme LiteOS Download & Install
Xtreme LiteOS 10 ISO Download
To install this operating system, you need to get an ISO file. Currently, some third-party websites offer you the download links of Windows 10 Xtreme LiteOS ISO. When searching for such an ISO online, we find two useful links:
https://www.mediafire.com/file/i6n9m2nlubzh3m3/Xtreme.LiteOS.10.21H1.x64.iso/file
https://mega.nz/file/awk2mIqJ#SrnwtO1EhuPbjakcPrKcPPPxMQZCm7SxWVcO_6_ZDq0
If you cannot use the given links, search for another in Google Chrome.
After getting the ISO file, start to install this lite OS.
Install Windows 10 Xtreme LiteOS
It is easy to install Xtreme LiteOS 10 and see the steps:
Step 1: Download Rufus and launch it on the machine.
Step 2: Connect a USB flash drive to your PC, choose the ISO you download, and configure some settings.
Step 3: Click START to burn the ISO to the USB drive.
Step 4: Boot the PC to BIOS and change the bootable USB drive as the first boot order.
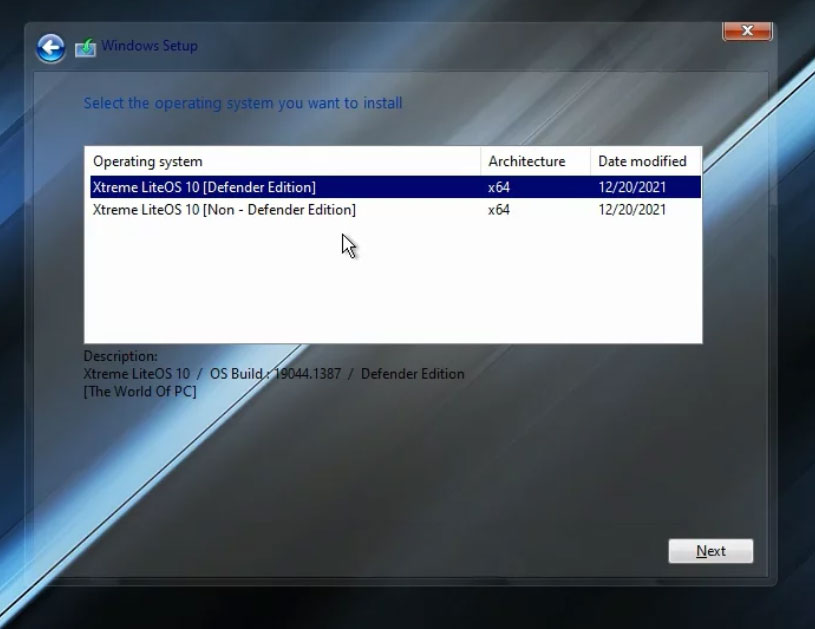
Step 5: Follow the on-screen instructions to begin the installation process.
Verdict
That’s the information on Windows 10 Xtreme LiteOS download & installation. Before installing it, remember to back up your PC with MiniTool ShadowMaker and then follow the guide to finish the installation.
About The Author

Position: Columnist
Vera has been working at the MiniTool Team for over 10 years as a technical editor and content writer. She mainly focuses on disk and partition management, data recovery, Windows backup and restore, and PC troubleshooting. Through in-depth software testing and hands-on experience, she has helped users solve a wide range of computer problems and better protect their data on Windows devices.
User Comments :